Table of Contents
Inside Behance: our guide to the network for creative professionals
” Are you on Behance?” If you are a designer, artist or part of the vast array of people who define themselves as ‘creatives’, you’ve probably already been asked this question. If the answer is no, keep reading – we’ll explain what Behance is, how it works and what benefits it can provide. If, meanwhile, the answer is yes, skip the first paragraph and continue reading anyway – we have some hints and tips that may help you make your portfolio more competitive. Let’s get started!
Step one: what is Behance?
In 2006, Scott Belsky and Matias Corea launched a network for creative professionals, and named it Behance. Their stated aim was to empower creative careers, organise the creative world, and provide transparency where there is none. And that’s exactly what Behance does: it’s a platform where creatives from all over the world can show off their projects, compare notes and come into contact with other talented individuals, get inspiration, exchange feedback, stay up-to-date and explore new work opportunities. Basically, it’s a space to develop your personal branding and, if you do it correctly, to attract new clients.
Step two: how does Behance work?
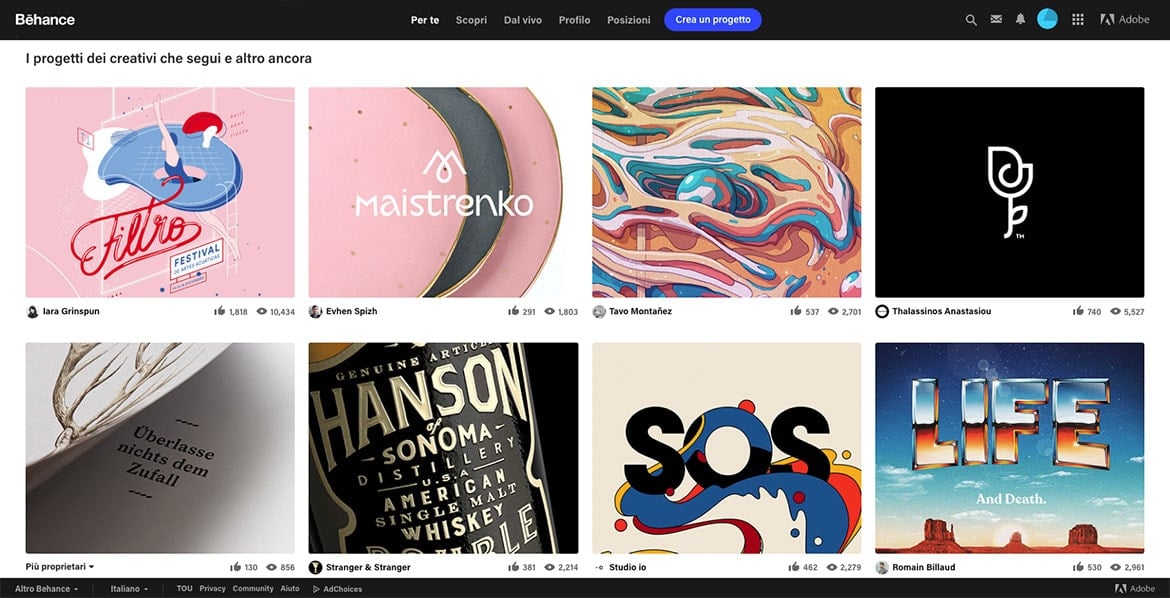
Create an account and choose one or more subjects you’re interested in, and you’ll be shown a wall with a customised feed.

There are several different sections you can access:
Discover: explore the ‘Best of Behance’, the designs chosen on a daily basis by the network’s curators.
Live: a digital library that contains live events you can attend and videos describing the work of other professionals. The material is split into various categories.
Profile: a space to introduce yourself. One piece of advice: don’t hold back in the information you provide, and be specific – make it clear what you specialise in (logo design, UX, app interfaces, illustration, etc.) and what your main skills are. Naturally, the projects you add to your portfolio should match your profile.
Jobs: a noticeboard full of job adverts. This section is useful for hunting down vacancies, and you can use filters (job type, country, city and creative field) to view only those offers that interest you.
Create a project: this is your shop window, a place to show off what you can do by uploading all your work, both past and present. Of course, we don’t literally mean ‘all’ – only add your best work. You shouldn’t show everything you can do, just the things you can do best.
How to upload a project
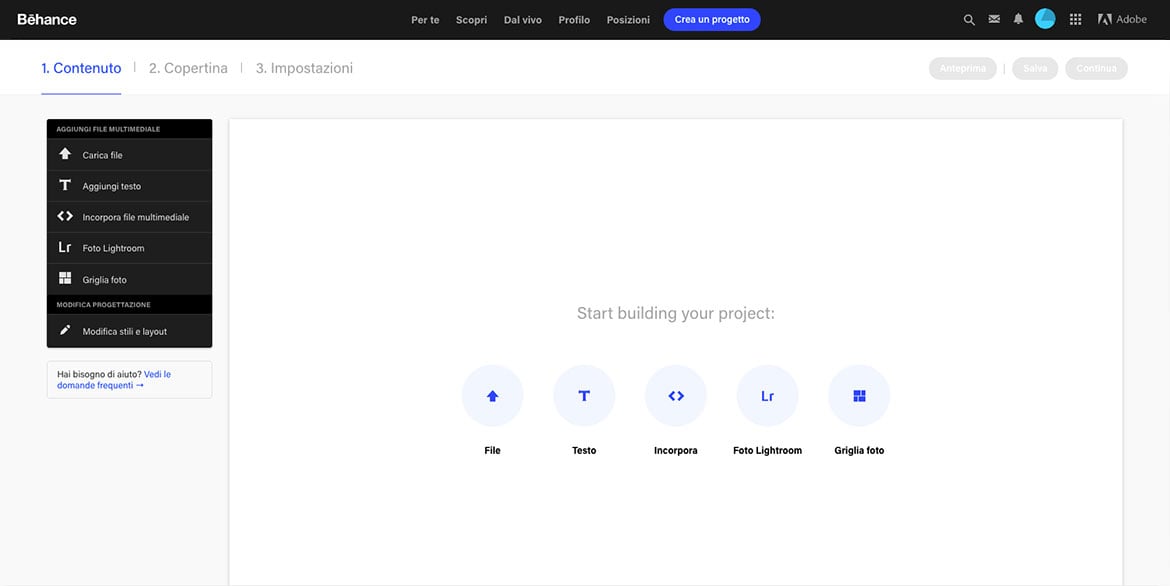
If you are taking your first steps on the network, we recommend checking out Behance Basics, a section of the website that explains in great detail everything there is to know about the platform, from managing your profile to creating a project. There you’ll find answers to all your questions. In the meantime, let’s go to the Create a Project section and take a peek at the editor.
Step one: Content

First upload your file. Give it a clear title – we recommend always indicating the type of project and the year you created it as well as the name, something like Name_logodesign_2017. Add a short but thorough description that sets out your creative intent, i.e. all the thinking behind the various choices you made. Imagine this as the clear and concise description you would use when presenting work to a client – it’s the only way to get across the true value of your work.
If you’re presenting a very complex project, to avoid the risk of certain aspects being missed we recommend you also upload some detailed images. If you have them, you could include drafts, sketches or a video showing the various creative stages – from now on, remember to document how you plan and create your work, as well as the end result! In general, try to create a narrative that shows not only the finished work, but also its production and its applications. Basically, it all comes down to storytelling!
The Edit Styles & Layout section allows you to personalise the layout and text style of your presentation, for a touch of personality.
Step two: Cover

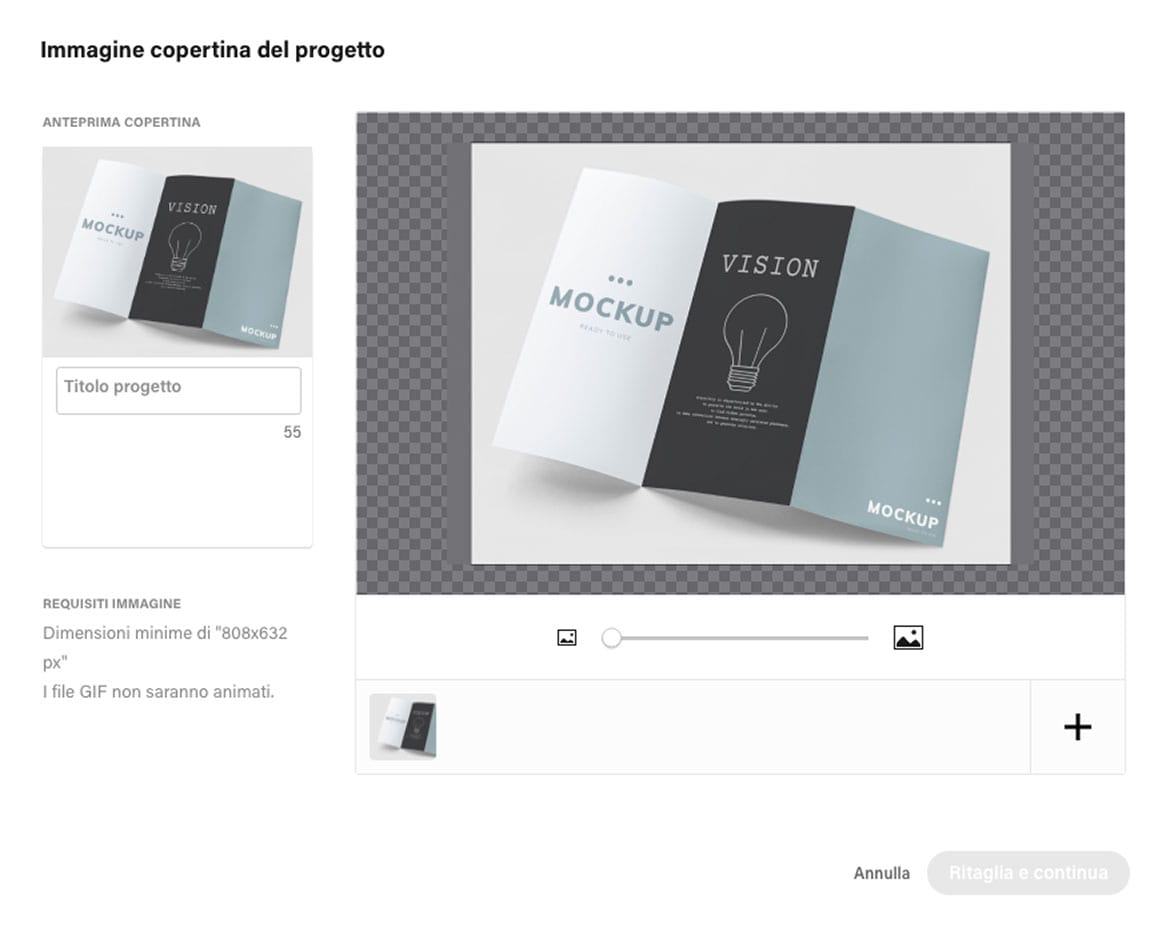
This is where you work on your cover image (with recommended dimensions of 404 x 316 px), which has a crucial role – it’s the first image that people see, and so it needs to be engaging, grabbing people’s interest and previewing the project, without revealing too much. With this in mind, before getting to work, we recommend doing a bit of research on Behance and assembling a list of the best covers, to give you inspiration and give you a competitive edge.
Step three: Settings

This is where you add all the basic information about your work: tags to assign it to a specific category (these are vital to ensure people find you on the network), the tools you used to create it, the professionals you have worked with and a description of the project. Once you’ve entered all this information, click ‘Publish’ and the project will be added to your portfolio. You’re done!
Oh, one last piece of advice: don’t upload all your work at once; instead spread it out over time, so you don’t lose the attention of your followers – you want to make sure they focus on each individual project.
That’s all from Behance for now.

