

Table of Contents
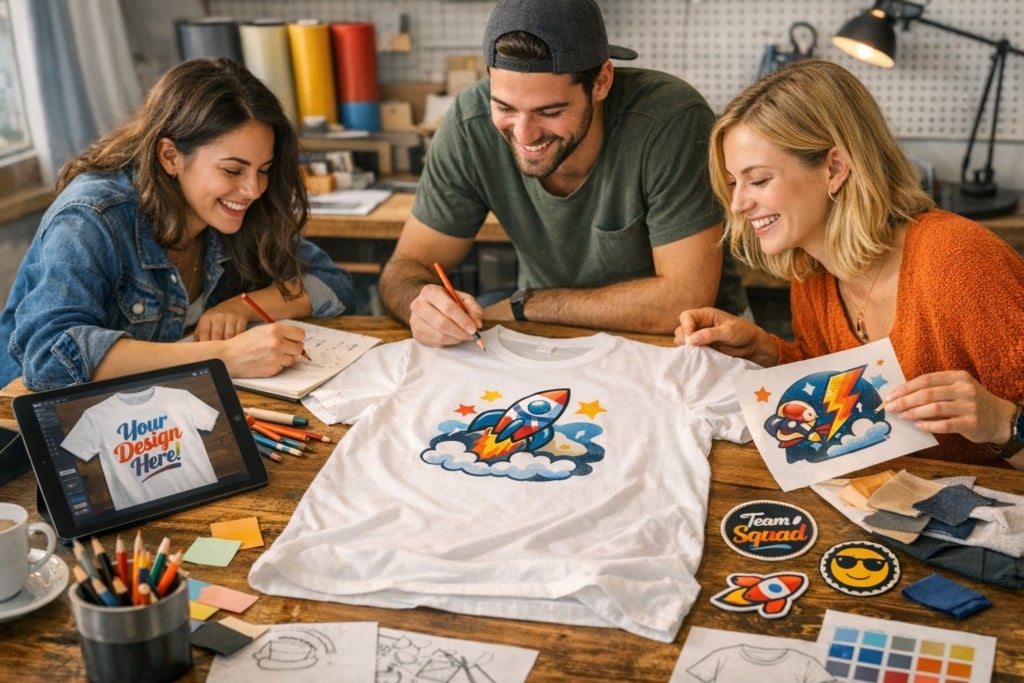
Creating a custom T-shirt is one of the easiest ways to turn a basic garment into something unique. A T-shirt can become an original gift, a promotional giveaway for an event, the symbol of a team, or even the first step towards launching a small merchandising line.
In recent years, customising a T-shirt has become much easier than in the past. Online tools allow you to design graphics in just a few minutes, while printing techniques have improved both in terms of quality and durability.
Today many online printing platforms allow you to create and order custom T-shirts directly from the web, choosing the model, uploading your artwork and previewing the final result before production. One example is the page dedicated to Pixartprinting custom T-shirts, where you can configure different T-shirt models and upload your own design to obtain professional-quality printing.
However, to achieve a truly satisfying result, it helps to understand:
- how to design the artwork
- how to choose the most suitable printing technique
- what precautions to take to avoid common mistakes
Let’s look at these steps in the right order, starting from the basics.
What it means to create a custom T-shirt
Customising a T-shirt means starting with a blank garment and transforming it into something original by adding graphic elements. This could be a text, a logo, a photograph, or an illustration.
Custom T-shirts are used in many different contexts. They can help promote a brand, create merchandise for an event, identify members of a team, or produce distinctive gifts.
In all these cases, the T-shirt becomes a visual communication tool capable of representing a group, a brand or a special moment.
Your options for creating a custom T-shirt
When you decide to create a custom T-shirt, the first choice concerns the production method.
Today there are three main approaches, which differ in terms of tools used, final quality and flexibility.
| Method | Best for | Advantages | Limitations |
| DIY printing | Personal creative projects or small experiments | Lower costs, maximum creative freedom | Lower print quality and durability |
| Traditional print shop or studio | Group productions, events, merchandising | Professional support and high quality | Longer production times and higher costs |
| Custom web-to-print services | Creating and ordering T-shirts online quickly | Instant preview, simple configuration, online ordering | The entire process takes place online |
Many professional printing services offer online configurators that allow you to design and order T-shirts in just a few steps. In the Pixartprinting custom T-shirts online section you can choose the model, upload the artwork and check the print preview before placing the order.
The key steps to creating a custom T-shirt
Although the tools may vary, the creative process usually follows several recurring stages.
1. Define the concept of the T-shirt
Before designing the artwork, it is important to clarify the purpose of the T-shirt.
Some useful questions include:
- who will wear the T-shirt?
- on what occasion will it be used?
- is it a one-off item or a larger production?
- what message should it communicate?
This initial phase helps guide all subsequent decisions, from the design through to the printing technique.
2. Choose the T-shirt model
The base garment has a significant impact on the final result. Not all T-shirts are the same: materials, fabric weight and fit can affect both comfort and print quality.
When choosing a T-shirt it is useful to consider:
- garment colour
- fabric material
- cotton grammage
- fit
- men’s, women’s or unisex cut
The colour of the T-shirt is particularly important because it determines the contrast with the artwork.
Many professional printing services offer different T-shirt models, including:
- basic cotton T-shirts, perfect for events or large quantities
- organic cotton T-shirts, ideal for sustainable projects
- men’s, women’s and children’s models, with different cuts
- premium T-shirts with heavier grammage, more durable and long-lasting
Cotton is the most commonly used material for this type of product because it is breathable, durable and ensures good print results. In general, T-shirts have a grammage between around 160 and 200 g/m², a range that offers a balance between comfort and durability.
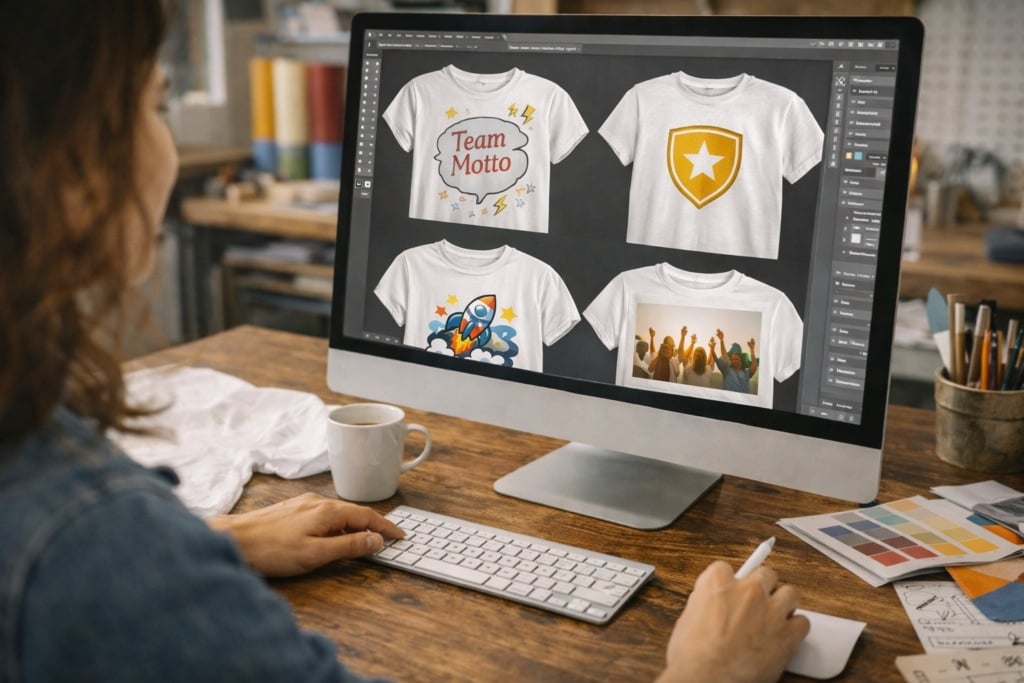
3. Design the artwork
Once the base T-shirt has been chosen, you can move on to the creative phase.
Among the most common types of graphics are:
- text or slogans
- logos
- photographs
- illustrations
- minimal designs
Each type of graphic works best in different contexts.
Text or slogans are perfect for humorous phrases, group messages or quotes. They are widely used for events such as stag parties, hen parties, graduation celebrations or team-building activities.
Logos are ideal for companies, associations or communities. A logo T-shirt allows group members to be easily identified and helps promote a brand during events and trade fairs.
Photographs are often used for personalised gifts or memories of special moments such as trips, celebrations or anniversaries.
Illustrations work very well in creative merchandising because they allow you to develop a recognisable visual style.
Finally, minimal designs – for example a small icon or symbol – are often used to create more elegant and versatile garments.
Creative ideas for a custom T-shirt
When designing a custom T-shirt, finding the right idea can make the difference between a simple printed shirt and a truly memorable piece.
Here are some creative ideas.
Quotes or humorous phrases
Many T-shirts are inspired by a recurring joke among friends. For example, if someone has a catchphrase or expression they repeat often, it can become the centrepiece of the design. At hen or stag parties it is very common to print exactly these kinds of iconic phrases.
Minimal graphics
Sometimes a simple symbol is enough to create an effective T-shirt. A small graphic element on the chest can represent a group of friends, a community or a shared passion.
Original illustrations
If someone in the group knows how to draw, you could create a custom illustration. Many independent merchandising lines start exactly this way: with an original graphic printed on a T-shirt.
Personalised photographs
A photo taken during a trip or a special moment can become the central element of the T-shirt. This is a solution often used for gifts or as a keepsake from important events.
Brand or community logos
T-shirts are also widely used as a merchandising tool. Many brands, creators and organisations produce T-shirts featuring their own logo to strengthen their community’s sense of belonging.
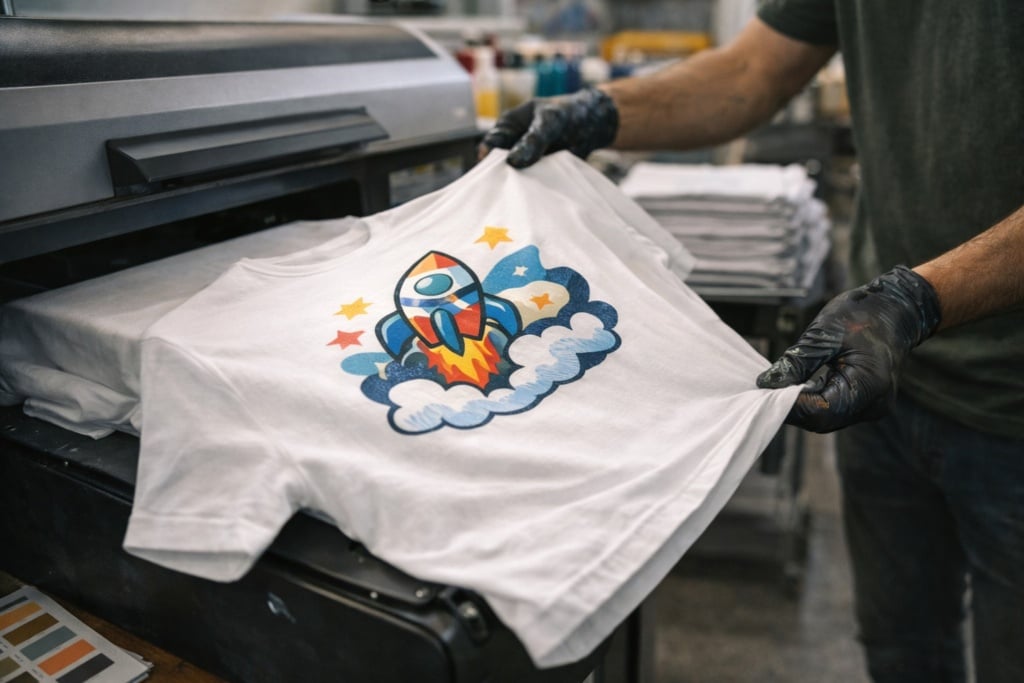
Printing techniques for custom T-shirts
Not all textile printing methods work in the same way. Printing techniques vary depending on the type of graphic, the number of colours and the quantity of T-shirts to be produced.
Some methods are ideal for small runs, while others become more cost-effective when printing larger quantities.
| Technique | Ideal for | Advantages | Limitations |
| Digital printing (DTG) | Complex graphics and photographs | Excellent colour reproduction | Less cost-effective for large quantities |
| Heat-transfer vinyl | Logos and lettering | Very durable | Not ideal for complex images |
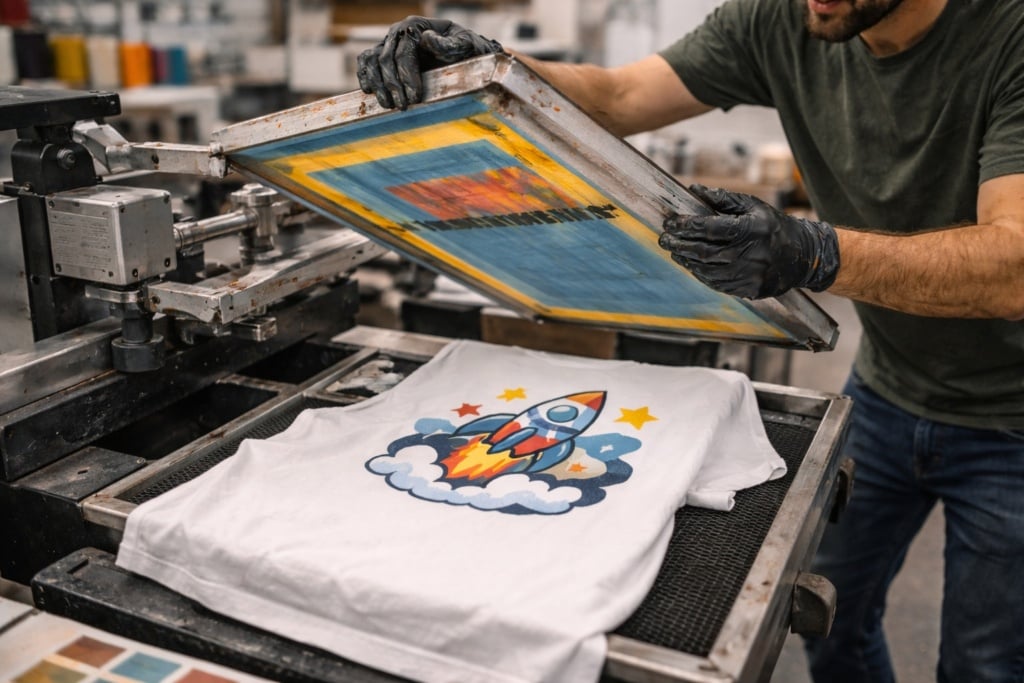
| Screen printing | Large production runs | Extremely durable | More complex setup |
| Sublimation | Light synthetic fabrics | Very vibrant colours | Limited to specific materials |
| Embroidery | Logos and symbols | Premium appearance | Not suitable for highly detailed graphics |
Recommended file formats for printing a T-shirt
When preparing artwork for a T-shirt it is important to choose the correct file format. Image quality directly affects the print result.
In general, two main categories are distinguished:
- raster files (such as JPG or PNG), based on pixels
- vector files (such as PDF or SVG), based on scalable shapes
| Format | When to use it | Advantages |
| PNG | Artwork with transparent background | Ideal for logos |
| JPG | Photographs | Lightweight format |
| Vector PDF | Logos and text | High quality |
| SVG | Vector graphics | Scalable without loss of quality |
Once the artwork file is ready, it can be uploaded directly to a print configurator to preview the T-shirt and adjust the size and placement of the design before production.
How much does it cost to create a custom T-shirt
The cost of a custom T-shirt can vary depending on several factors:
- type of T-shirt
- printing technique
- artwork size
- number of colours
- quantity of T-shirts
As a rough guide:
- a simple T-shirt with printing on one side may cost around €10 to €20 per item
- a T-shirt with more complex printing or front-and-back design may reach around €20 to €35 per item
When ordering larger quantities, the price per item generally decreases.
Occasions for using a custom T-shirt
Custom T-shirts are used in many contexts, both private and professional.
Corporate events
During trade fairs, conferences or promotional activities, companies often produce custom T-shirts for staff members. This makes team members easy to identify and increases brand visibility.
Private celebrations
Birthdays, stag and hen parties, and graduation celebrations are perfect occasions to create coordinated T-shirts with humorous phrases or personalised designs.
Sports teams
Many amateur sports groups use custom T-shirts to identify team members with a name, number or logo.
Merchandising
Creators, associations and brands often sell T-shirts with original graphics to strengthen their identity and engage their community.
Personalised gifts
A T-shirt with a photo or dedication can become a creative and highly personal gift.
Creating the T-shirt design with the Pixartprinting Designer
If you don’t already have a graphic ready, you can create it directly online using the Pixartprinting Designer, the tool integrated into the product page that allows you to design the print for your T-shirt directly in your browser.
After configuring the T-shirt model, you can open the Designer and work on the product’s print area, visible in the centre of the editor. From there you can add graphic elements, adjust their size and position, and immediately preview how the design will appear on the T-shirt.
1. Open the Designer from the product page
After choosing the T-shirt model and configuring the main options, select “Create your file” or “Customise with Designer”.
The editor will open with the T-shirt displayed in the central workspace.
2. Upload your logo or graphic
From the tools panel you can use the Upload image option to import files from your computer (such as logos, illustrations or photos).
Once uploaded, the graphic will appear in the workspace and can be edited.
3. Position the graphic on the print area
The graphic can be moved directly on the T-shirt and resized by dragging its corners.
This makes it easy to adapt the design to the desired position, for example:
- centre chest print
- logo on the left chest (heart side)
- graphic on the back
4. Add text directly in the editor
The Designer also allows you to insert text and slogans without uploading external files.
You can choose the font, colour and size of the text and place it freely on the T-shirt.
5. Manage graphic layers
If the design contains multiple elements (logo, text or icons), you can organise them in layers, move them forwards or backwards and align them correctly within the print area.
6. Check the T-shirt preview
While designing, you can view a preview of the T-shirt with the graphic applied, allowing you to check proportions, margins and placement before confirming the project.
7. Save the project and continue with the order
When the design is ready, you can confirm the project and return to the product configuration.
The file will automatically be associated with the T-shirt and sent to production together with your order.
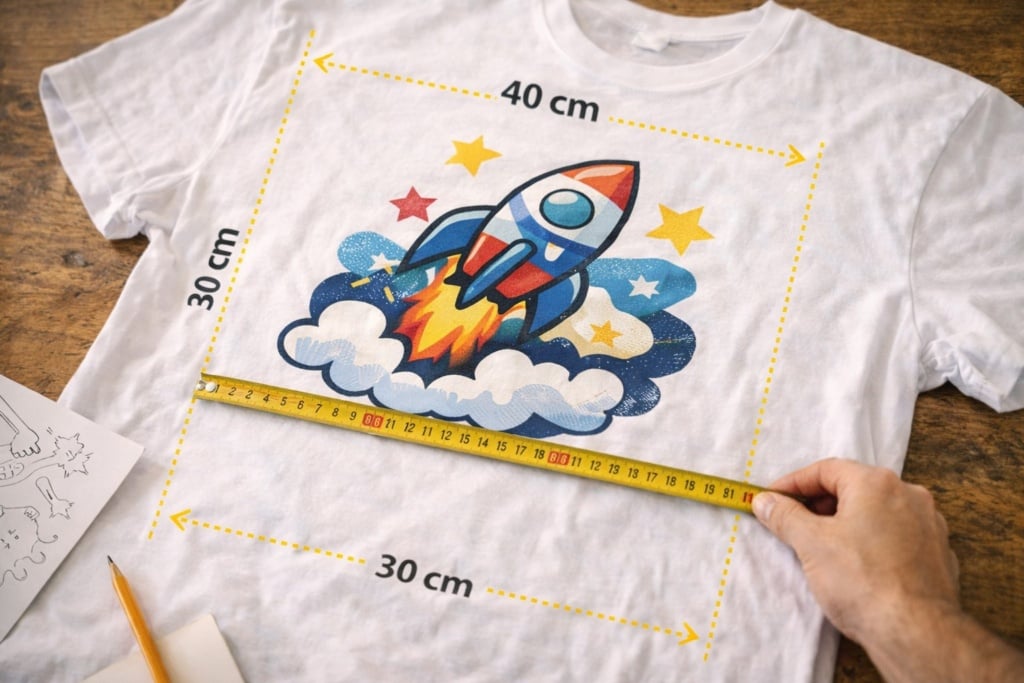
Ideal print sizes for a T-shirt
When designing artwork for T-shirts it is also important to consider print size. A graphic that is too small may be barely visible, while one that is too large may appear disproportionate.
Dimensions also vary depending on the print placement.
| Print placement | Approximate size | When to use it |
| Centre chest | 25–30 cm | Main graphic |
| Left chest | 8–12 cm | Logos |
| Back | 25–35 cm | Large graphics |
| Sleeve | 6–10 cm | Symbols or icons |
These measurements are indicative and may vary slightly depending on the T-shirt model.
FAQ — Frequently asked questions about custom T-shirts
How do you create a custom T-shirt online?
It means using a configurator that allows you to upload images, add text and position the design on a T-shirt before printing.
What file is needed to print a T-shirt?
To print a T-shirt it is recommended to use high-quality files such as PNG, JPG or vector PDFs.
Can I print just one custom T-shirt?
Yes, many digital printing platforms allow you to produce even a single T-shirt with no minimum order quantity.
Which printing technique is the most durable?
Screen printing and embroidery are among the most durable techniques over time.
What is the ideal print size on a T-shirt?
A central chest print usually measures between 25 and 30 cm in width, while a logo on the left chest typically measures between 8 and 12 cm.