
Table of Contents
Creating a simple character with Adobe Character Animator
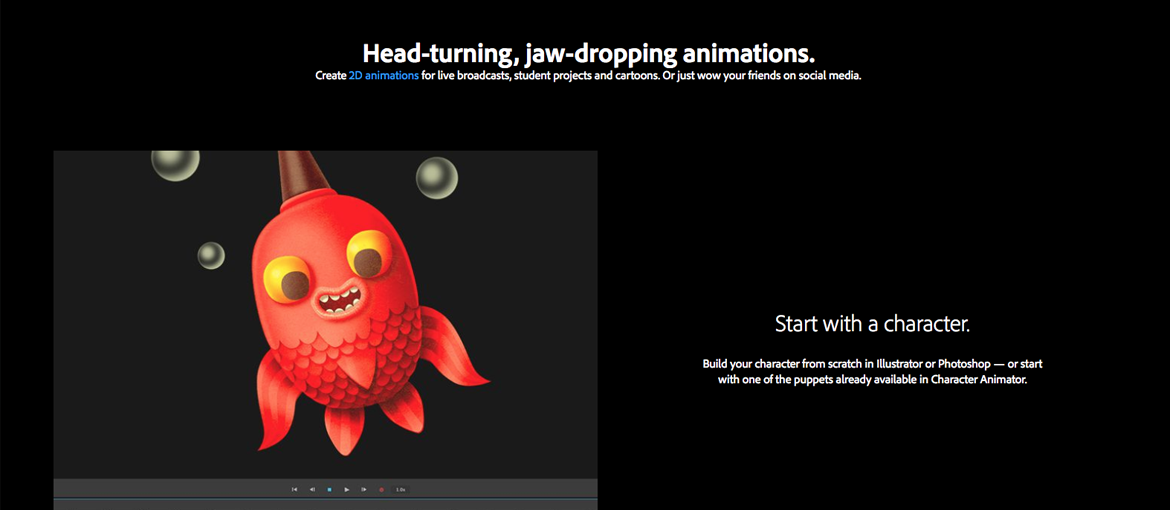
Have you ever wanted to create talking cartoon animations, but you thought it would take years to learn. That’s where Adobe Character Animator comes in. If you already subscribe to Adobe Creative Cloud then you already have access to it. The best thing about Adobe Character Animator is, it lets you use the tools you already know such as Illustrator and Photoshop to build your character. Then the magic happens when you import them into Character Animator. Instead of painstakingly working frame by frame you use your webcam and become an actor moving a digital puppet. If you smile the character smiles, if you raise your eyebrows or tip your head the character does too. It’s incredible.
So why would you want to create a talking character?
There are lots of reasons. It could be to create an animated comic you’ve always dreamed of, however, there is one thing I think it works well for, and that is Social Media. Everyone knows that video is big in social media at the moment, but not everyone wants to be on camera. If you create a cartoon to represent yourself or your client, the cartoon can now do the talking for you. Even if you don’t mind being on video, having a cartoon of yourself is just a little bit more unusual. In the past, if you wanted to do this, the time and cost would have been prohibitive. Now with Character Animator, once you have created your character, each animation only need take a few hours.
Some of the great features of Adobe Character Animator
- It’s relatively simple to use. In just an hour or two, you can create your first animated face or character.
- If you know Adobe Illustrator and Photoshop you already have most of the skills needed.
- Most of the movement is controlled by you moving on your webcam.
- Your character can have blinking eyes and moving eyebrows (also controlled by you on your webcam).
- Automatic lip syncing. You can either talk real time and the character will talk along with you, or you can import an mp3.
It also has more advanced features
- The ability to create head turns – this means your character can face forward but then also face to the left or right (be in profile).
- Hair movement – you can make hair look like it moves.
- Create keyboard triggers which make something happen on the animation.
- You can create walk cycles.
Adobe creates some fantastic video tutorials to go with the software which you can find on Youtube. They also provide some example characters so you can see how everything is broken down. I am just going to give you a quick run through of the basic elements to create an animated face.
Making a start
Although you can build full characters, the easiest place to start is with a face. You can create your face by drawing the elements in layers in Adobe Illustrator or Photoshop. Alternatively, you can photograph an object which you then add a face to. For example, you could photograph a bottle and then create your own facial elements for it.
Creating a face in Adobe Illustrator
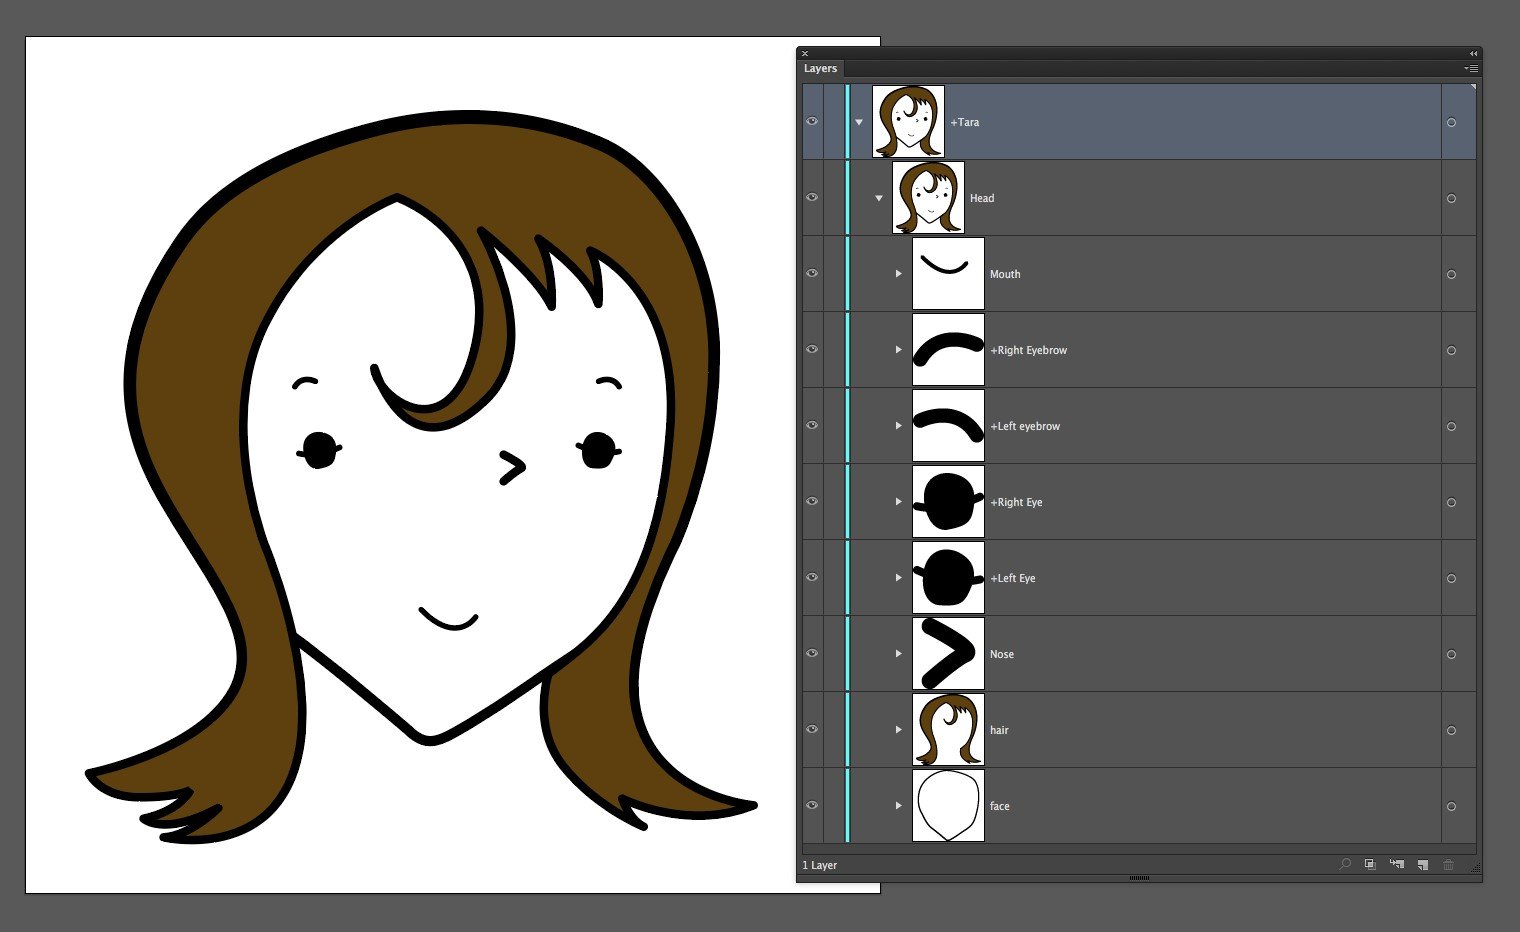
Let me show you a simple example that I created in Adobe Illustrator. This is part of a full character with a body, but a face is the easiest way to get started. You need to create your face using layers and how they are named is very important. Start by opening up a new Illustrator file and name the existing layer whatever you want to call your character with a plus sign in front of it. So for example, if your character was called Fred, you would call the layer +Fred. Within that layer create a sublayer named Head. This is where you will put all the head elements you create.
Note: Adobe provides free blank templates for Illustrator and Photoshop with all the elements named correctly, which you can download here. These templates also contain a body, so just delete this layer if you are only creating a head.
Then within the head layer create sublayers for Mouth, +Right Eyebrow, +Left Eyebrow, +Right Eye, +Left Eye, Nose, Hair Face. Any layer with a plus sign at the front means that it can move independently within the Head element.
The Eyes are also each made up of two layers (or three if your design includes an Eye Ball). So +Right Eye will contain +Pupil and Blink. In this case, the blink is simply a line. So when your eye is open the oval for the eye will show and when you blink it will be hidden and replaced by the line representing the blinking eye.
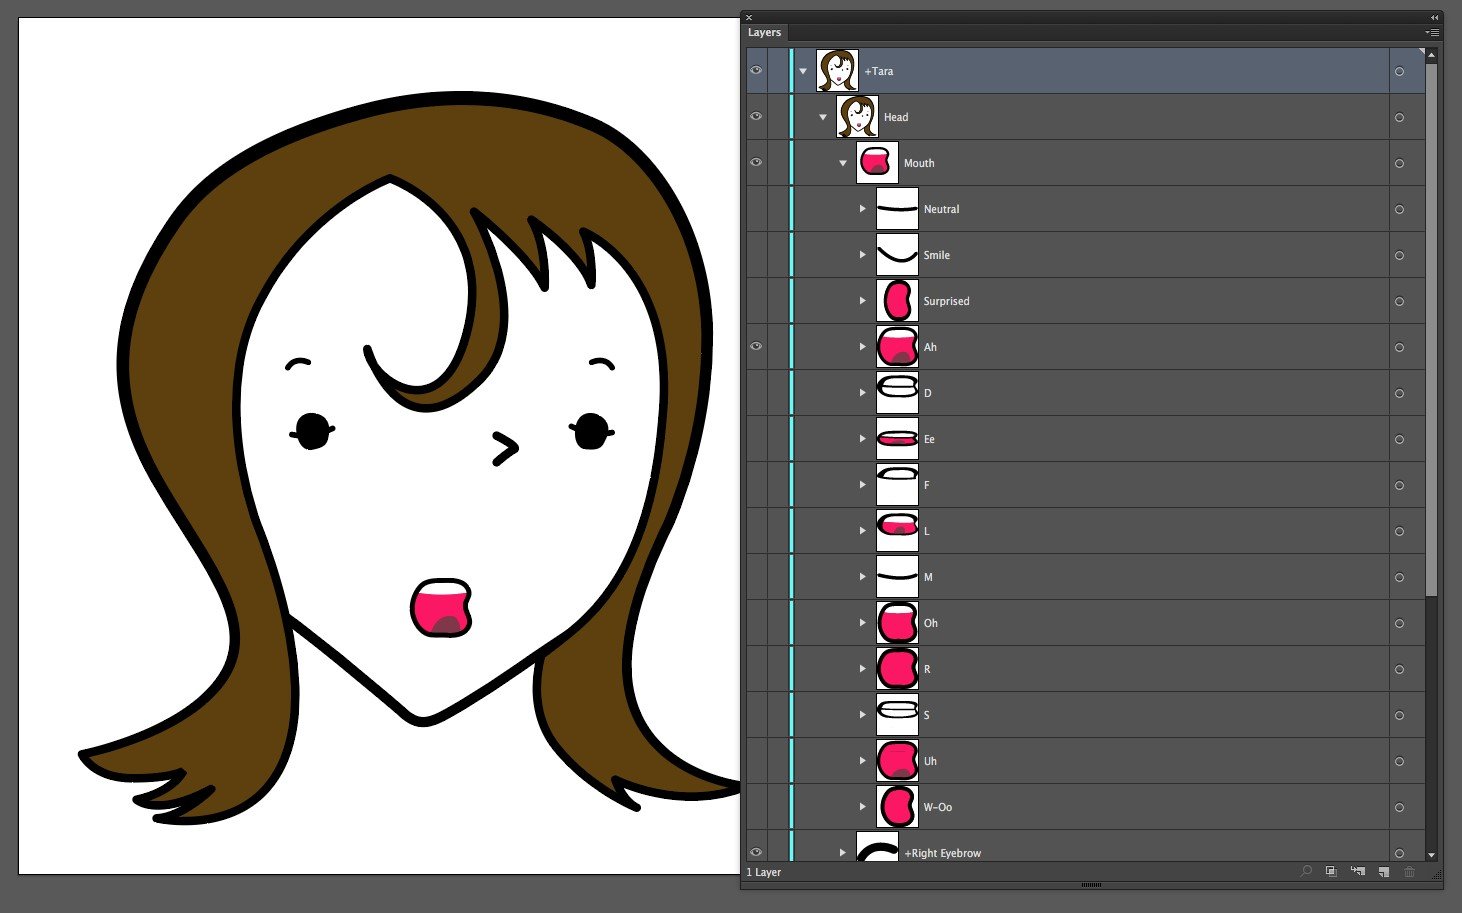
The Mouth
This is one of the really cool bits about this piece of software. You create a series of mouth shapes which respond to certain letters specified in Adobe Character Animator. Once these are created the software will automatically take its best guess to the part of the word being spoken and what the mouth shape will be. Then it will show that mouth shape and temporarily hide the others. If you don’t want to draw your own mouth shapes, Adobe has free mouth templates in both Photoshop and Illustrator format that you can download and use. I used them as a starting point to create my own.
Shown below are Adobe’s free mouth shapes and the sounds or emotions they represent.

The mouth shapes in your file should also be labelled as they are below
The character shown below uses my adapted mouth shapes
Watch this video from Adobe to see a tutorial on how to set up a face in Photoshop – Building Your Own Animated Face
Import your character into Adobe Character Animator
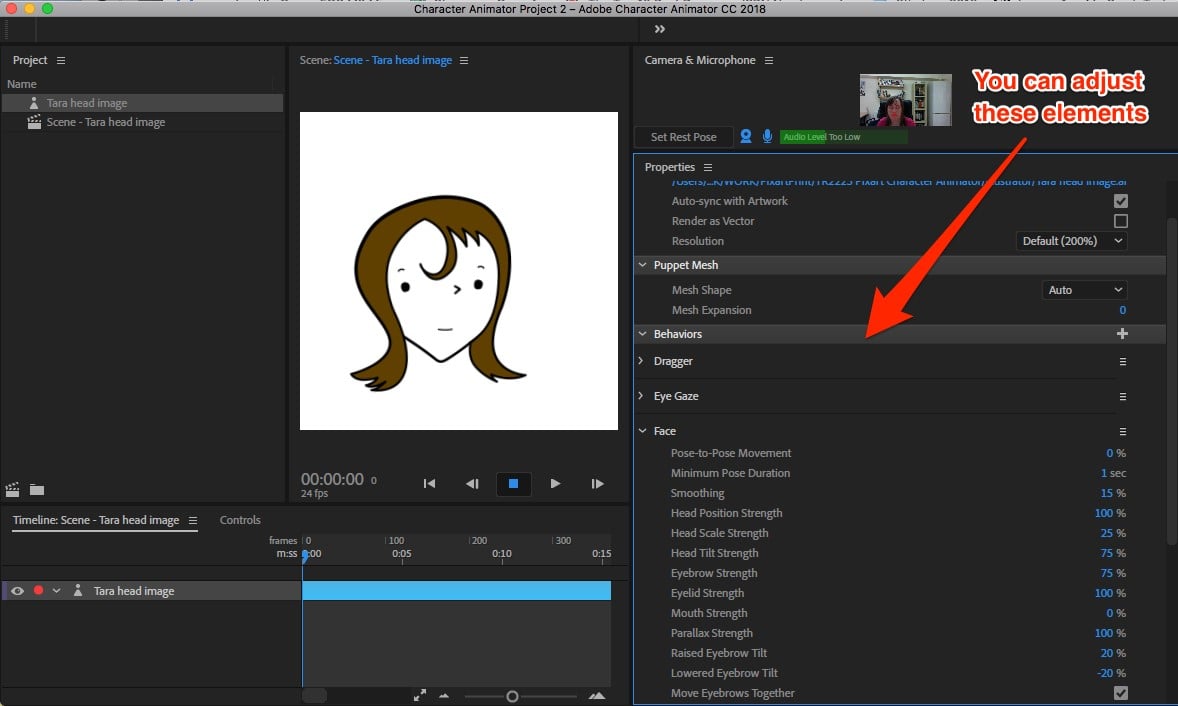
Once you have created your character in Illustrator or Photoshop, It’s time to import it into Adobe Character Animator. Go to File, Import and find your character. It will appear in the left window on the screen. Then go to Scene, Add to New Scene. You may need to change the size of your scene so your character fits well. You should see your webcam working and your face appear in the right-hand window. Click the Set Rest Pose Button and you will see tracking points appear on your face. Start talking, move your face and watch your character talk and move along with you.

If you click once on your character pawn icon you will see a series of options appear on the right. These let you play around with different elements of the animation. You can adjust things such as how far the eyes move, how much the face will stretch, how exaggerated the eyebrow movements are etc.
Once you are happy with all of your settings, you might want to try recording yourself speaking and moving with Adobe Character Animator and saving your animation. Simply press the red record button and start moving and talking. You can do multiple takes or even do the voice first and the actions in a separate recording. If you prefer to import a pre-recorded mp3 you have the ability to do that too.
Once you have got the hang of the basics of Character Animator, check out the other free video tutorials on Youtube and learn some of the more advanced features of Character Animator.