
Screen-printing is a well-known technique that uses a mesh screen to transfer ink onto a huge variety of substrates, including paper, wood, fabric and glass, to name but a few.
First used in the Far East over a thousand years ago, the technique became popular in the Western art world in the 1960s. Andy Warhol was instrumental in popularising screen-printing: many of his pieces used this technique, which allowed him to print multiple copies of the same subject while creating a unique print each time by changing the pressure and inks applied.
The widespread use of screen-printing for creating posters and cover art in underground circles and subcultures is also due to another important factor: the ease with which you can set up a rudimentary screen printing studio from widely available materials.
Unlike techniques such as lithography, woodcutting and etching, which require more sophisticated equipment, more expensive materials and, very often, more careful use, a small screen-printing studio can be set up at home with little outlay and no special skills.
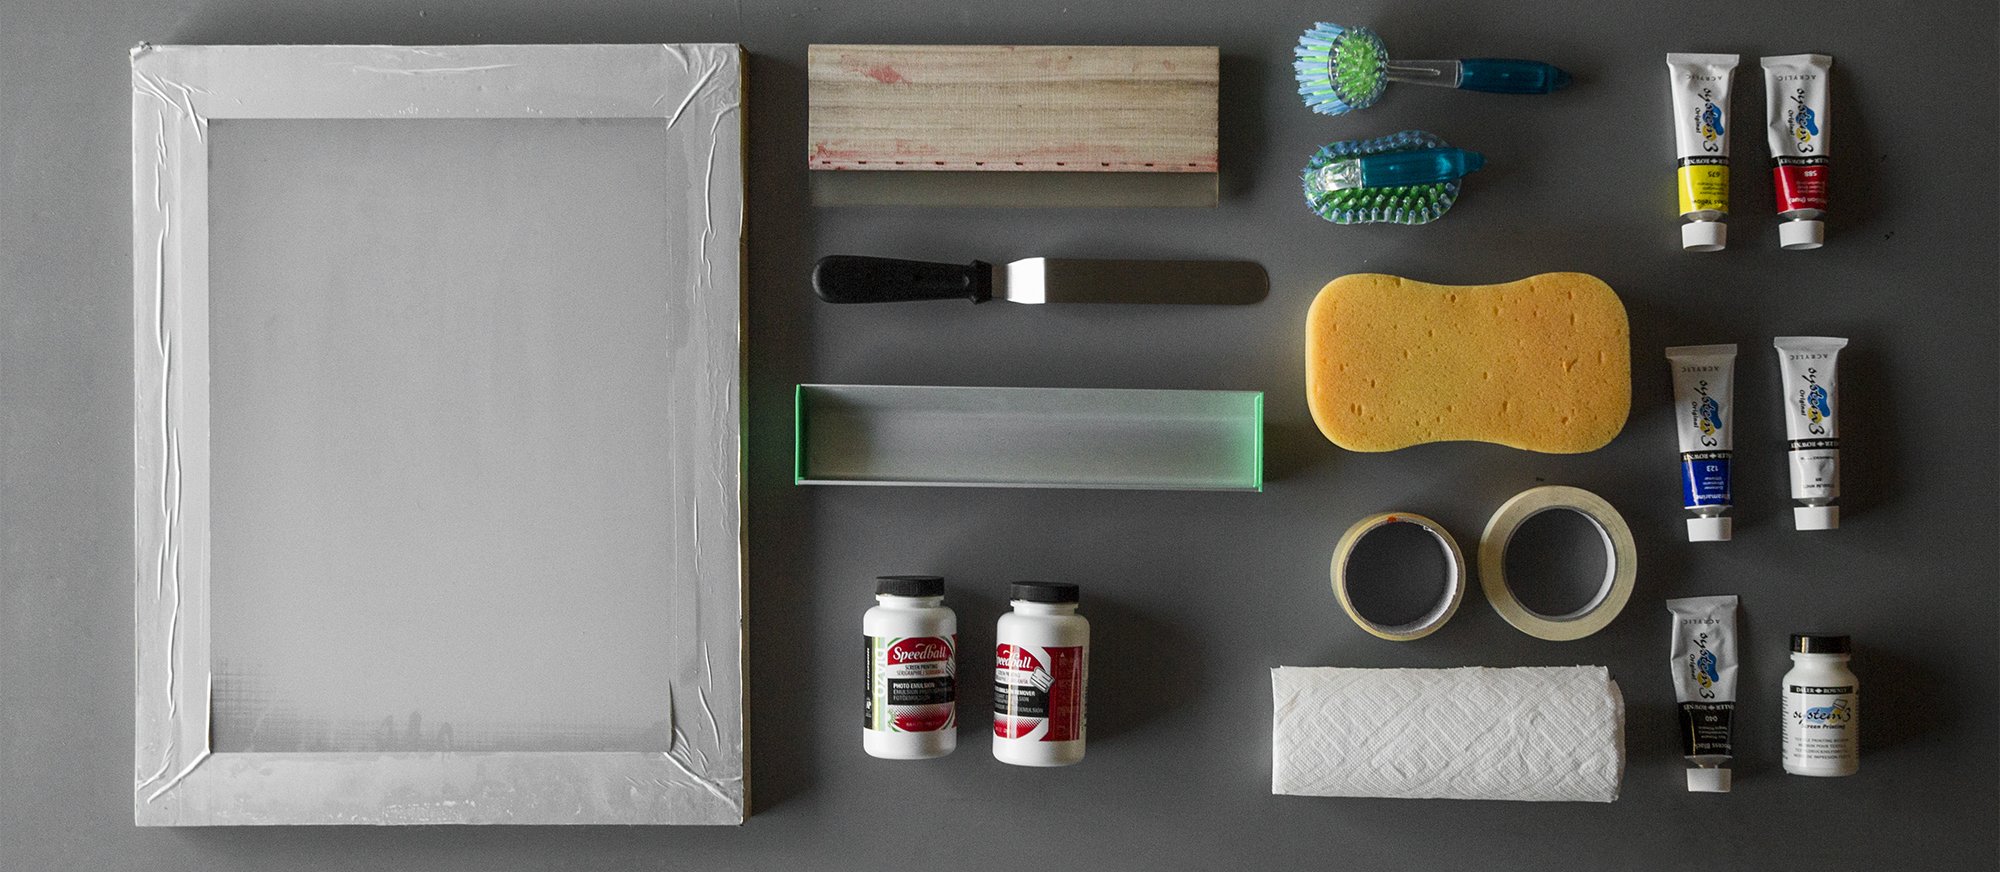
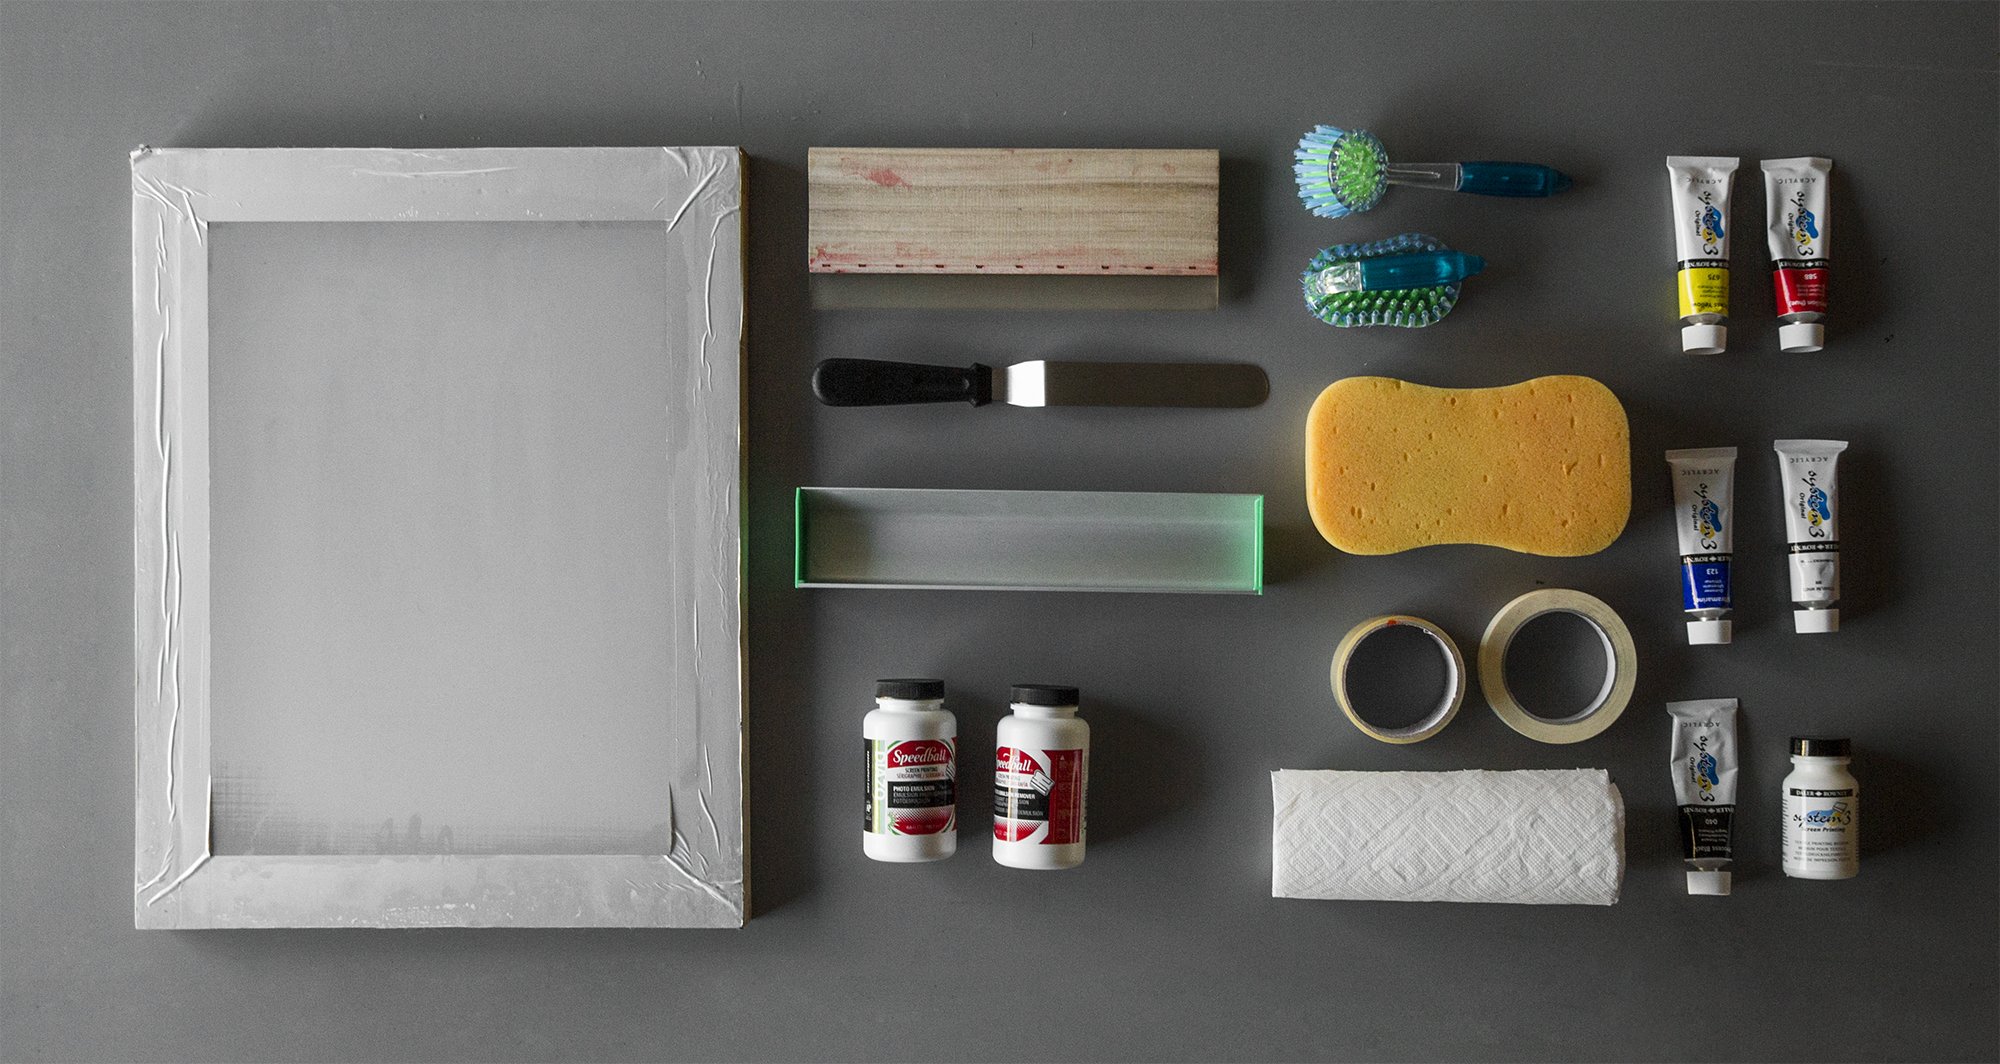
For the workspace, you need a table big enough to put the screen on, an area that can be turned into a dark room when necessary and a sink or bath to wash the screen in. Screen prints can be produced with varying degrees of sophistication, but the essential tools are:
- A screen: an aluminium or wooden frame across which a polyester mesh is stretched
- A squeegee: a tool with a wooden or metal handle and a rubber “blade” for printing
- A scoop for spreading the emulsion
- Photo-sensitive emulsion
- A solvent for the photo-sensitive emulsion
- Ink: classic acrylic colours too can be used for screen printing
- Ink thinner: a liquid that is mixed with the colour so that it doesn’t dry immediately and can be used on the screen
- A lamp specific for screen-printing or a garden spotlight
- Sponges
- Adhesive tape
Some of these tools may be unfamiliar to those who have never tried screen-printing before, but you’ll find more details below.
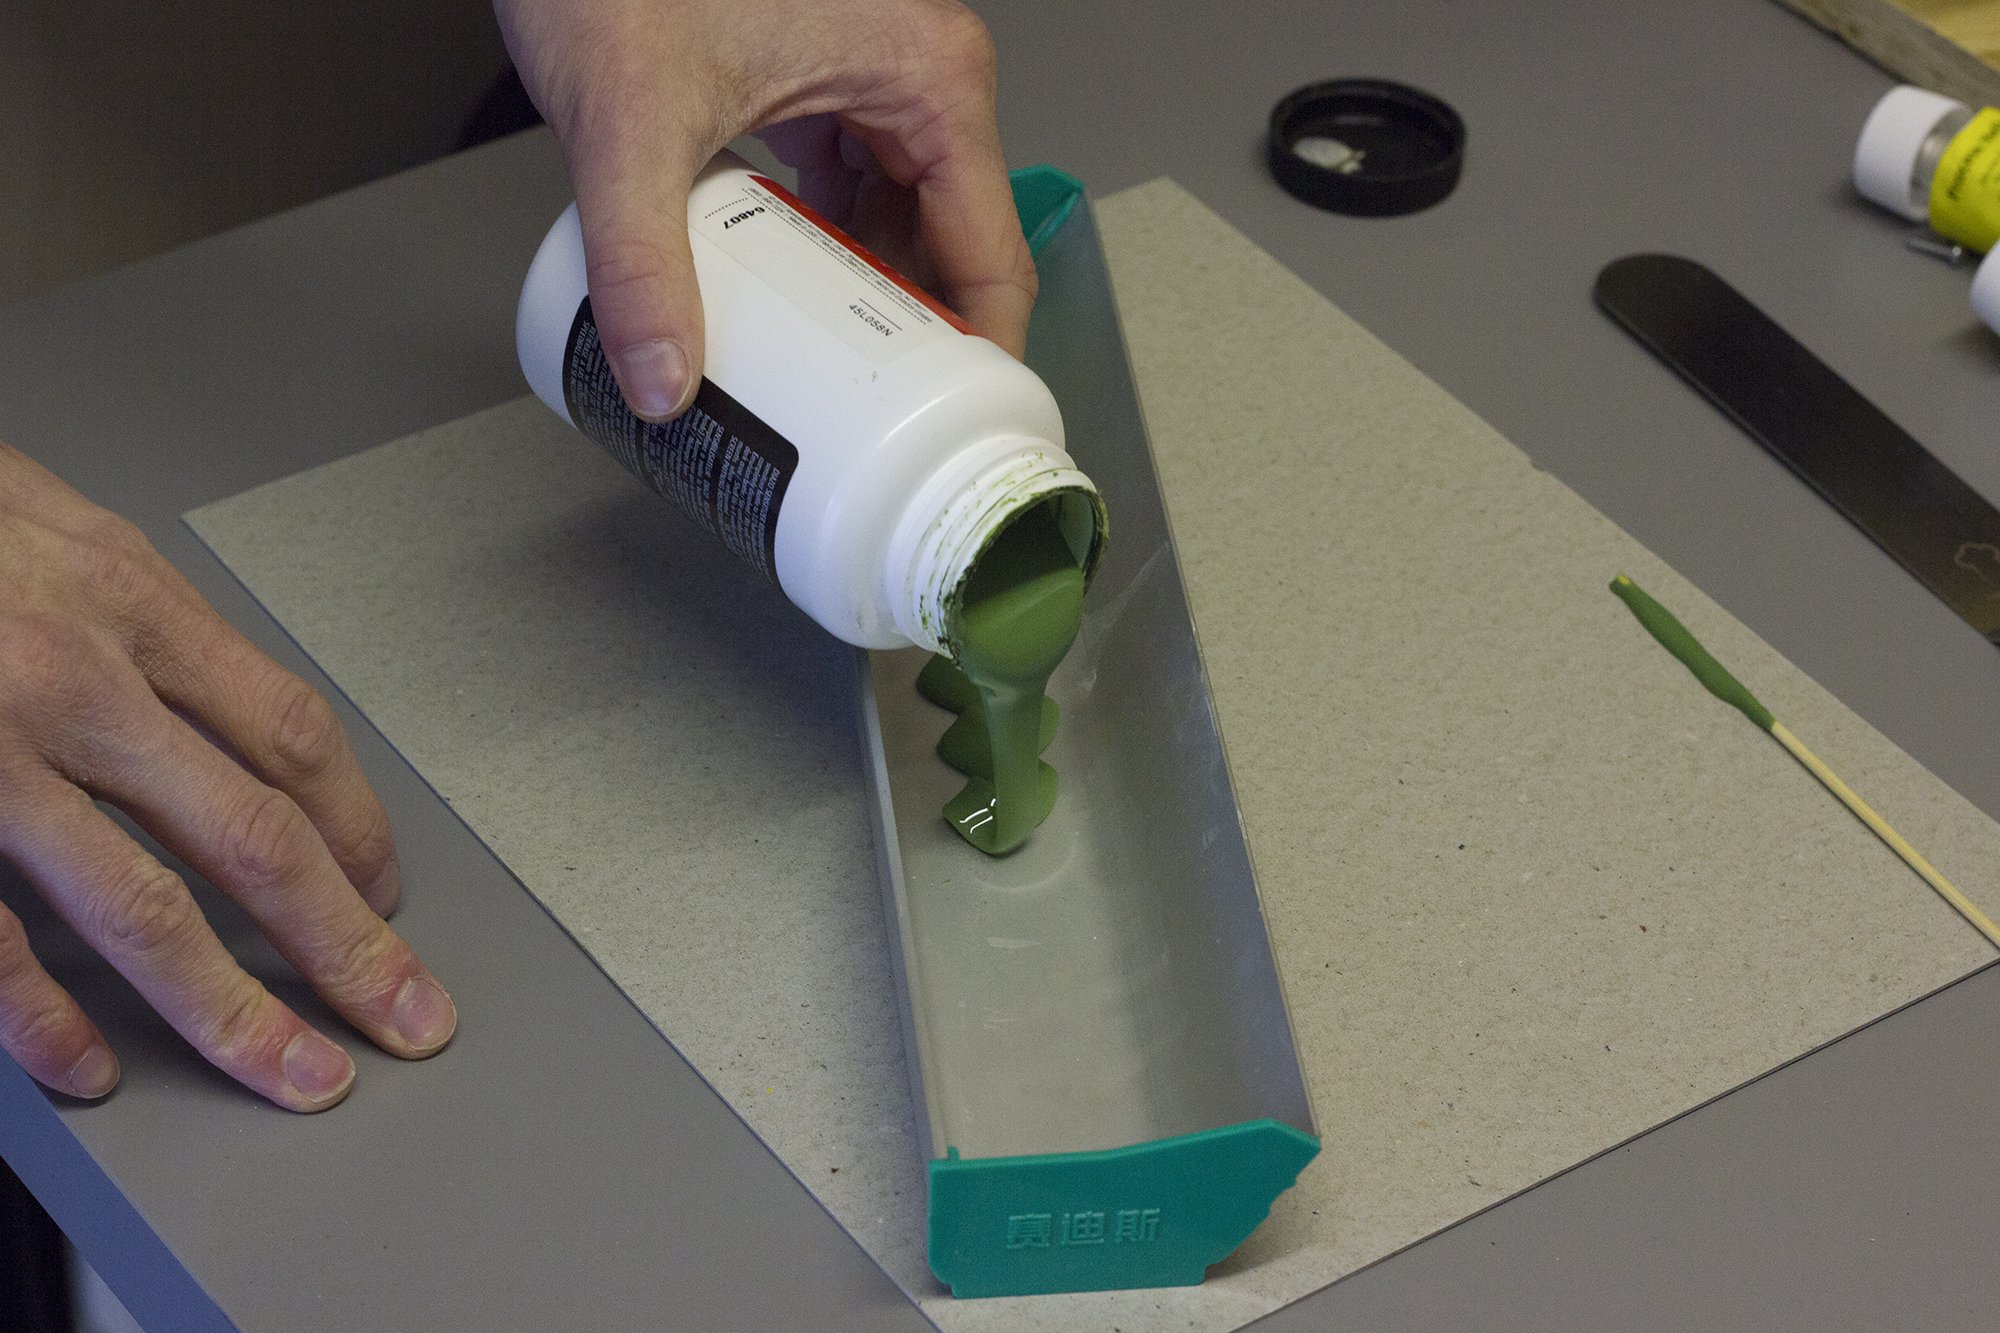
1.Spreading the emulsion on the screen
- The first step is to liberally pour the emulsion into the scoop until it’s half full (after use, the leftover emulsion will be returned to its container).
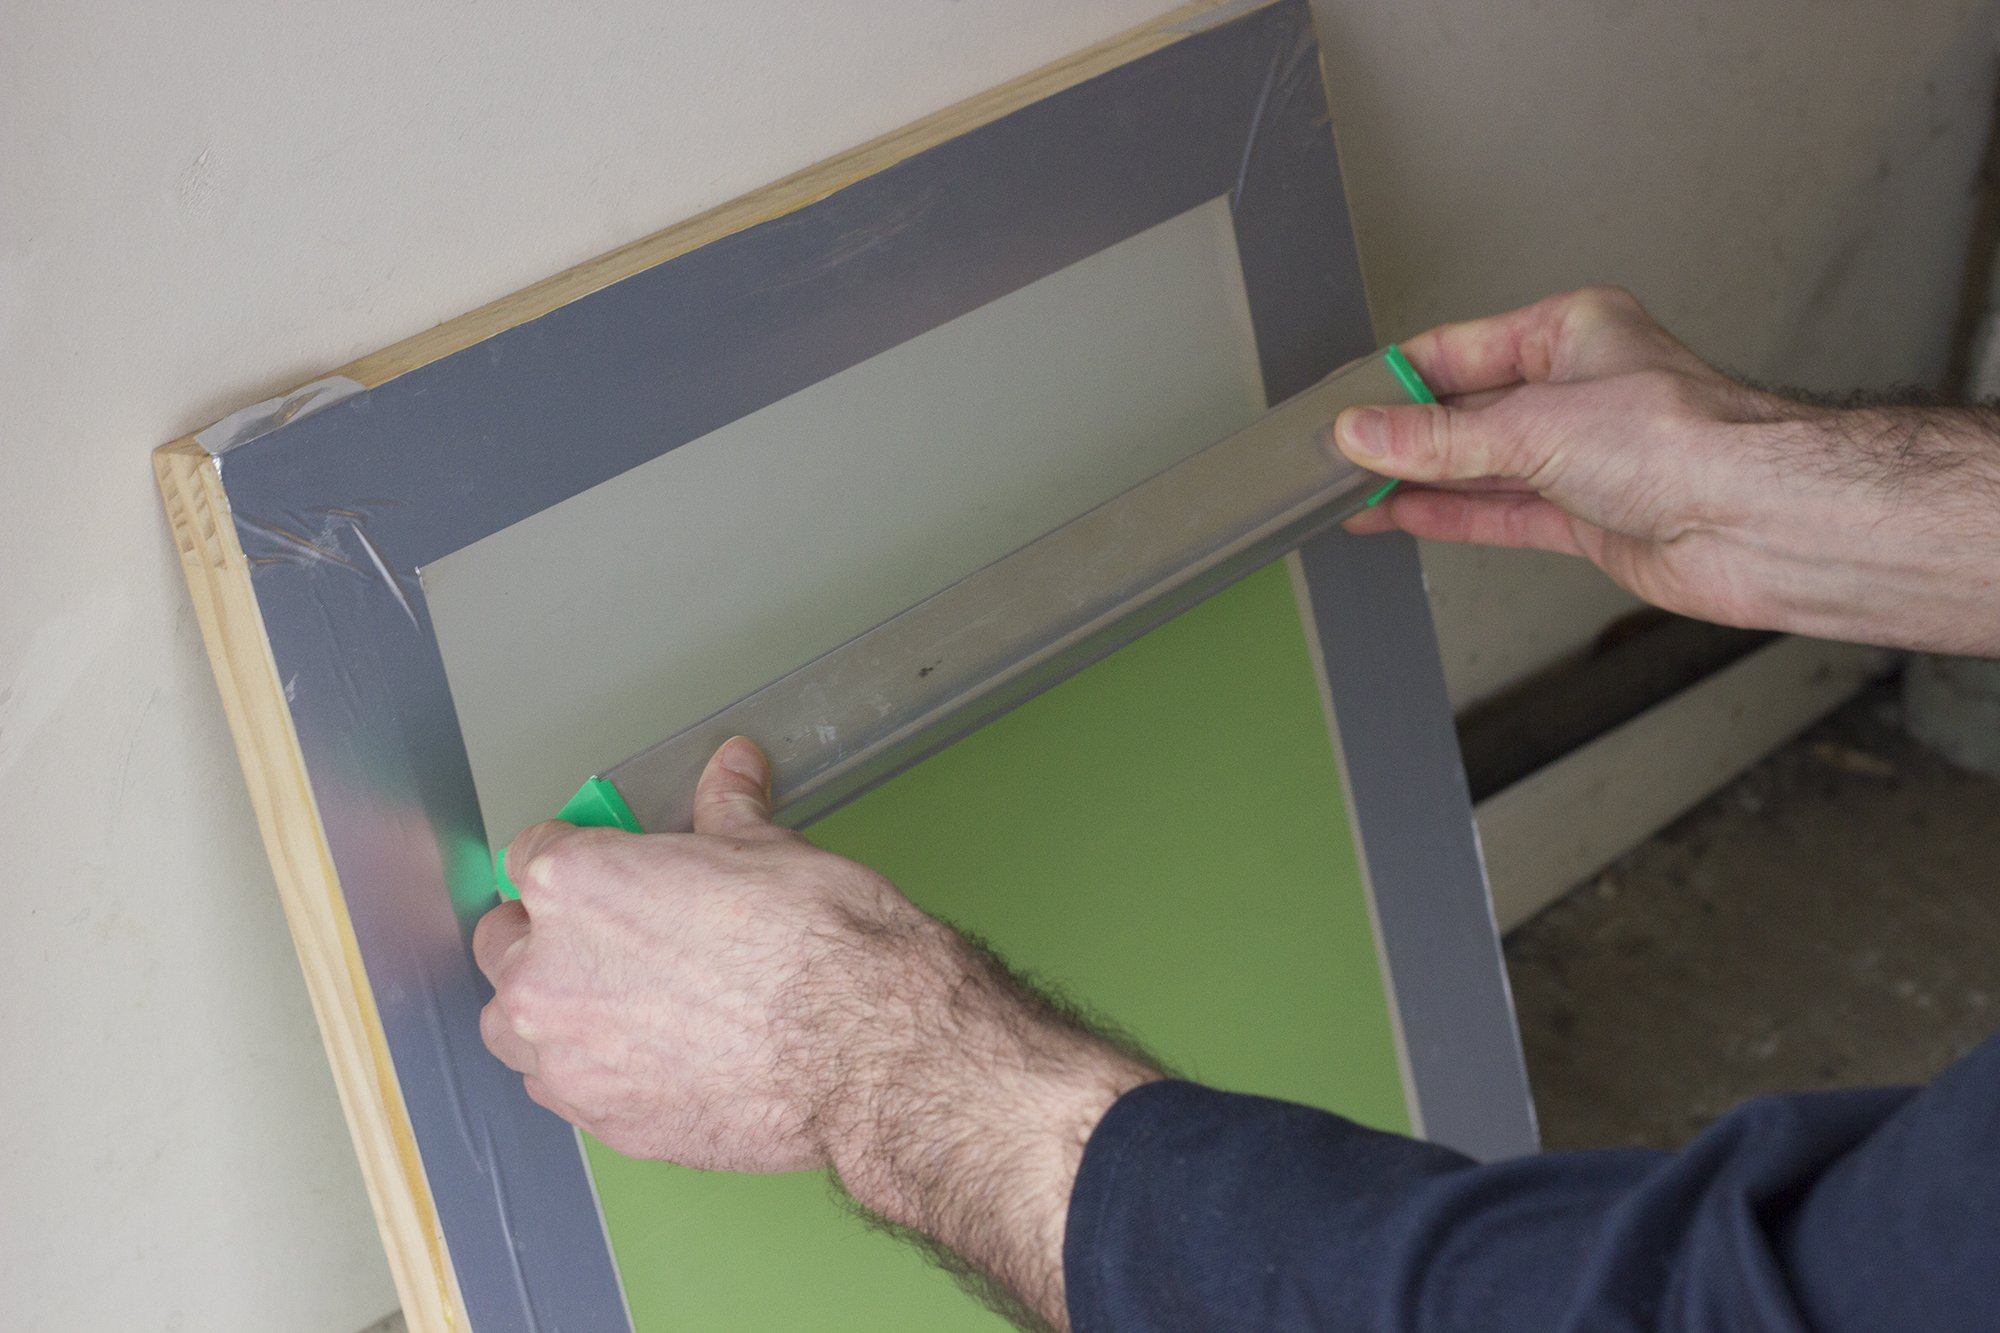
- Lean the screen vertically against a wall and, holding it tightly, place the scoop against the mesh, about 2 cm from the edge of the frame.
- Tip the scoop until the emulsion touches the mesh, then spread it across the surface, moving the scoop upwards. Repeat the process on the other side of the screen.
- Leave the screen to dry in a cool, dark place with the outer side face down. Depending on conditions, the screen will take anywhere from one to four hours to dry.
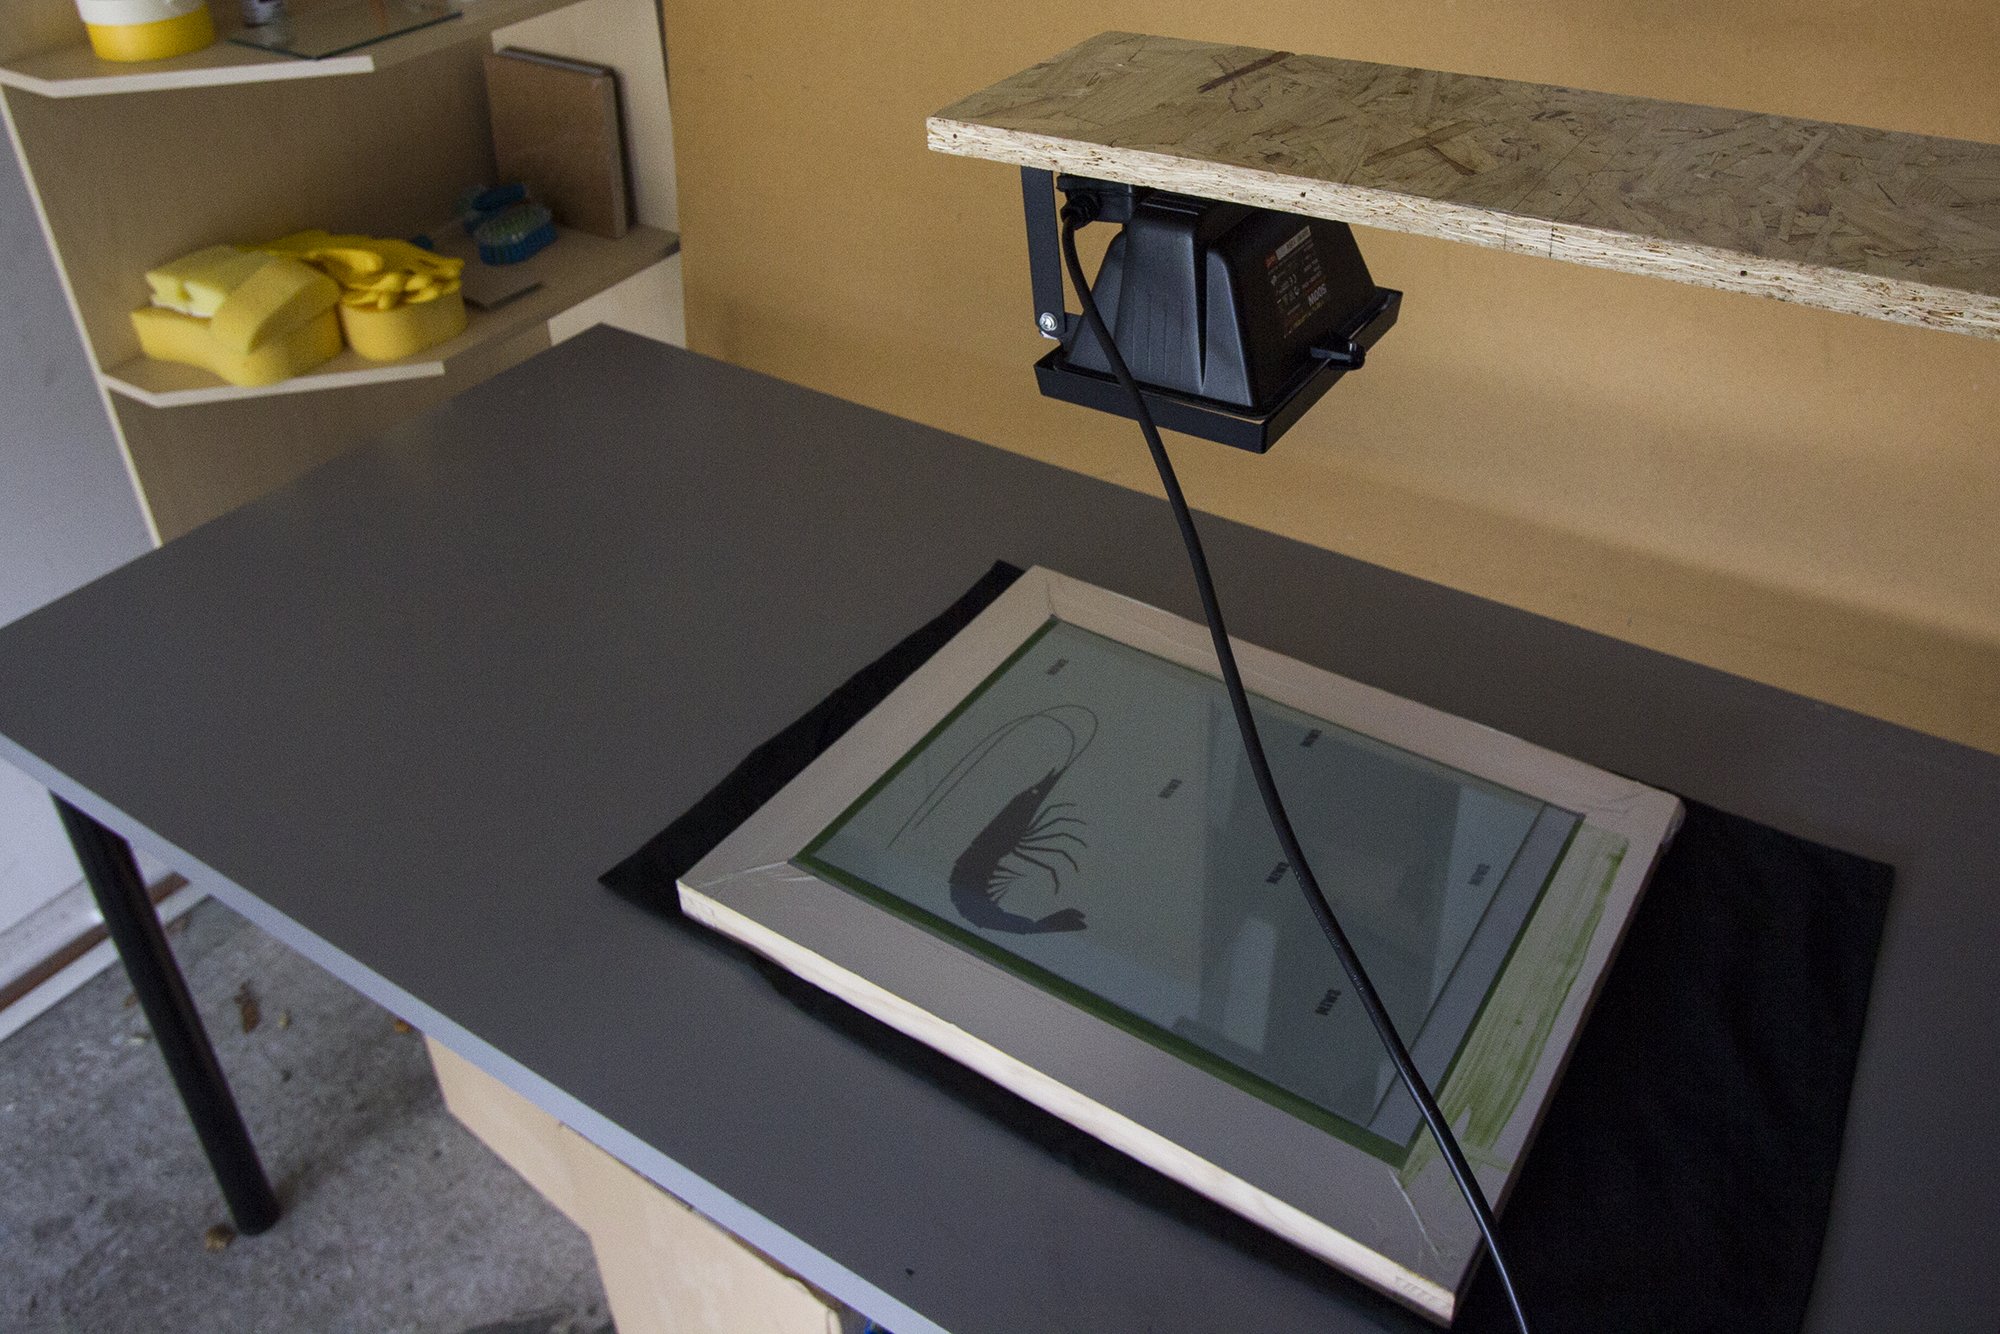
2. Preparing the exposure unit
- The screen can be exposed simply by positioning on it shapes cut from mat cardboard. However, if you want to print a more complex design, you need to use acetate or transparent sheets on which the design has been laser-printed in black. The image on the screen will be created by the areas which block out light at the moment of exposure, so the design must use a deep black.
- In an environment free from direct light, place the frame – with the part to be stencilled face up – over a piece of black paper or canvas, and position the lamp about 30 cm away. A specific screen-printing UV lamp is ideal, but to save money you can also use a 500-W halogen spotlight mounted on a board. In this case, you need to remember to remove the glass protector before exposure.
- Place the acetate over the screen so that the printed part touches the mesh (with the image reversed). Placing a glass plate over the screen will give much more detailed and precise results.
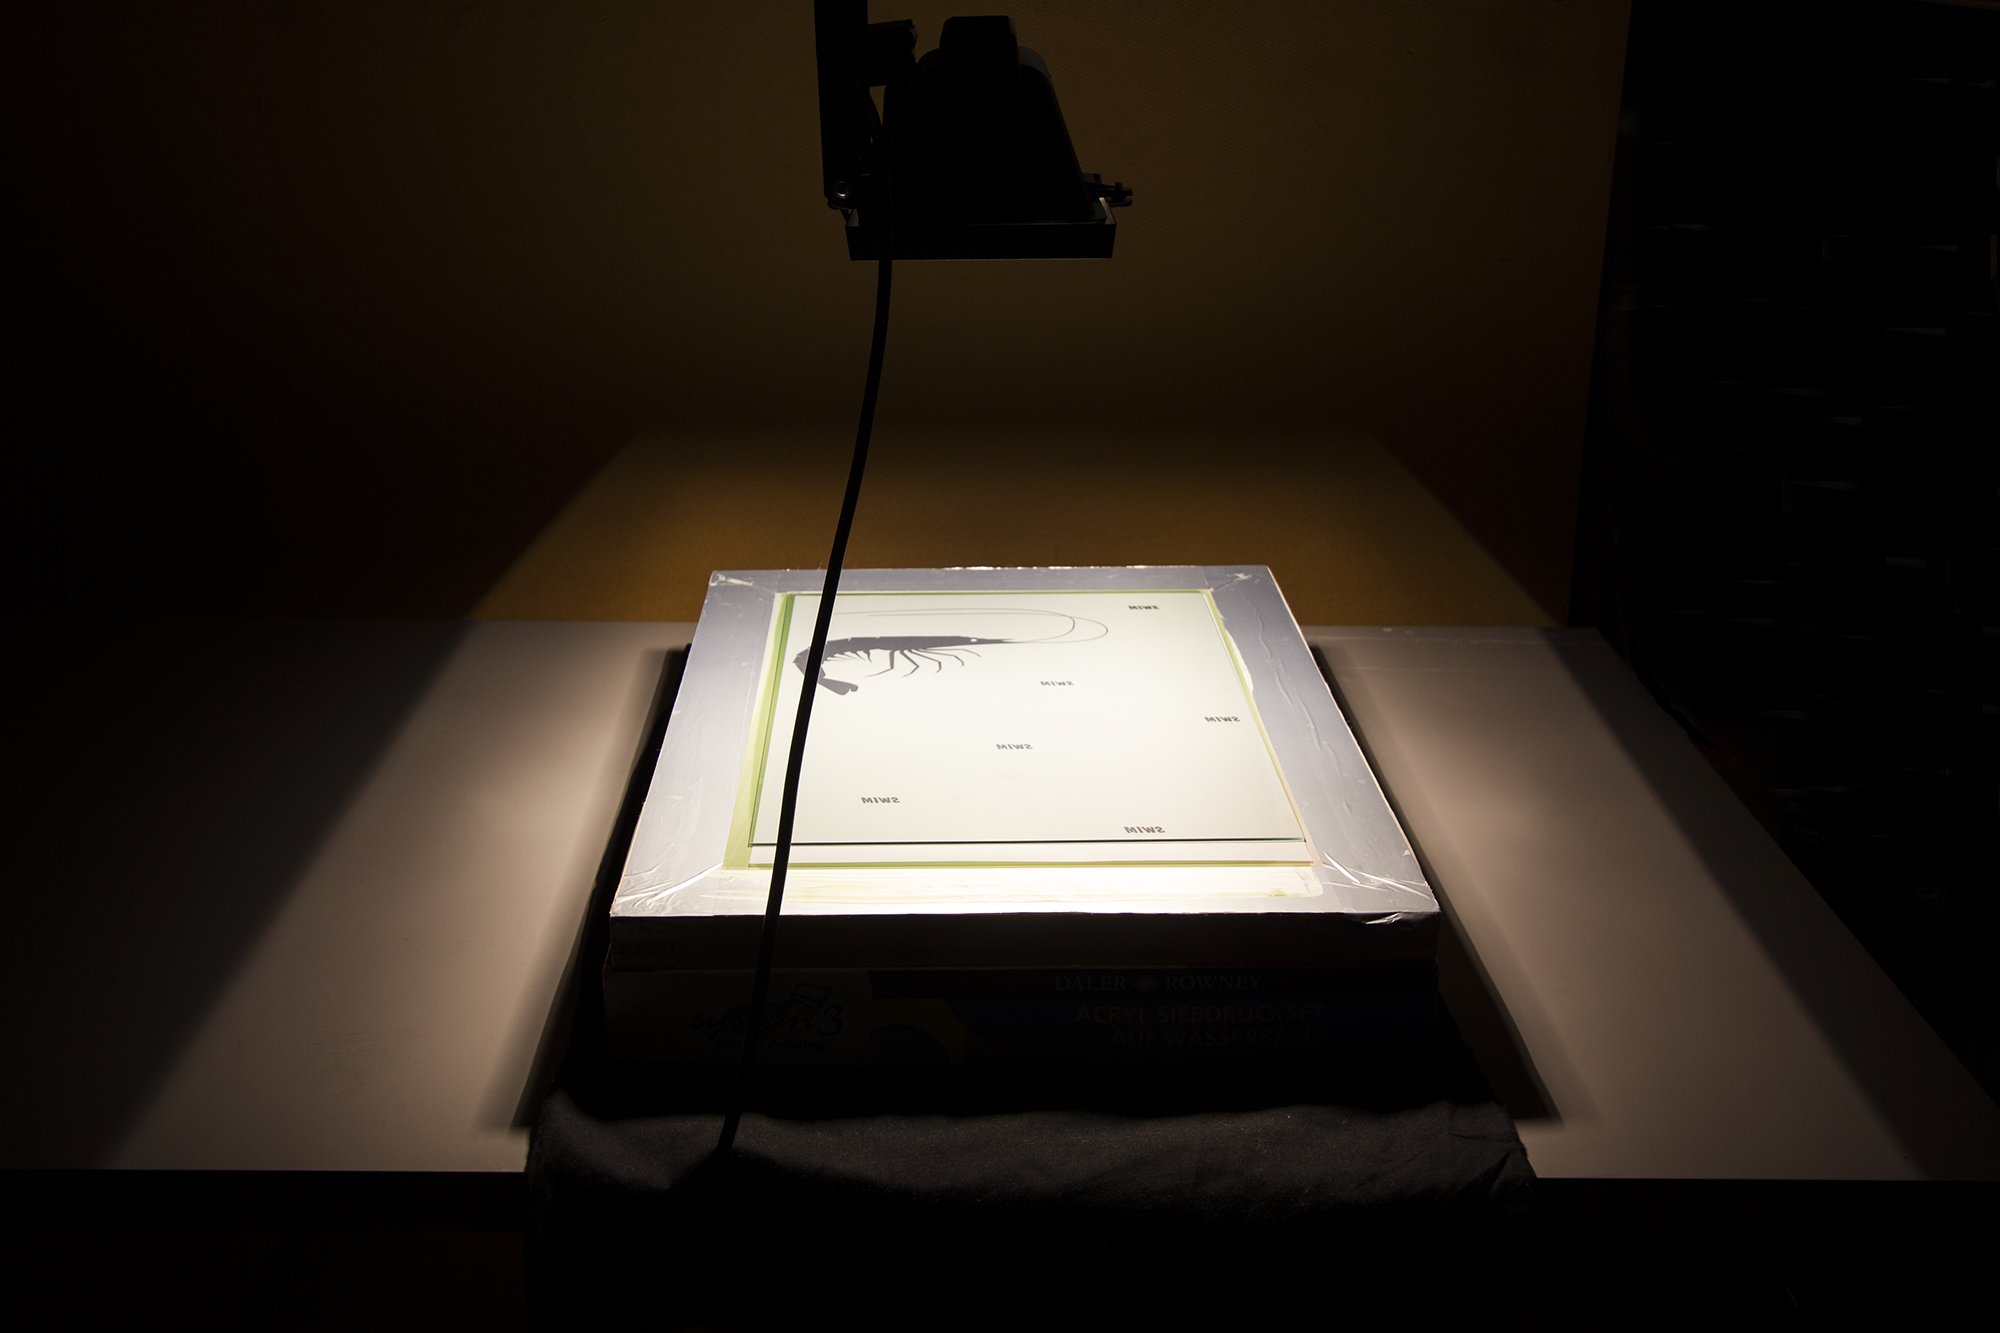
3. Exposing the screen
Turn on the lamp and expose the screen. The exposure time will vary depending on the power of the light and other factors. If you use a special screen-printing lamp, the instructions should give you more specific guidelines. But if you’re using a spotlight, it’ll be a process of trial and error. For a 500-W halogen light with an A3 screen 30 cm away, 3-4 minutes’ exposure time is optimal.
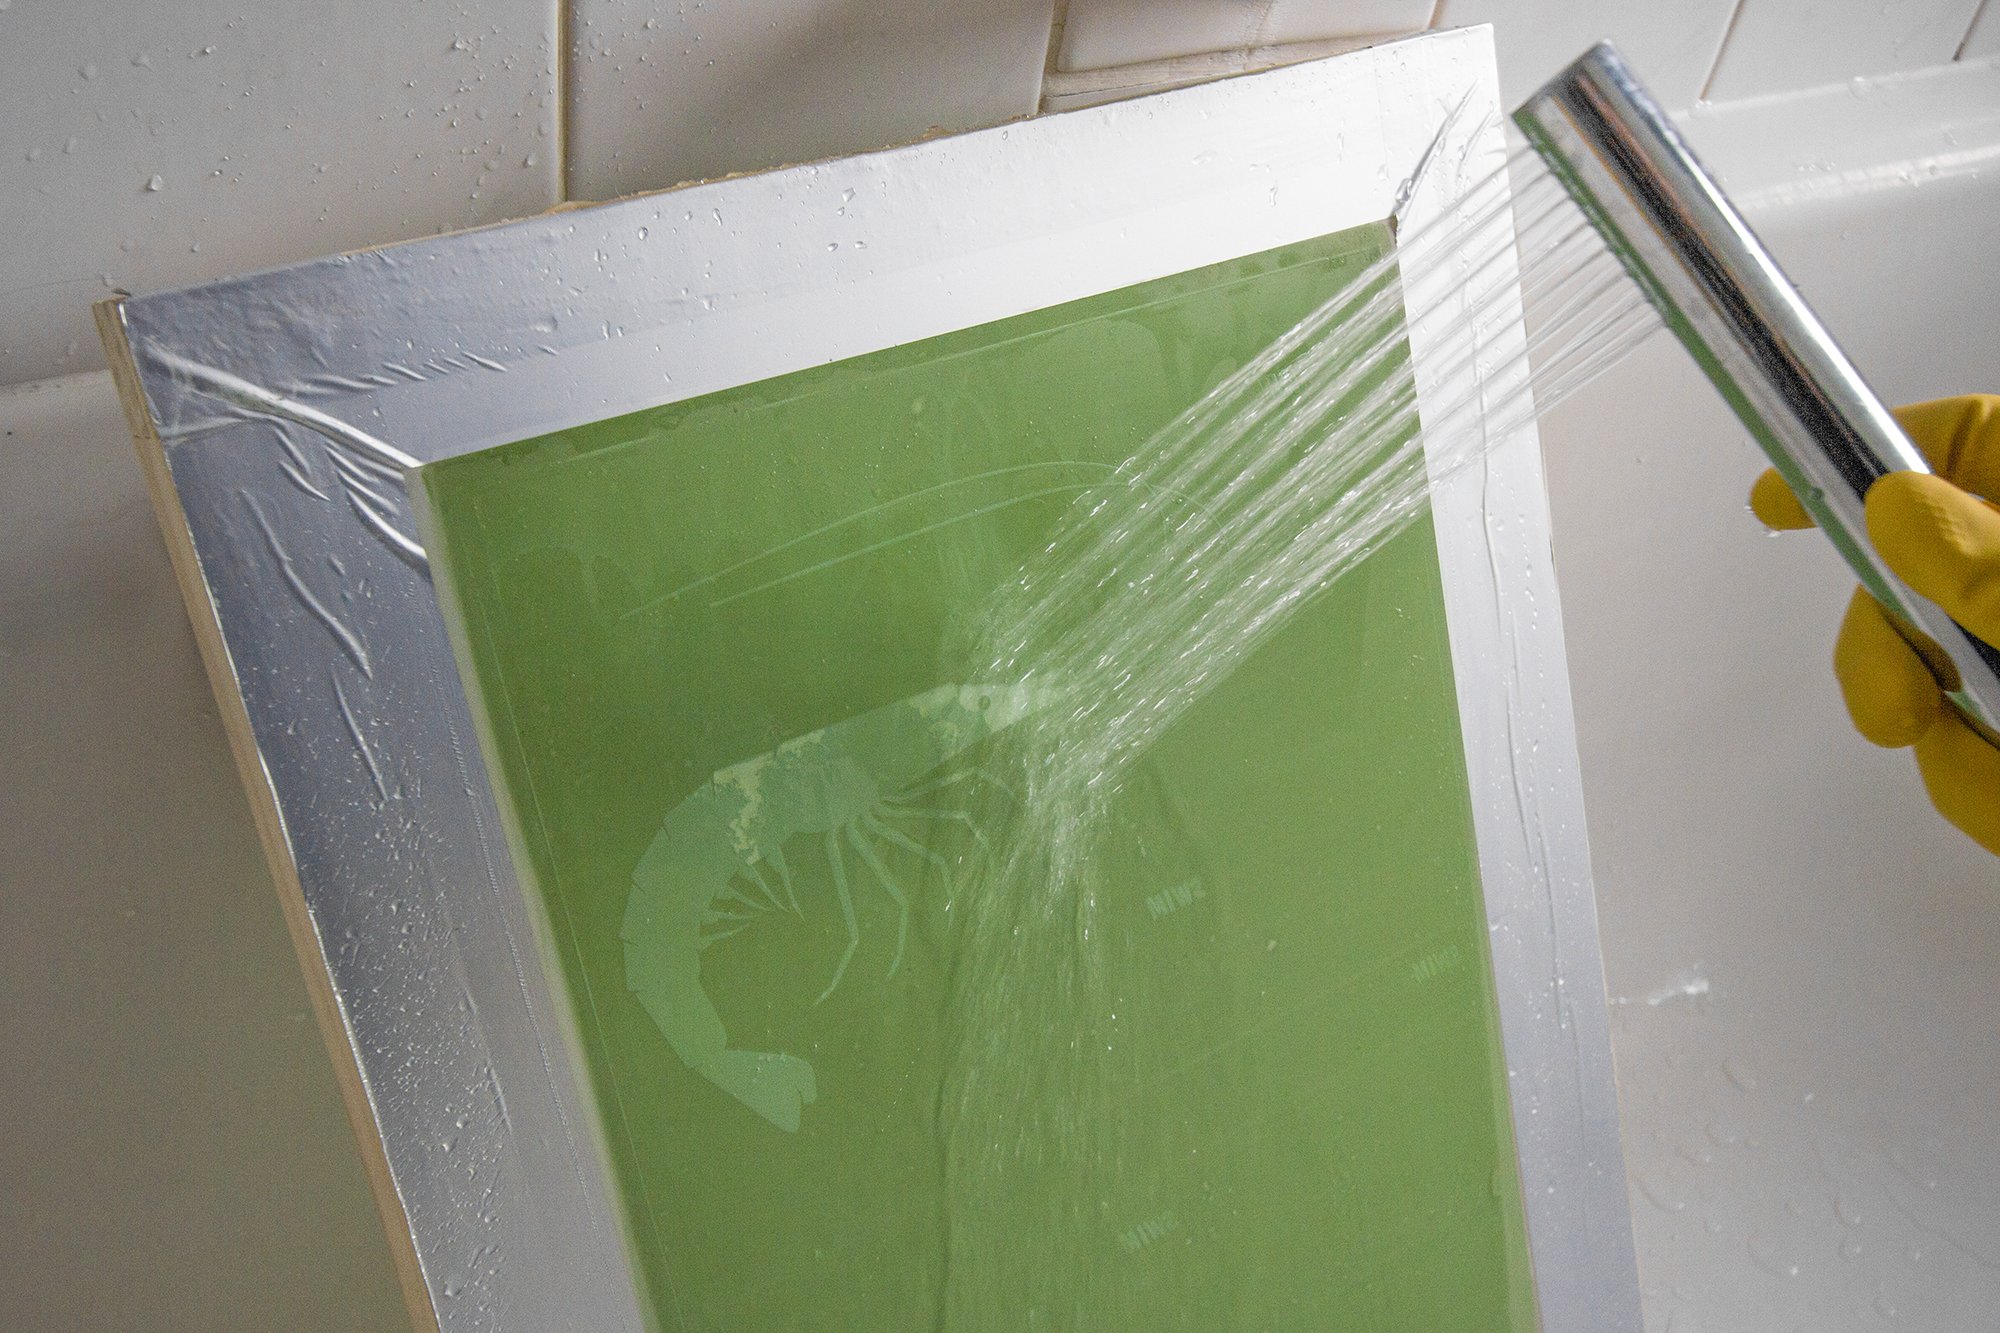
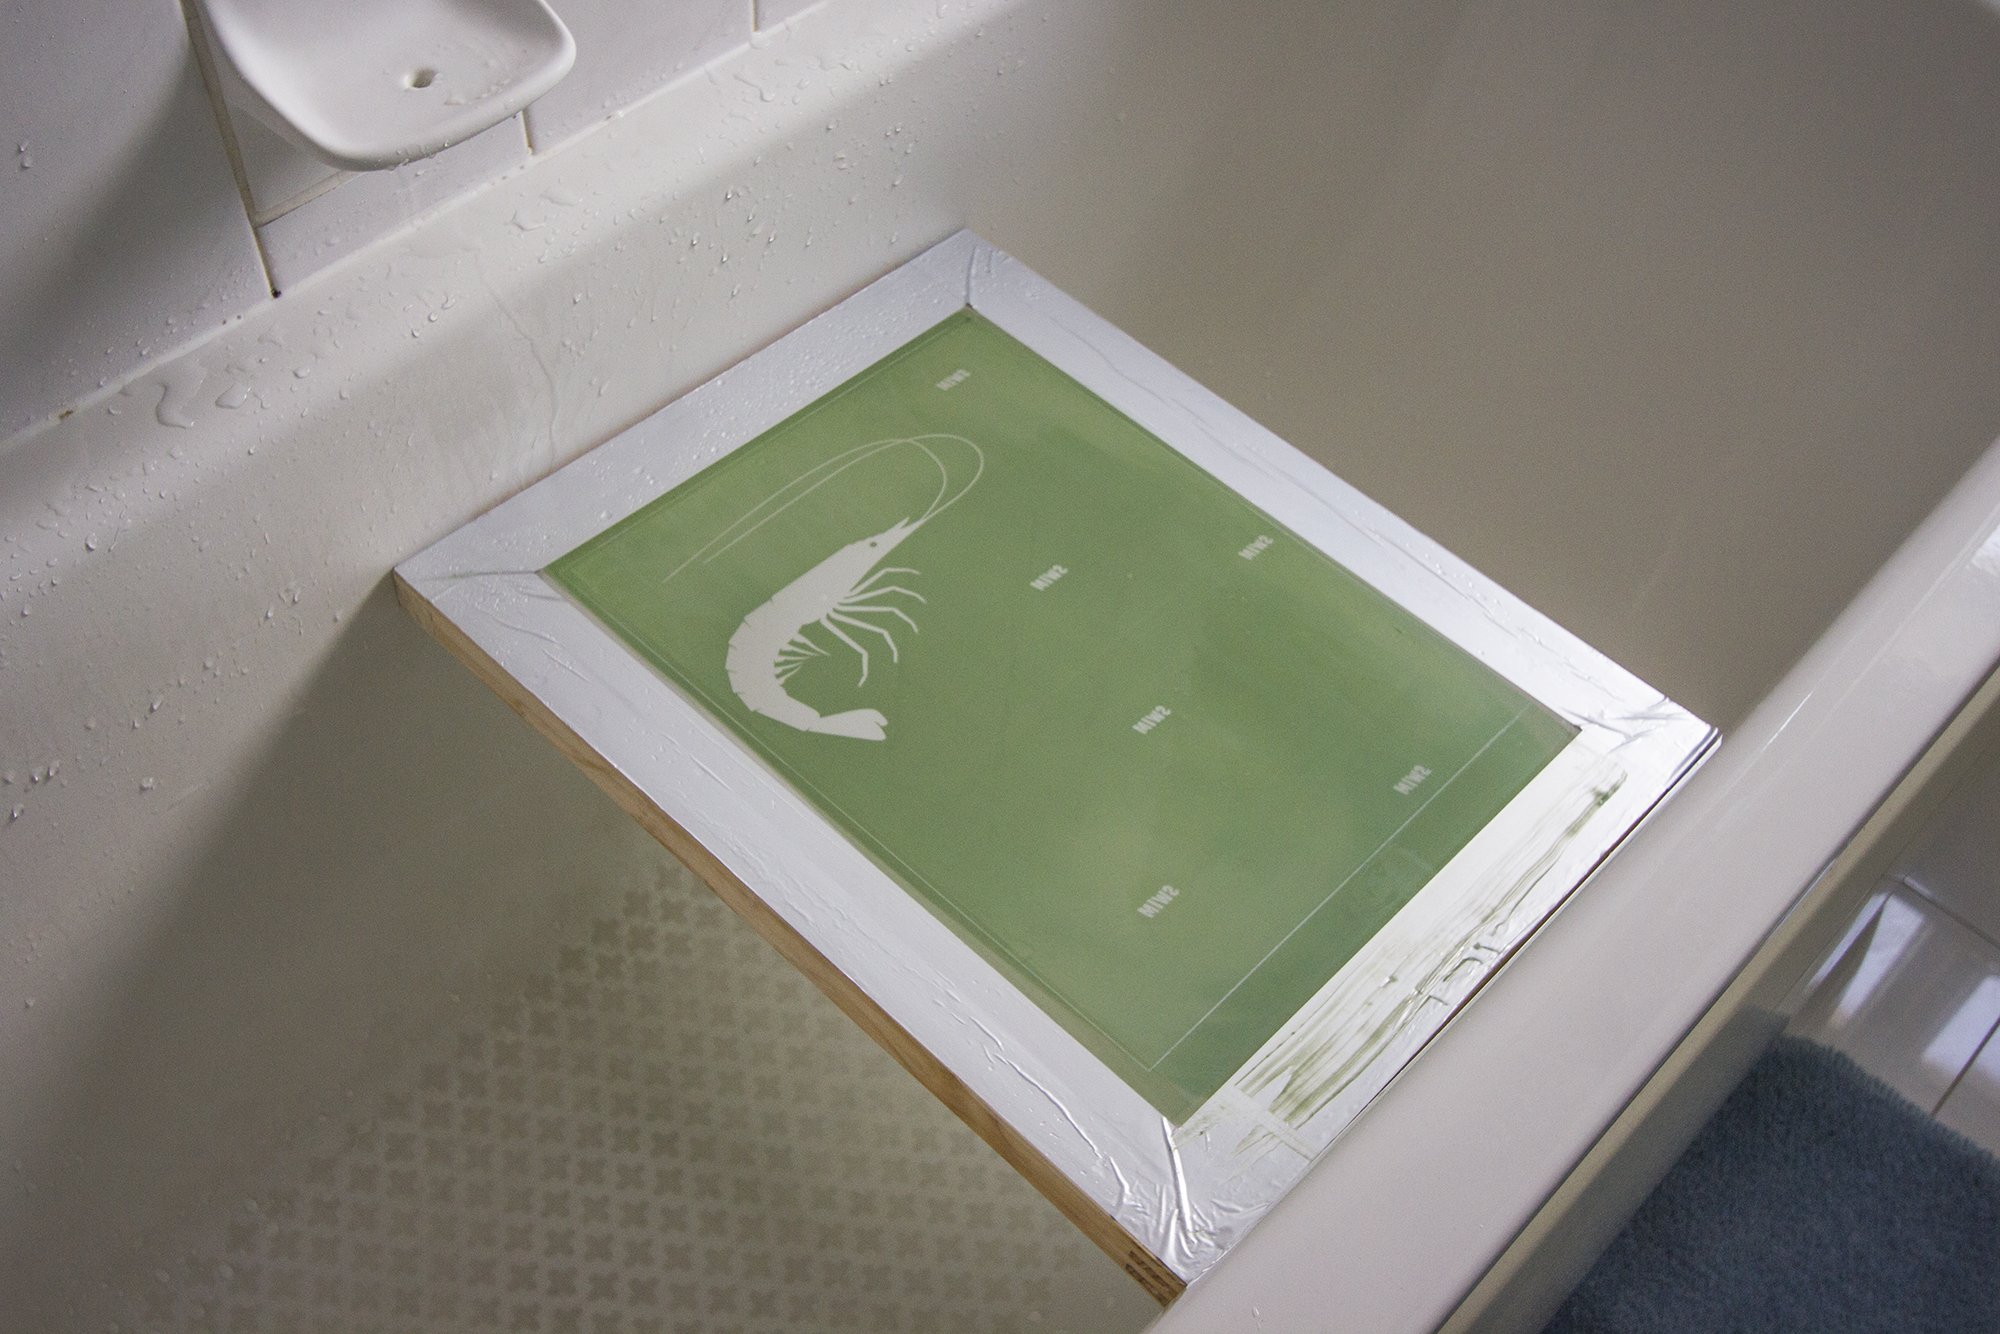
4. Removing the exposed parts from the screen
- Once exposure is complete, place the screen in the sink and soak both sides. Wait for a minute, then spray a strong jet of lukewarm water on each side until the design appears. Use a sponge on the back of the screen to help remove excess emulsion.
- Rinse and then leave the screen to dry, away from heat sources and with the outer side facing up.
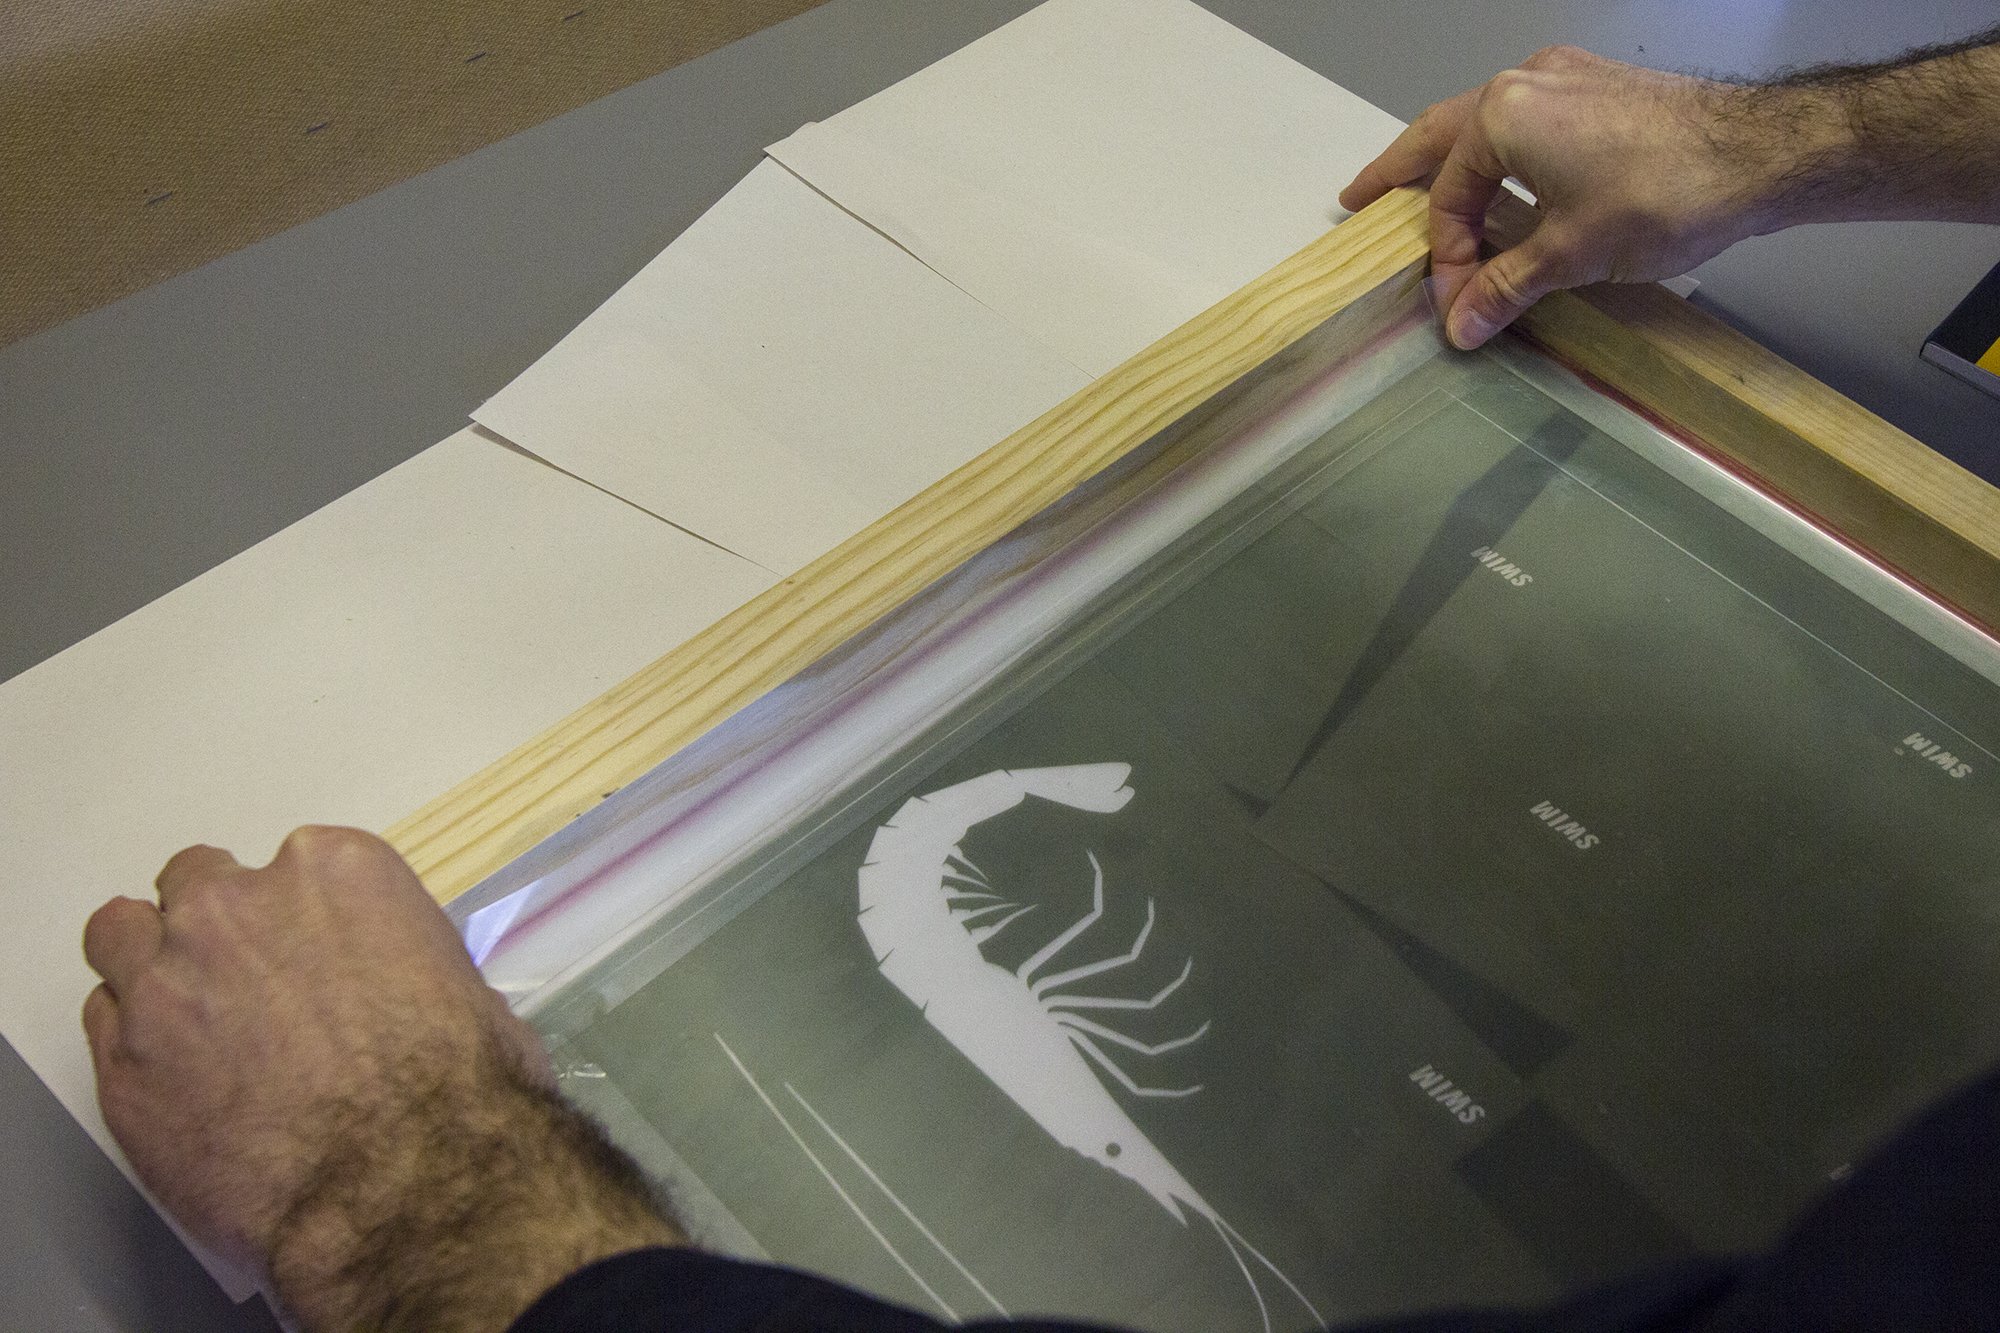
5. Masking off the screen
Once dry, mask off the screen with adhesive tape on the inner side (the side onto which the ink will be poured) to cover the area without emulsion left around the edge of the screen by the frame.
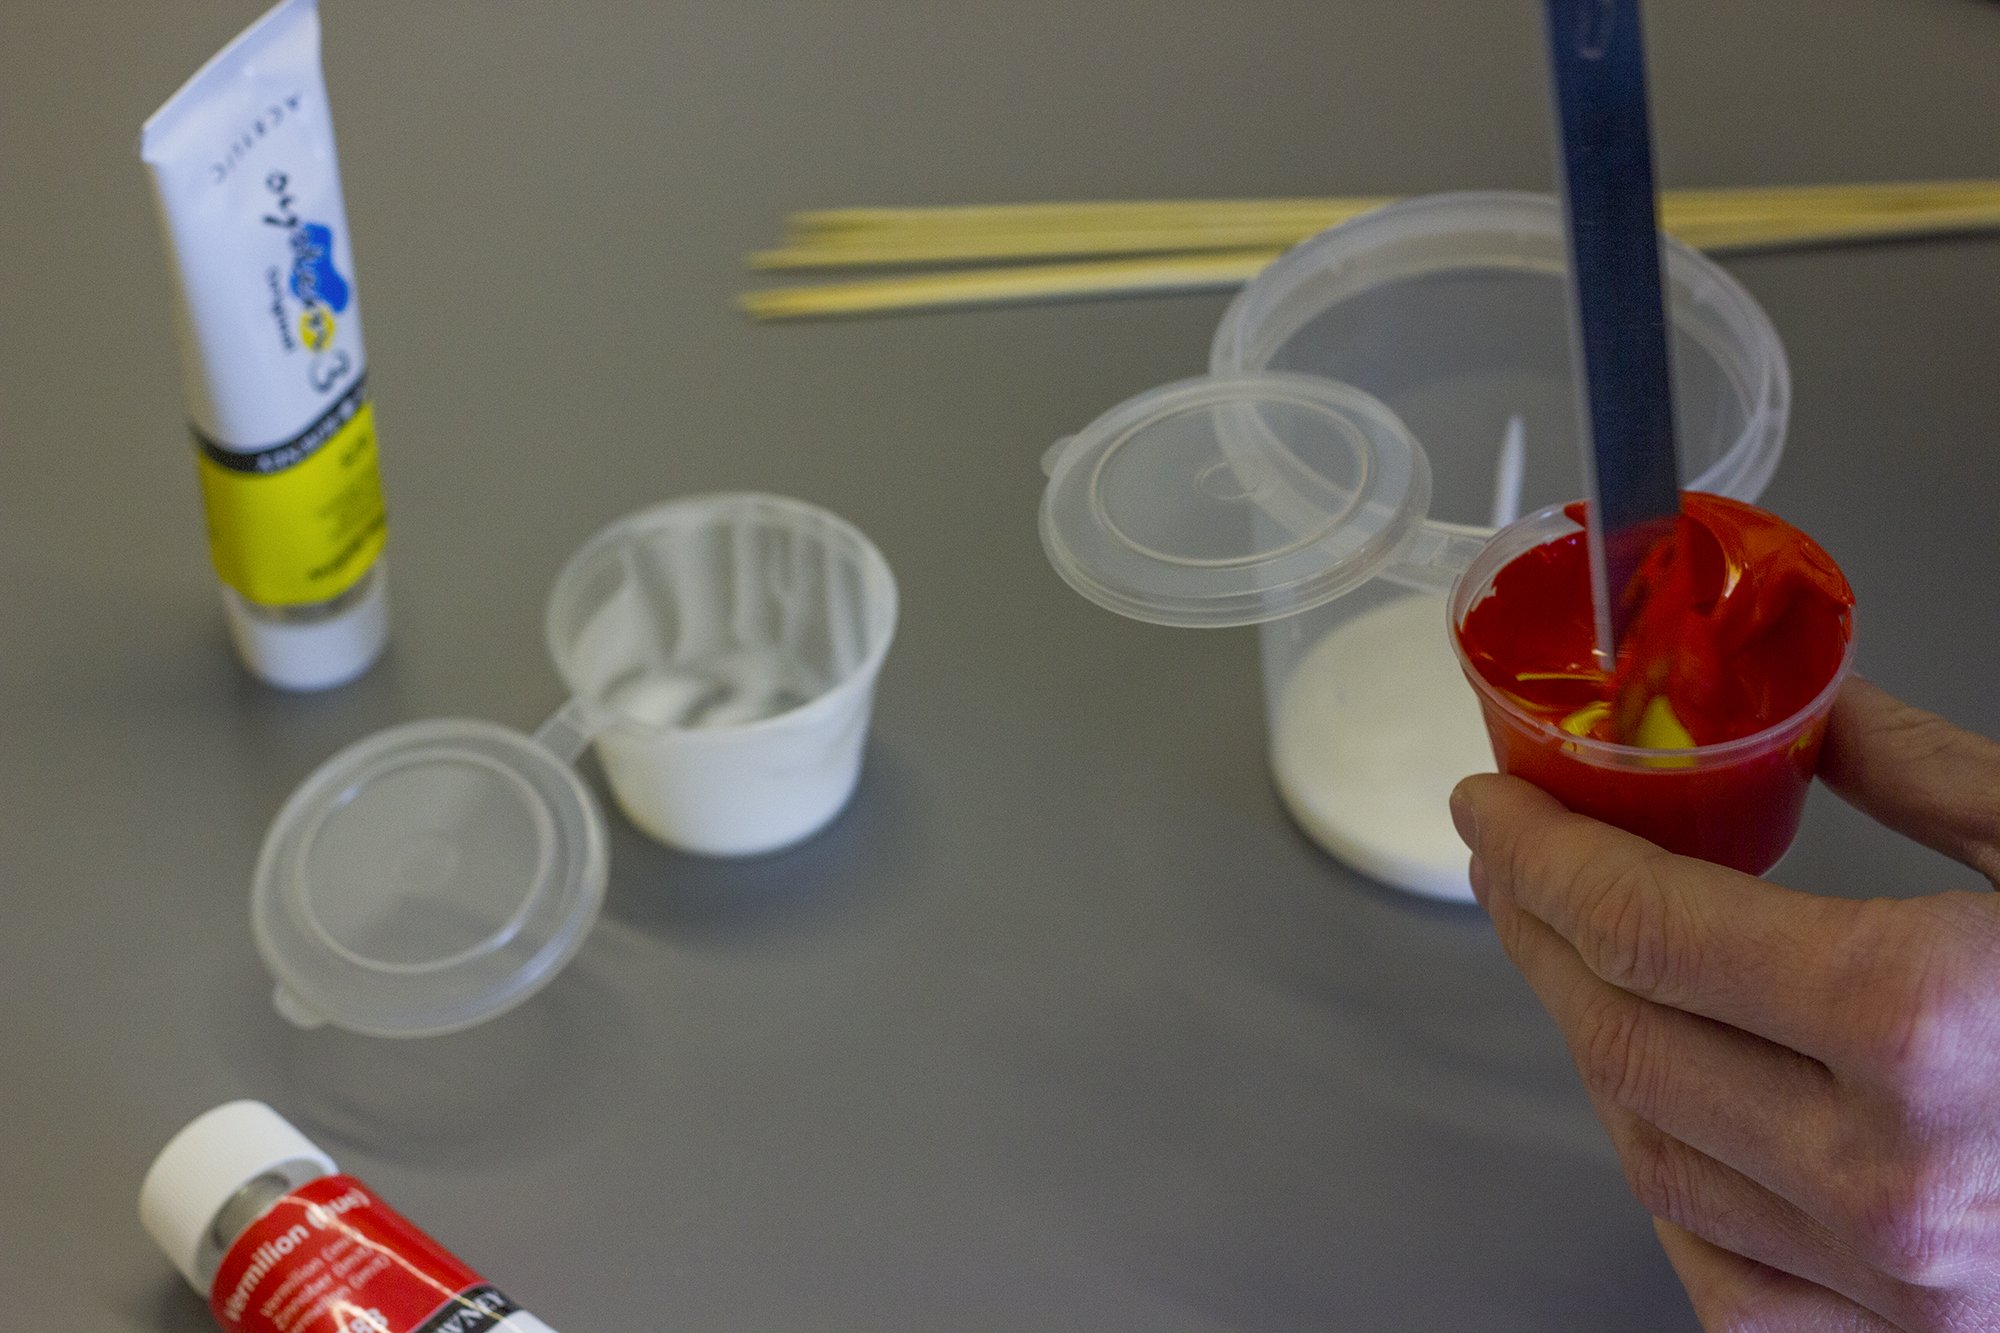
6. Preparing the ink
Create a mixture of 40% water-based acrylic ink and 60% thinner (make sure you use a type of thinner appropriate to the substrate to be printed).
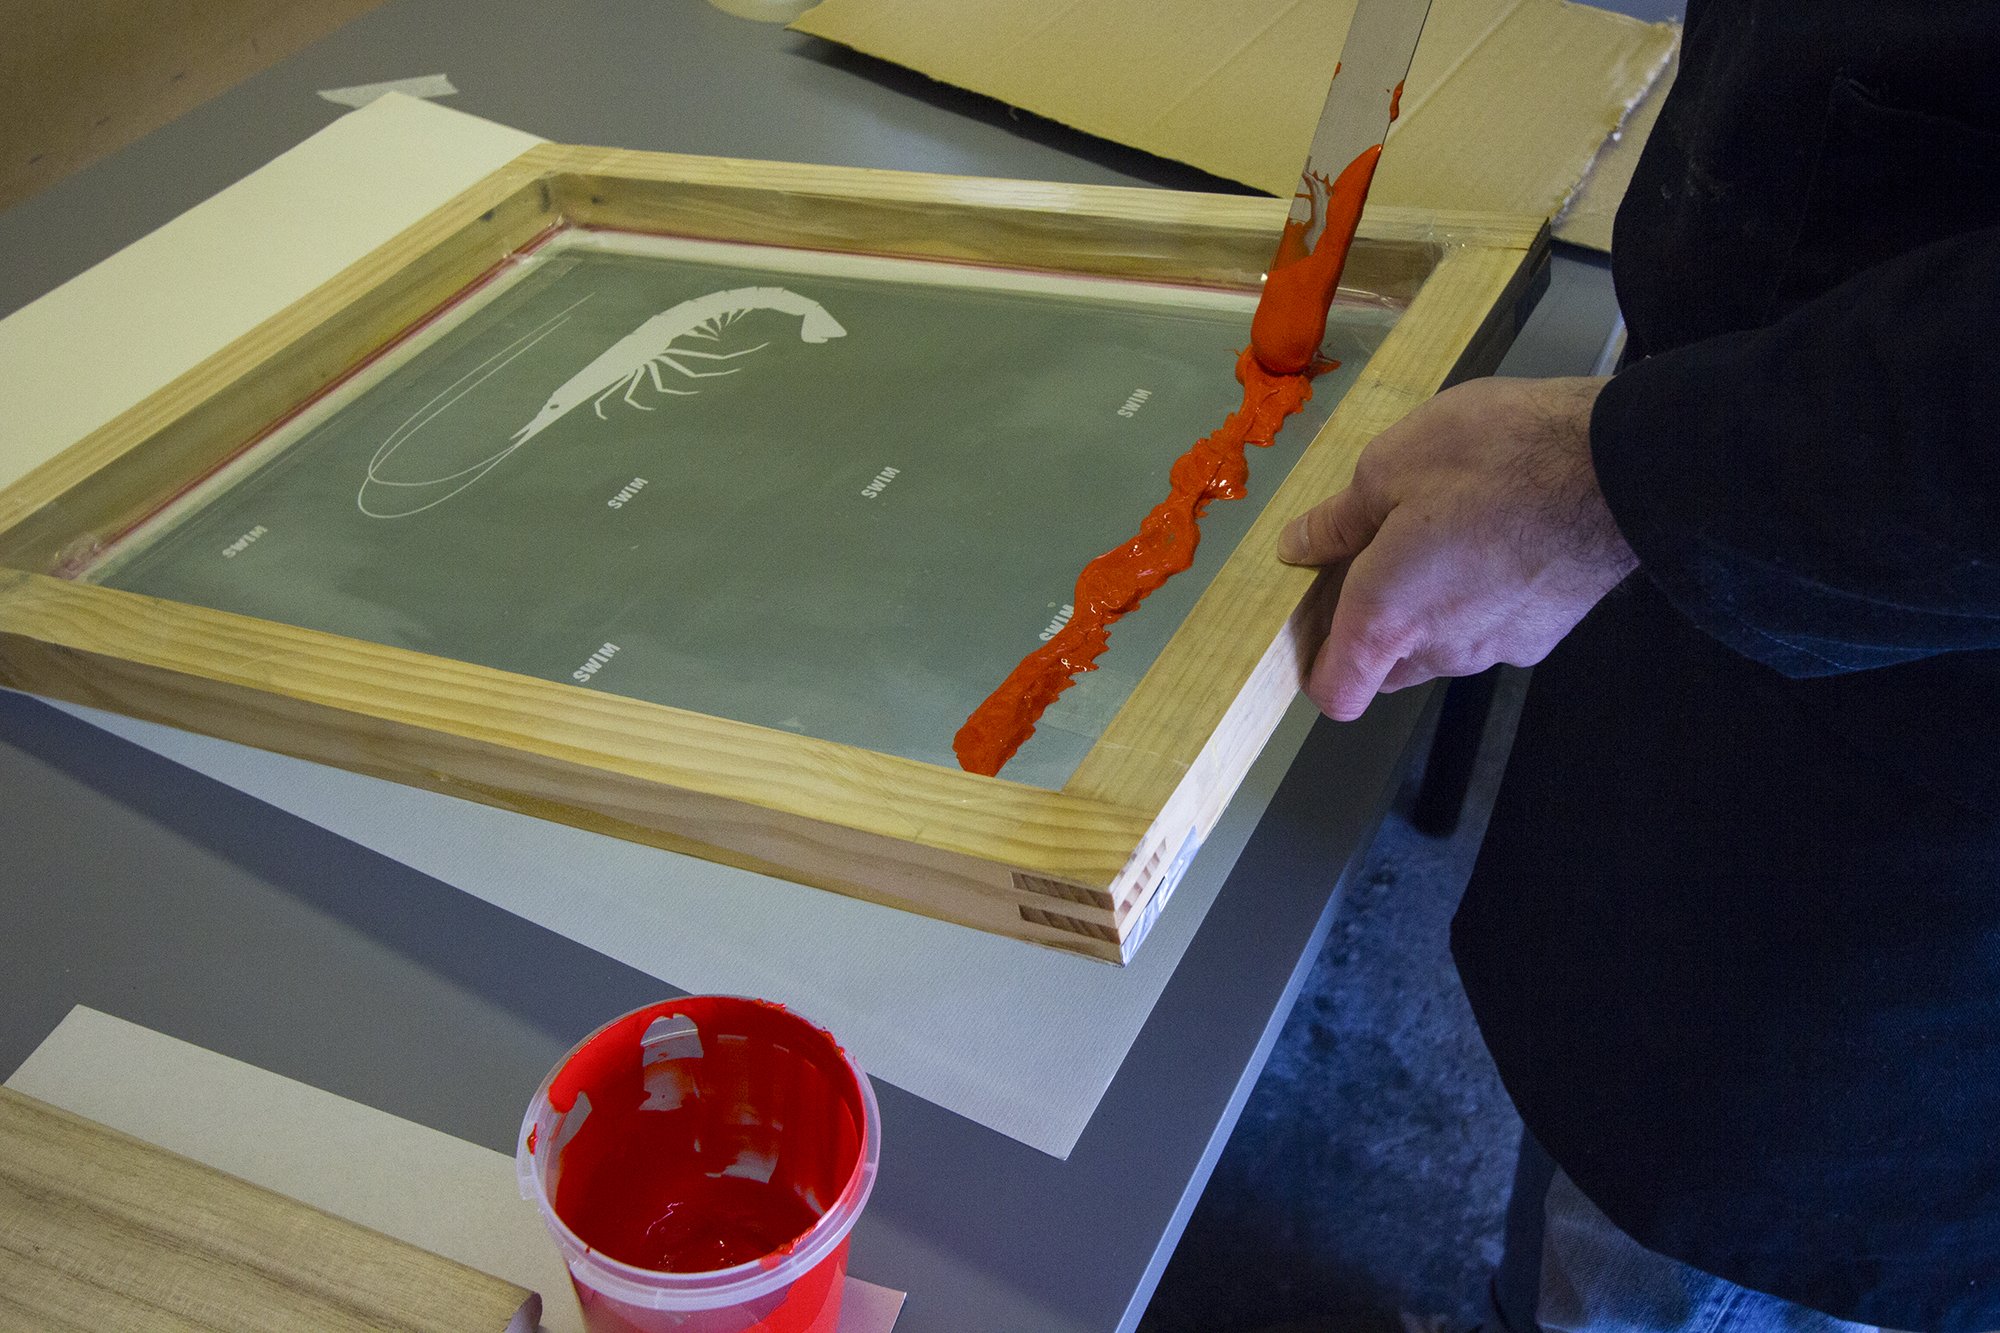
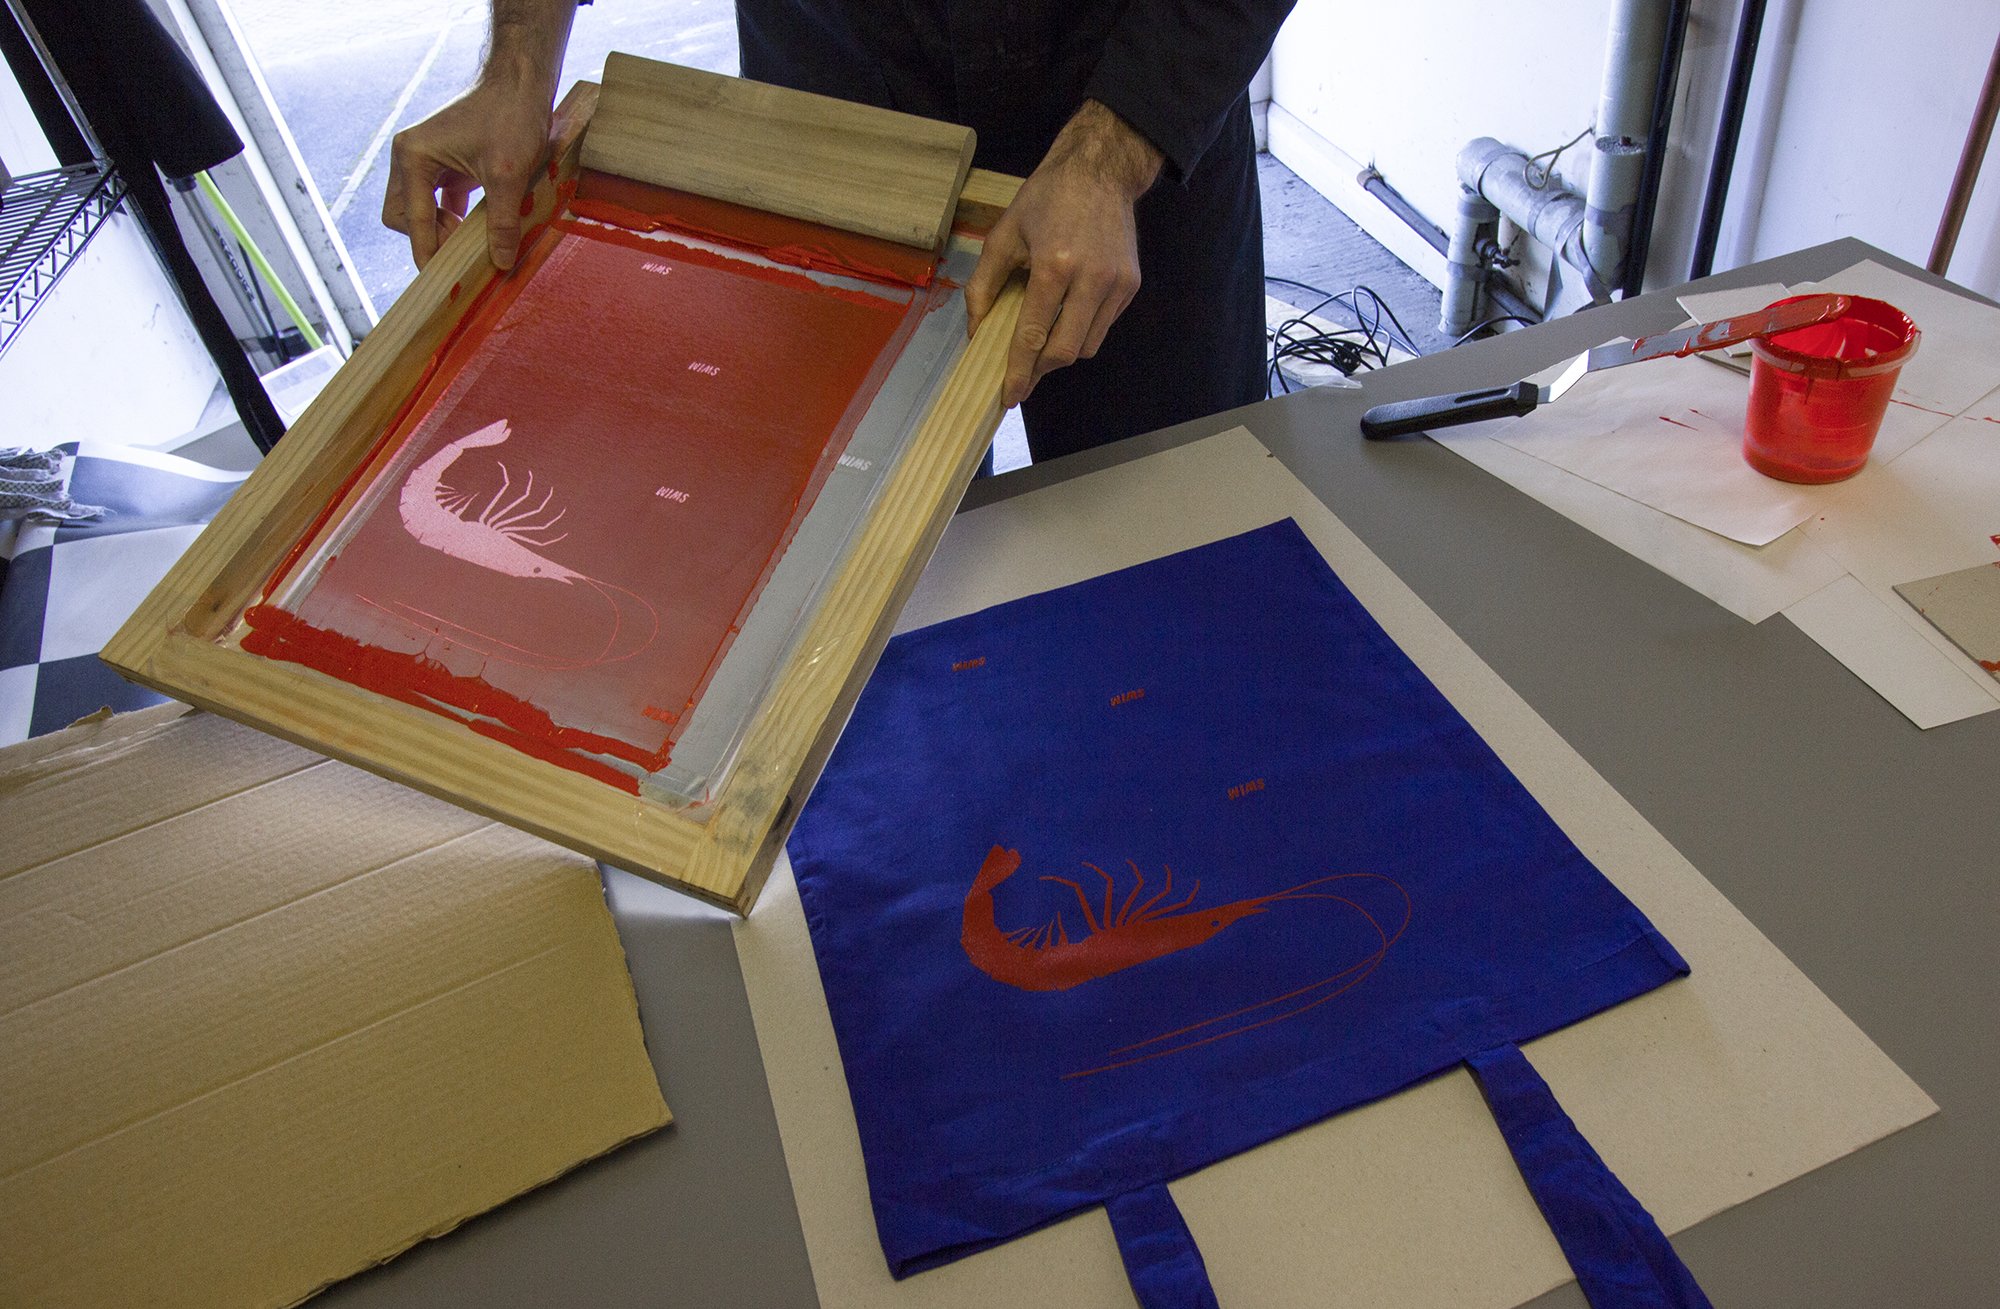
7. Printing
- Once everything is ready, place the substrate you want to print beneath the screen.
- Pour the previously prepared colour onto the edge of the screen and spread it over the surface using the squeegee, keeping the screen raised.
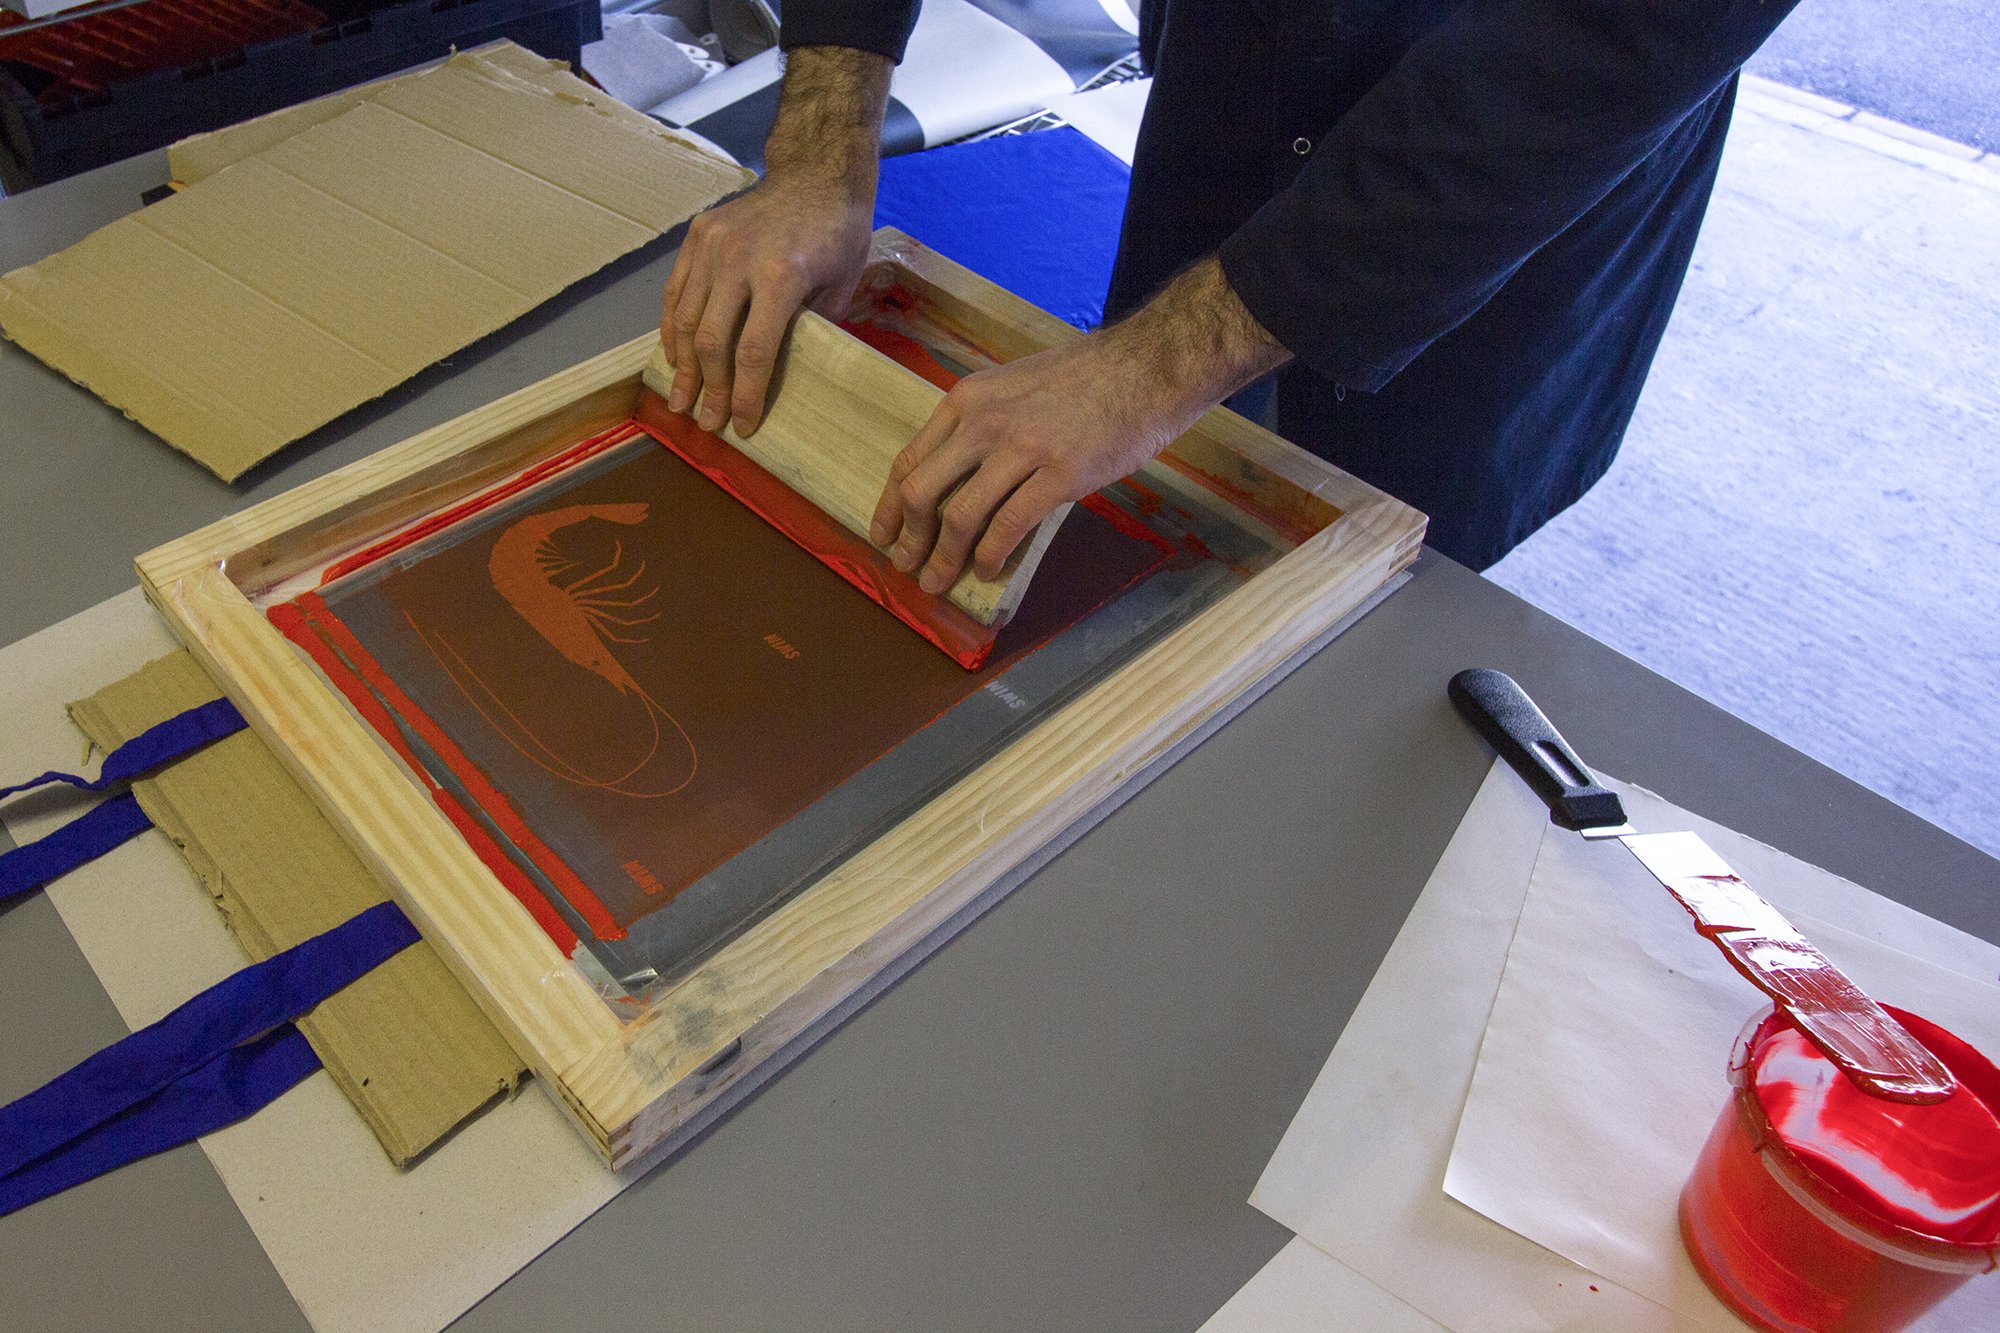
- Lay the screen flat and scrape it with the squeegee from top to bottom: the design will be transferred onto the substrate.
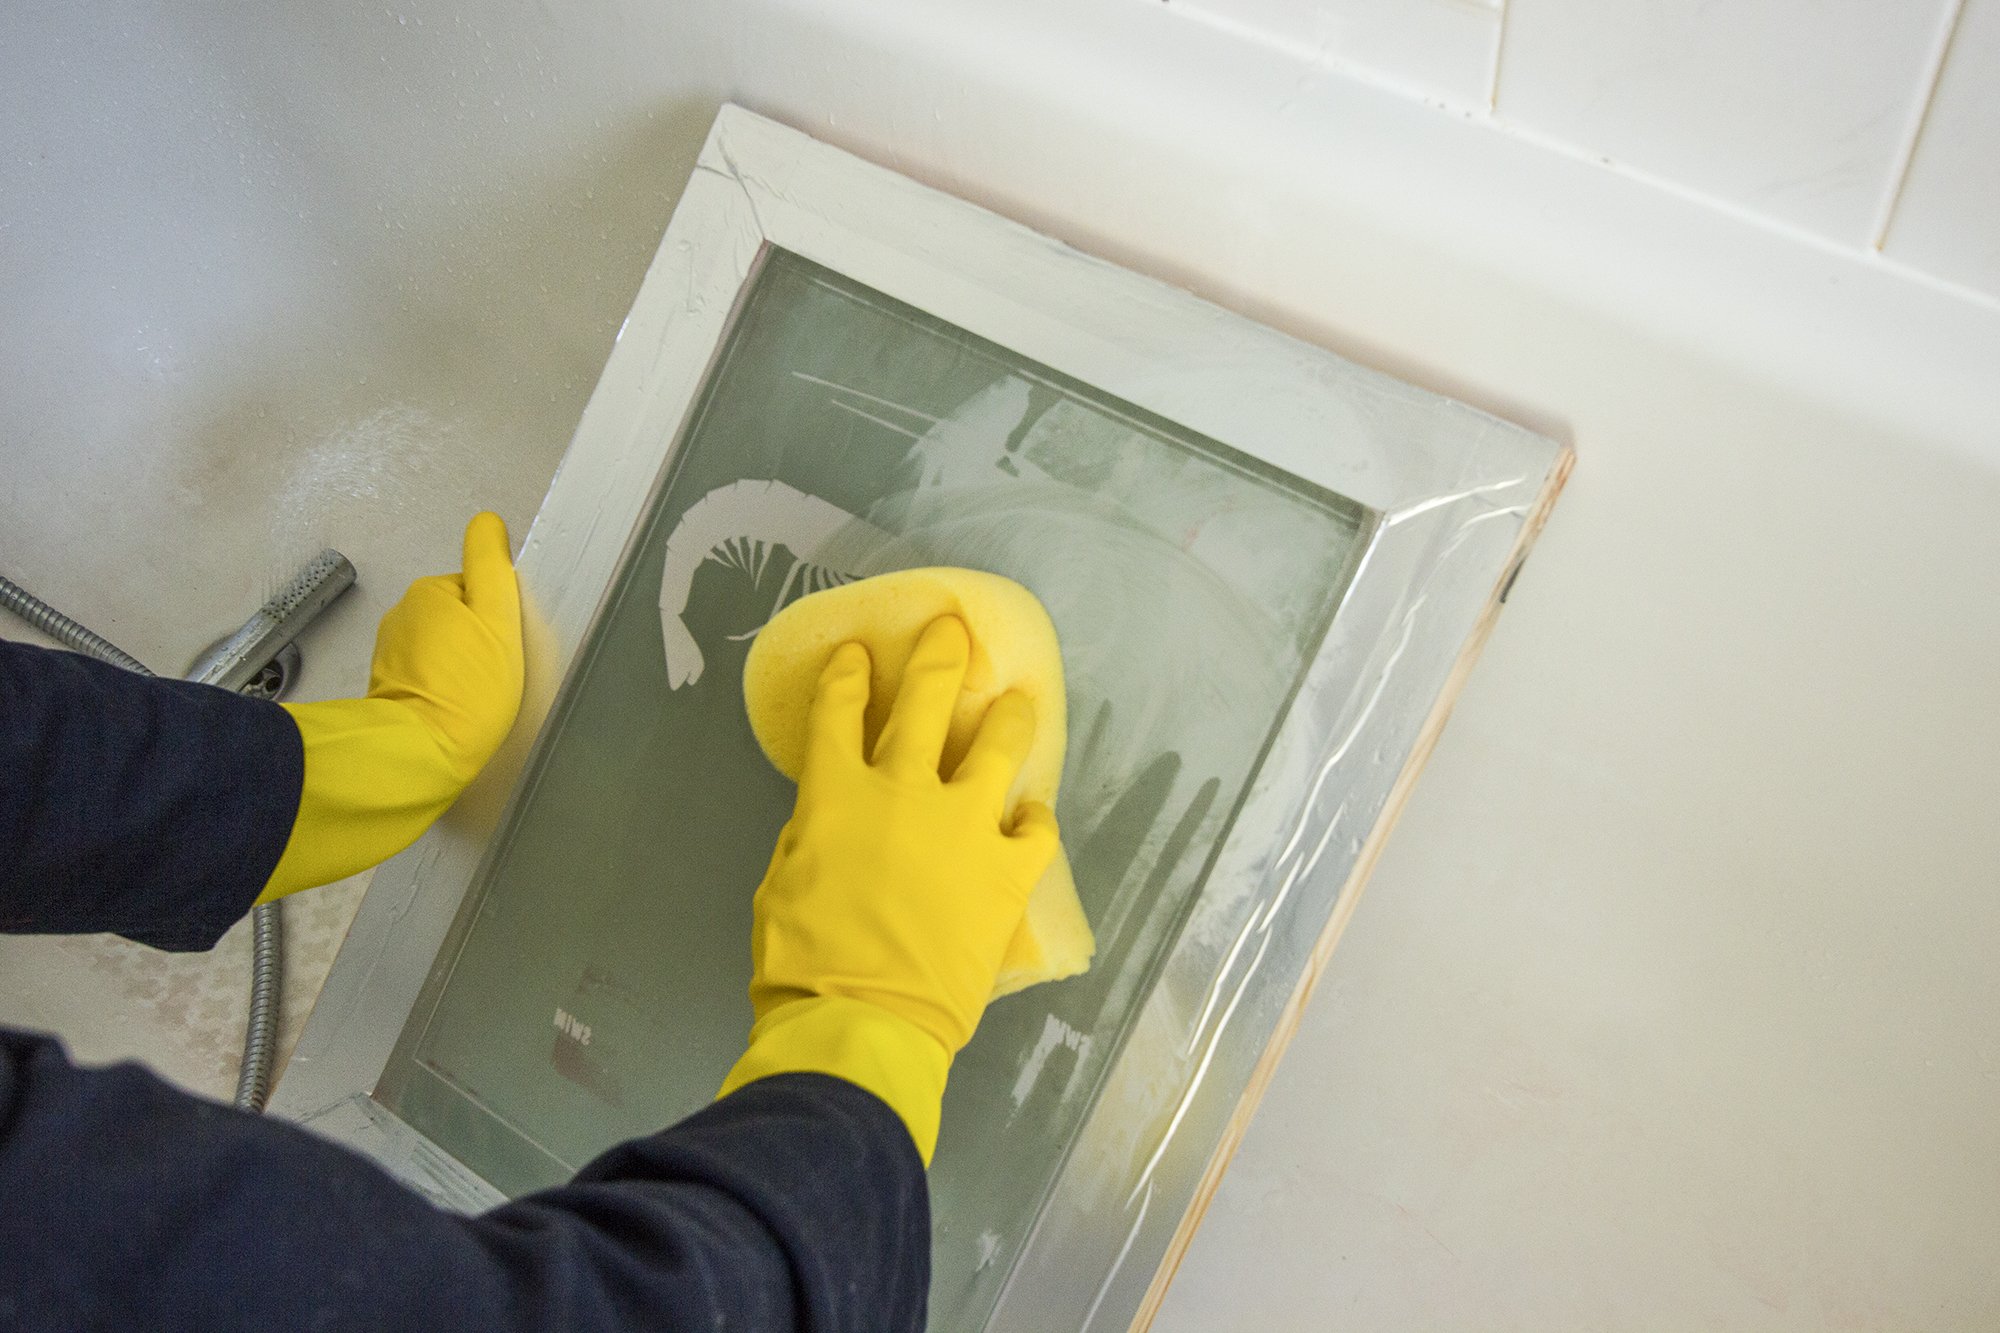
8. Cleaning the screen
- Once you’ve made all your prints, carefully remove the excess ink from the screen and squeegee and put it back in a re-sealable container for later use. Use a spray bottle to make things easier.
- Remove the adhesive tape and place the screen in the sink, wet it and apply the solvent. Wait a minute and then spray the screen with a jet of water and gently use a brush to remove the remaining emulsion.
Screen-printing is a long process with plenty of chance for mistakes, with operations which require trial and error to get the desired result. That said, it’s also an extremely satisfying and interesting procedure which produces results that can’t be replicated using other techniques. Experimenting with materials (practically anything can be screen-printed) and colours is what makes this printing technique totally unique.