
Table of Contents
Creating a label isn’t just about putting a name on a product. It’s a strategic step: in many cases, the label is the first point of contact between what you sell and the person buying it.
Within just a few printed centimetres, a label needs to combine information, visual identity and the ability to catch attention. And when it works well, a label doesn’t just sit on a product — it helps sell it.
In this guide, you’ll learn how to create an effective label from design through to print, avoiding common mistakes and achieving a professional result even without advanced design skills.

What Is a Label and What Is It Really For?
A label is an element applied to a product that serves a dual purpose: to inform and to communicate.
On one hand, it provides essential information (ingredients, instructions, legal details). On the other, it conveys your brand positioning: quality, style, target audience and perceived value.
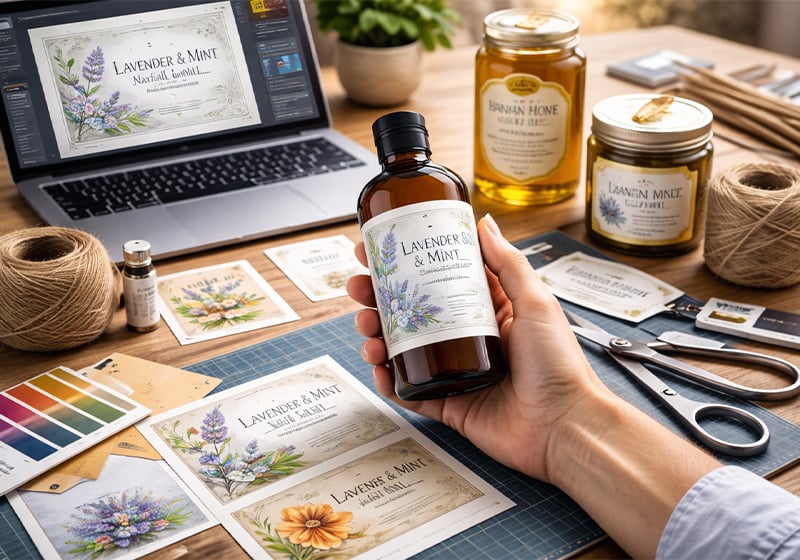
Think of a bottle of wine or a handmade cosmetic product. Very often, it’s the label that shapes the first impression. In just a few seconds, it needs to answer questions such as:
- Is this a quality product?
- Is it right for me?
- Is it worth the price?
That’s why designing a label isn’t just a visual task — it’s a communication decision.
What Should a Label Include?
Before working on the design, it’s essential to define the content clearly. An effective label always strikes a balance between complete information and visual clarity.
The key elements are:
- product name
- brand name or logo
- short description
- ingredients or materials
- usage instructions
- legally required information (where applicable)
However, not all labels are the same. The content varies depending on the type of product.
Practical examples
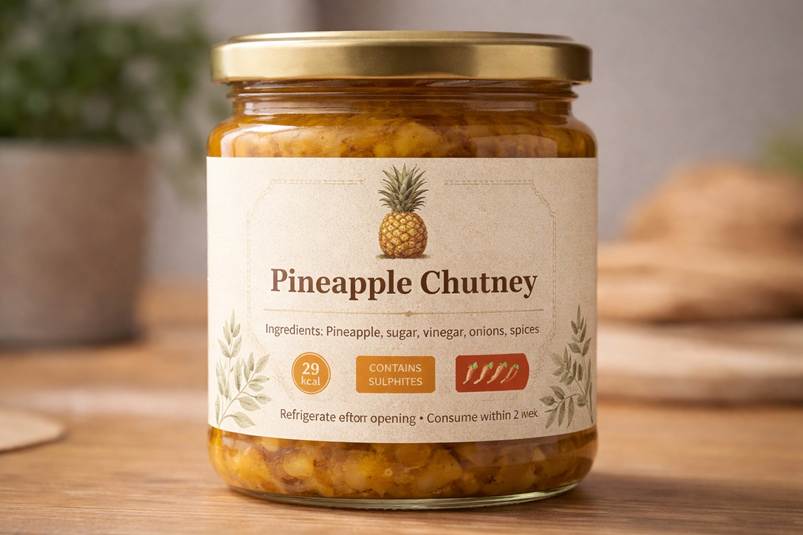
Food products
Must include ingredients, allergens, nutritional values, expiry date and origin.
Cosmetics
Require INCI, directions for use, batch number and manufacturer details.
Handmade or creative products
Can be more flexible, but still need to clearly communicate what the product is.
The most common mistake is trying to include too much information without a clear hierarchy. The result is a cluttered label that’s hard to read and ineffective.
If you want to simplify the process, you can start from a ready-made label template.
The goal is always the same: make it easy for the reader to find what they need, instantly.
How to Create a Label Step by Step
Let’s move on to the practical side. Creating an effective label isn’t difficult, but it does require a clear process. Skipping steps is one of the main causes of avoidable mistakes.
Here’s how to do it.
Define the Purpose of Your Label
Before opening any design software, take a moment to think.
Ask yourself:
- Is this label meant to sell or simply inform?
- Will it be seen on a shop shelf or on delivered packaging?
- Does it need to grab attention or reinforce an existing brand?
For example, a product displayed in-store needs stronger visual impact than one already purchased online.
Defining the purpose helps you make better decisions about design, size and content.
Choose the Format and Size
The format isn’t just an aesthetic choice — it’s a functional one.
Your label needs to fit the surface it will be applied to:
- curved surfaces like bottles or jars require more compact formats
- flat surfaces allow more flexibility
- flexible packaging requires extra attention to readability
Choosing the wrong format can undermine the entire project.
Want to avoid mistakes at this stage? Explore available formats and check real dimensions before starting your design.
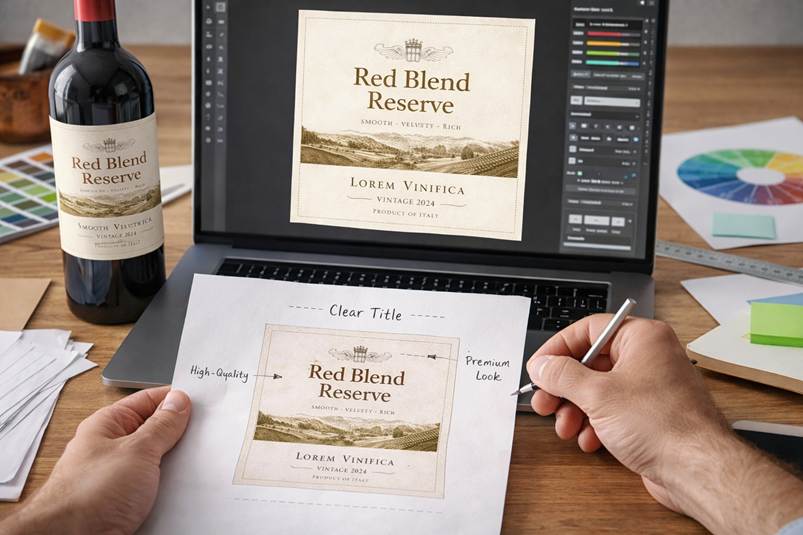
Design the Label
This is the most creative phase — and also where mistakes are most common.
A good label isn’t the most decorative one, but the one that is clear, readable and consistent.
To achieve this:
- use a clear visual hierarchy (title, key information, details)
- limit the number of fonts (no more than two or three)
- ensure strong contrast between text and background
- use white space to improve readability
A frequent mistake is trying to include everything at once. The result is a label that communicates nothing effectively.
A cleaner, more focused design will guide the viewer’s eye and improve clarity.
Prepare the File for Printing
This step is what separates an amateur result from a professional one.
To avoid printing issues:
- use a minimum resolution of 300 DPI
- work in CMYK colour mode
- add bleed to prevent white edges
- respect safe margins
- export your file as a print-ready PDF
Many problems happen at this stage: cut-off text, colour shifts or misaligned elements.
Always check a detailed preview before sending your file to print.
Common Label Sizes and Formats
If you’re unsure where to start, having reference sizes can help.
| Product type | Recommended size | Notes |
|---|---|---|
| Wine bottles | 8 × 10 cm | Standard front label |
| Cosmetics | 5 × 5 cm | Compact and clear |
| Jars | 6 × 4 cm | Suitable for curved surfaces |
| Packaging | Variable | Often custom |
These formats are a good starting point, but should always be adapted to your specific product.
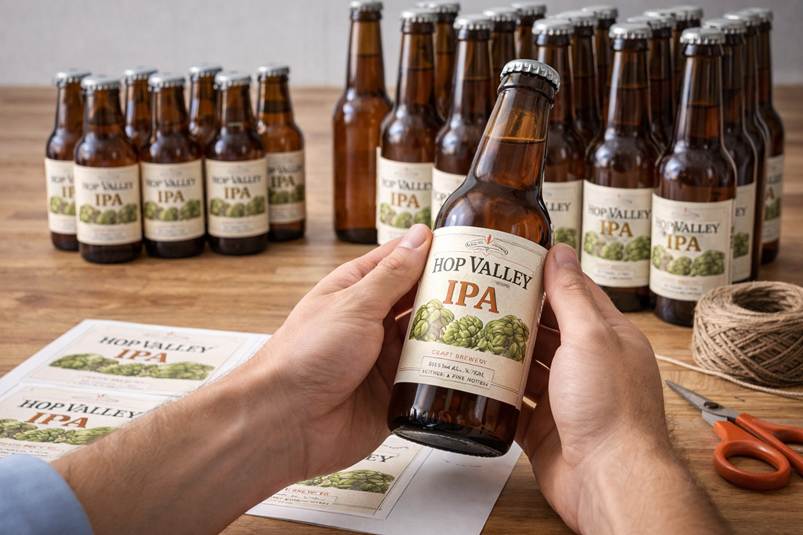
How to Print a Custom Label
Understanding how to print a label correctly is essential to achieve a professional result.
Once your design is ready, the next step is turning it into a physical product.
Today, you can manage everything online.
You can choose format, material and finish in just a few steps.
Things to consider:
- material (paper, plastic, waterproof)
- finish (matte, gloss, laminated)
- durability (moisture, heat, wear)
For example, a label for a refrigerated bottle needs to withstand moisture, while a label for internal packaging can be simpler.
If you want to go quickly from design to final product, you can configure and print your custom labels online by selecting the most suitable options for your needs.
Print quality is part of the overall result — even a great design can fall short if printed poorly.
Common Mistakes to Avoid When Creating a Label
Many issues come from small mistakes that have a big impact on the final result.
- text that is too small
Risk: customers can’t read key information and may perceive the product as low quality - too much information
Risk: the main message gets lost and the label becomes confusing - poor contrast
Risk: even a well-designed label becomes hard to read - incorrect sizing
Risk: the product looks unbalanced or unprofessional - poorly prepared print file
Risk: colour issues, cut-off elements and the need to reprint
The key is to identify these problems during the design phase, not after printing.
Practical Tips for an Effective Label
If you want to go beyond the basics, a few details can make a real difference.
Always think about the label in its real context — not just on screen, but on the product itself.
Also:
- analyse similar products to see what works
- stay consistent with your brand identity
- test different versions before finalising
- check readability from a distance
- print a sample before full production
An effective label isn’t the most complex one, but the one that communicates instantly.
In many cases, the label — more than the product itself — influences the first purchase decision. That’s why it’s worth investing time, testing and attention into getting it right.
FAQ
How do you create a custom label?
Define the purpose, choose the format and size, design the label and prepare the file for printing.
What file format should I use for printing labels?
A high-resolution PDF (300 DPI) with proper bleed and margins is the best option.
What size should a label be?
It depends on the product. Wine labels are often around 8 x 10 cm, while cosmetics and jars use smaller formats.
Can I create labels without being a designer?
Yes, you can use online tools like this.