
Table of Contents
The most widely used printing system for large print runs today is offset printing. Offset printing, although highly sophisticated and mechanised, uses the same principle as lithography (the technique devised in 1790 by Alois Senefelder), namely the fact that water and oil repel one another.
Lithography uses porous limestone, while offset printing uses aluminium plates; lithography involves drawing an image on the plate with a grease pencil then submerging it in a liquid to acidify all the areas not covered with grease, while offset printing uses a laser that directly renders the print areas water repellent; in both techniques, the plates are covered in water, which is only deposited in non-printing areas, then covered in oil-based ink, which is only deposited where there is no water. Both techniques are based on the immiscibility of water and oil.
While offset printing requires professional printing presses, lithography can be recreated more easily, but still presents two problems that make it impractical and inaccessible: the difficulty in getting hold of the right stone, and the danger posed by the acids used in the process.
To allow beginners and children to experiment with the underlying principles of lithography, in 2011 artist Émilie Aizier came up with a safer and cheaper alternative method, which uses equipment and ingredients found in most kitchens: aluminium foil, cola, vegetable oil and a few more things. Hence the name Kitchen Litho.
What you need
- A small sheet of glass or plexiglass (for example, the glass from a picture frame), that will serve as the plate
- Oil-based ink (for example, etching ink)
- Ink roller
- Adhesive tape
- Drawing material: a grease pencil (for example, an 8B), graphite, oil pastels, carbon paper, butter, Savon de Marseille…
- Aluminium foil
- Washing-up bowl
- Cola
- Vegetable oil
- Sponges and cloth
- Sheets for printing on
- Optional: latex gloves
1.Covering the glass plate
The first step in the process involves covering the glass or plexiglass plate with a sheet of aluminium foil and securing it with adhesive tape, making sure that there are no holes through which cola could pass. The sheet of aluminium should be positioned with the shiny side down.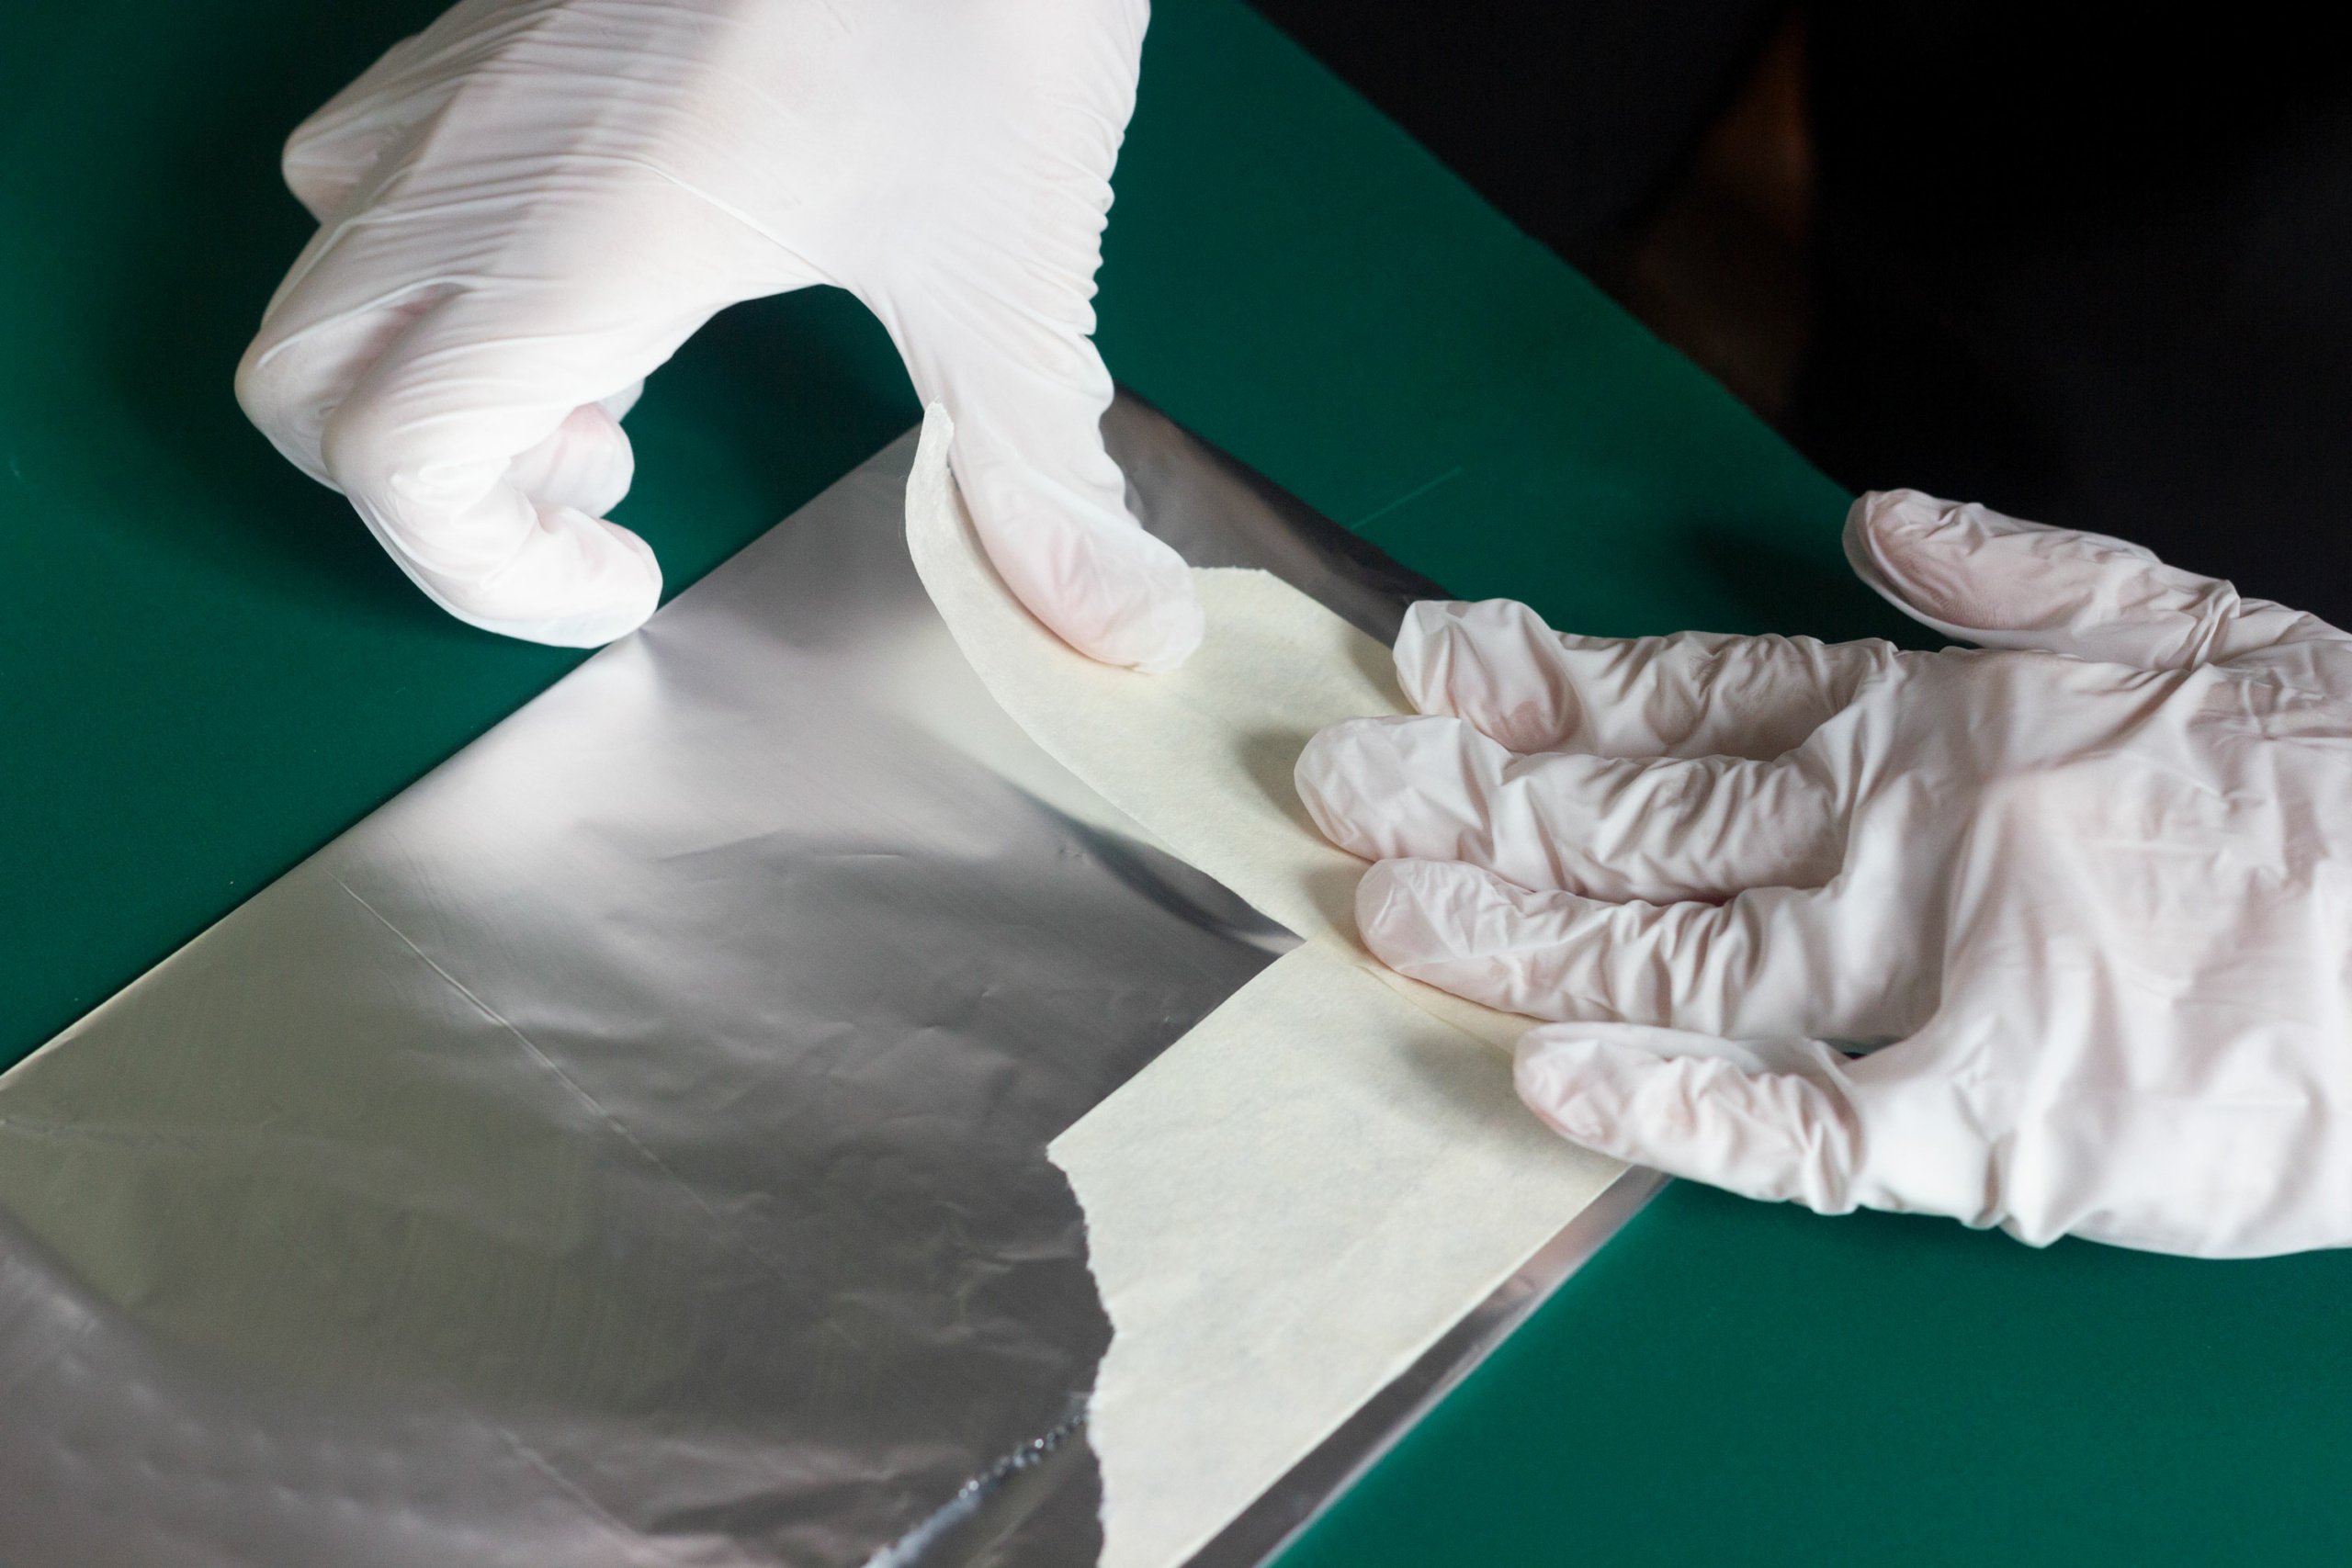
During this step, it’s very important not to let your fingers touch the side that will be used for printing. Grease from your fingers may leave a visible fingerprint.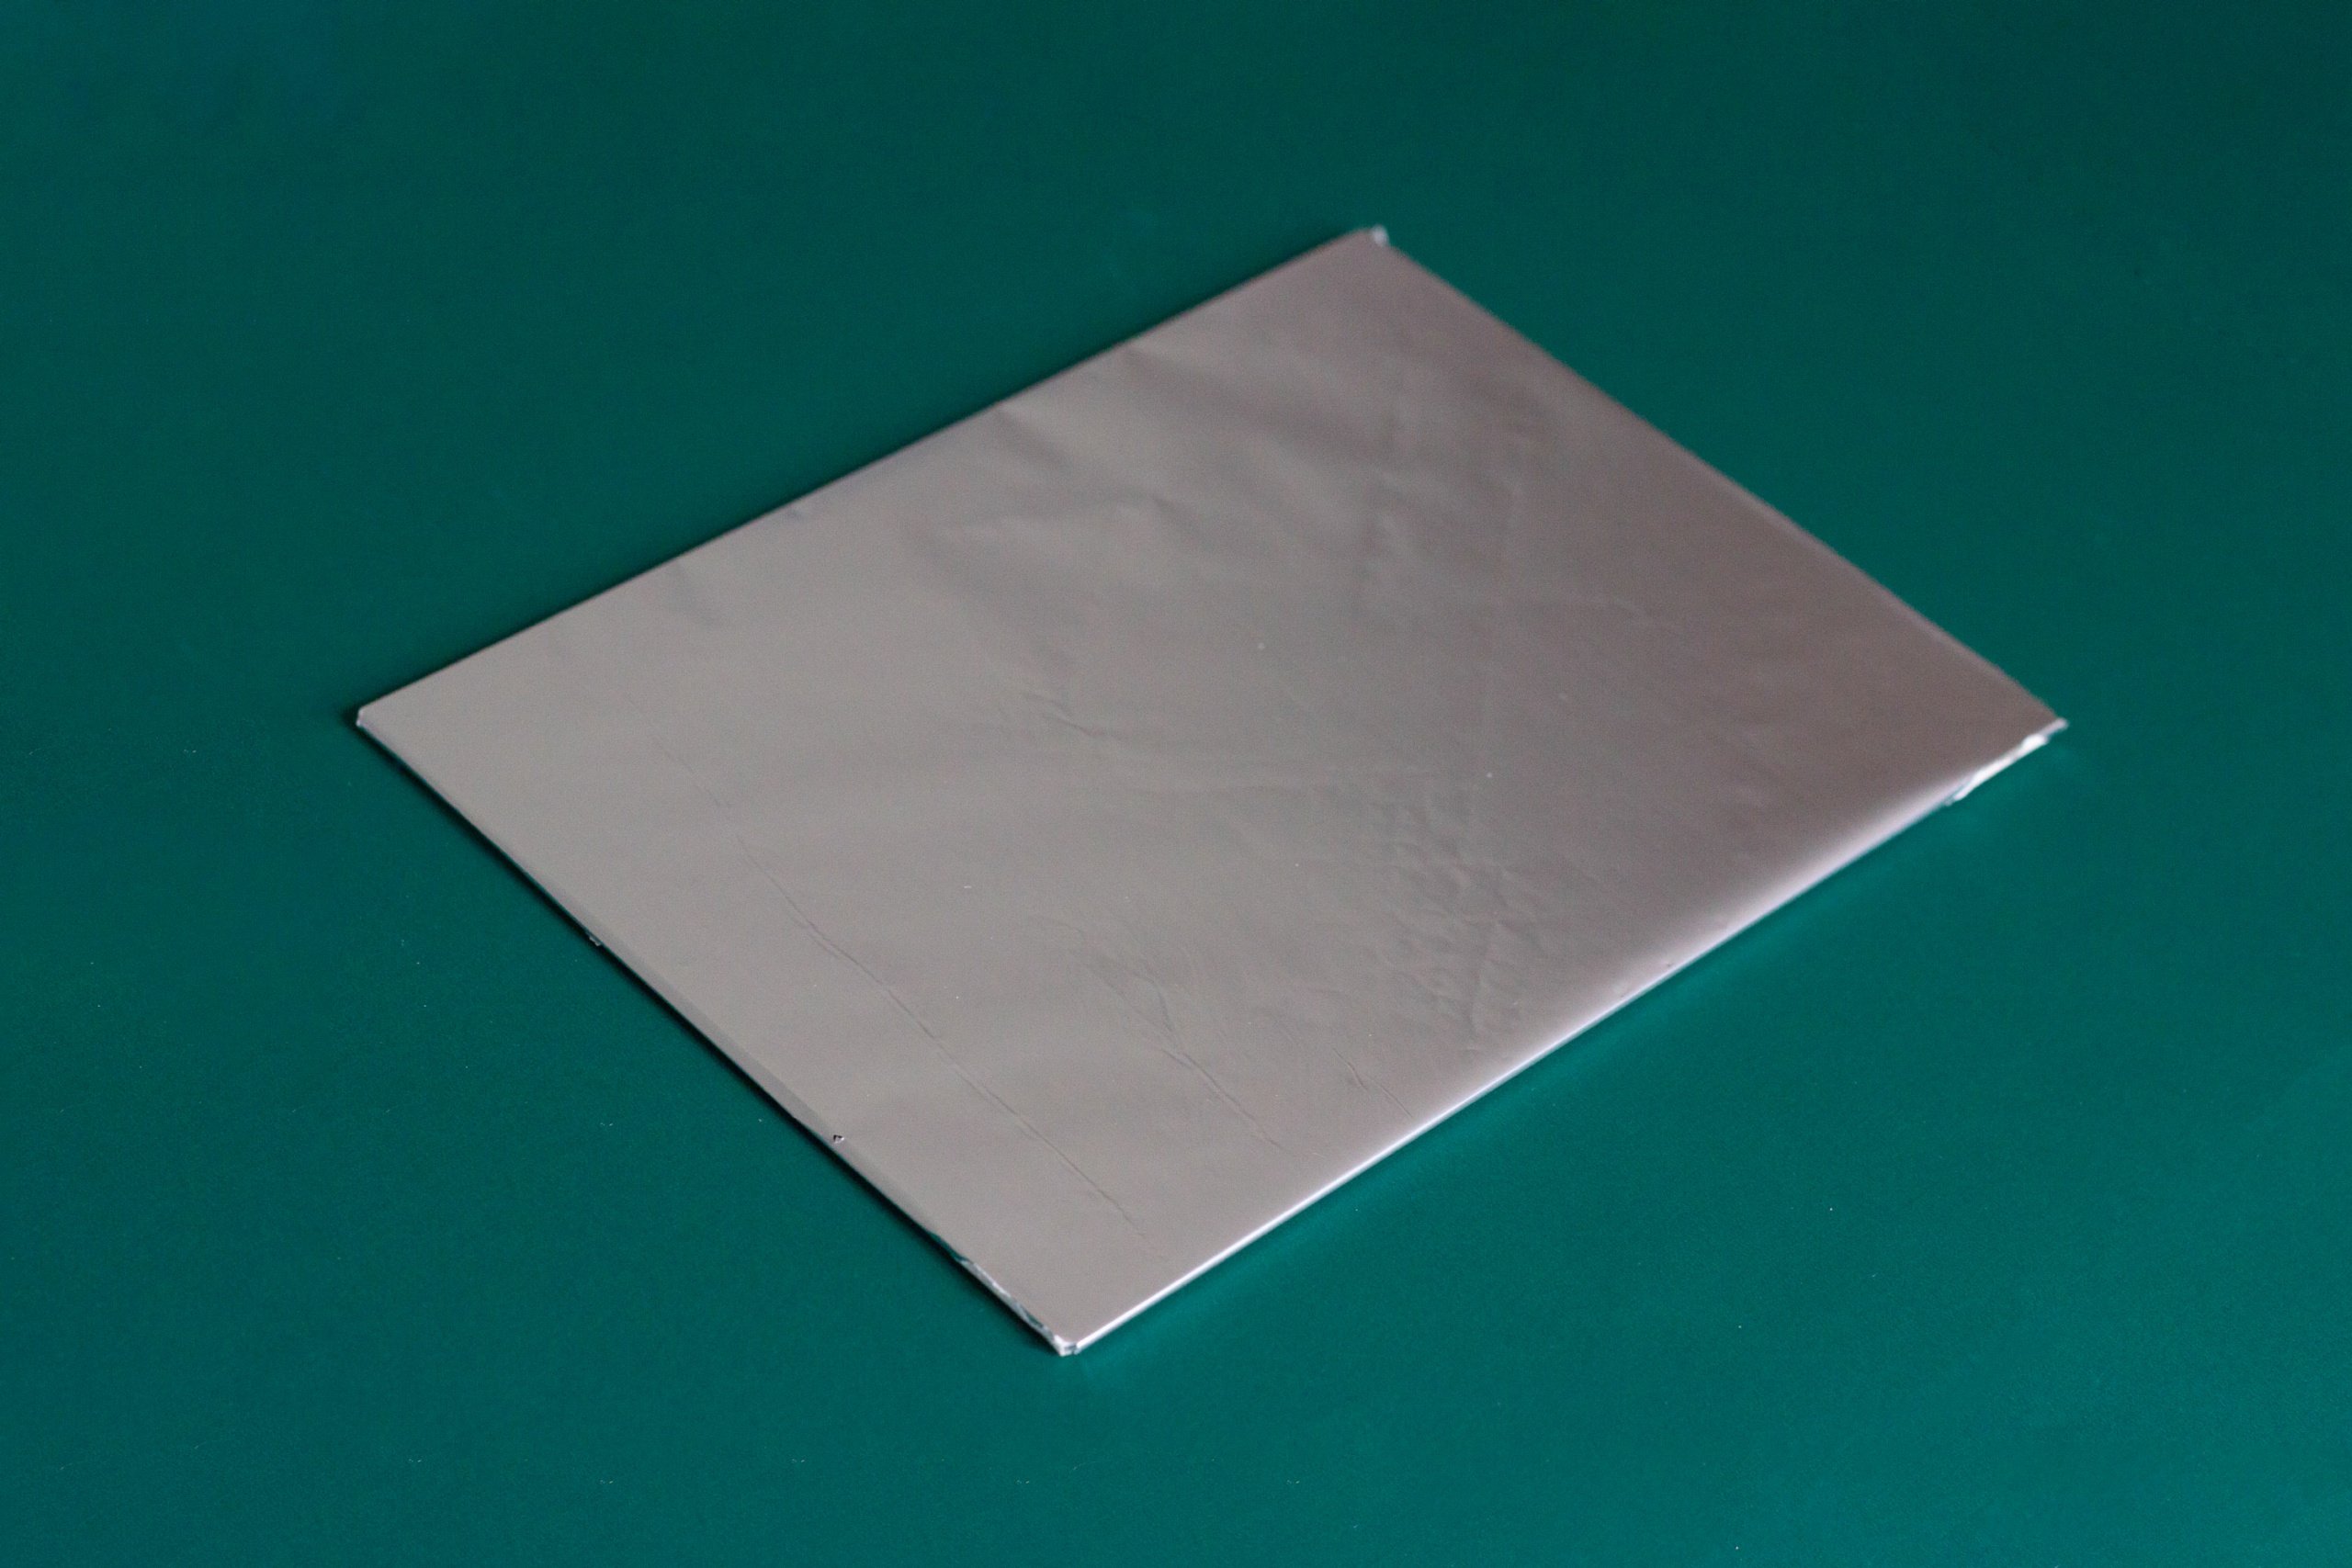
2.Drawing on the plate
The plate is now ready for you to draw your image on it. This is done directly onto the aluminium, and any greasy substance will do. It’s a good idea to test different substances: grease pencils and graphite are a great option, but it’s also worth trying oil pastels or even Savon de Marseille or butter, using a paint brush. Indeed, any other greasy substance that you have to hand can be used.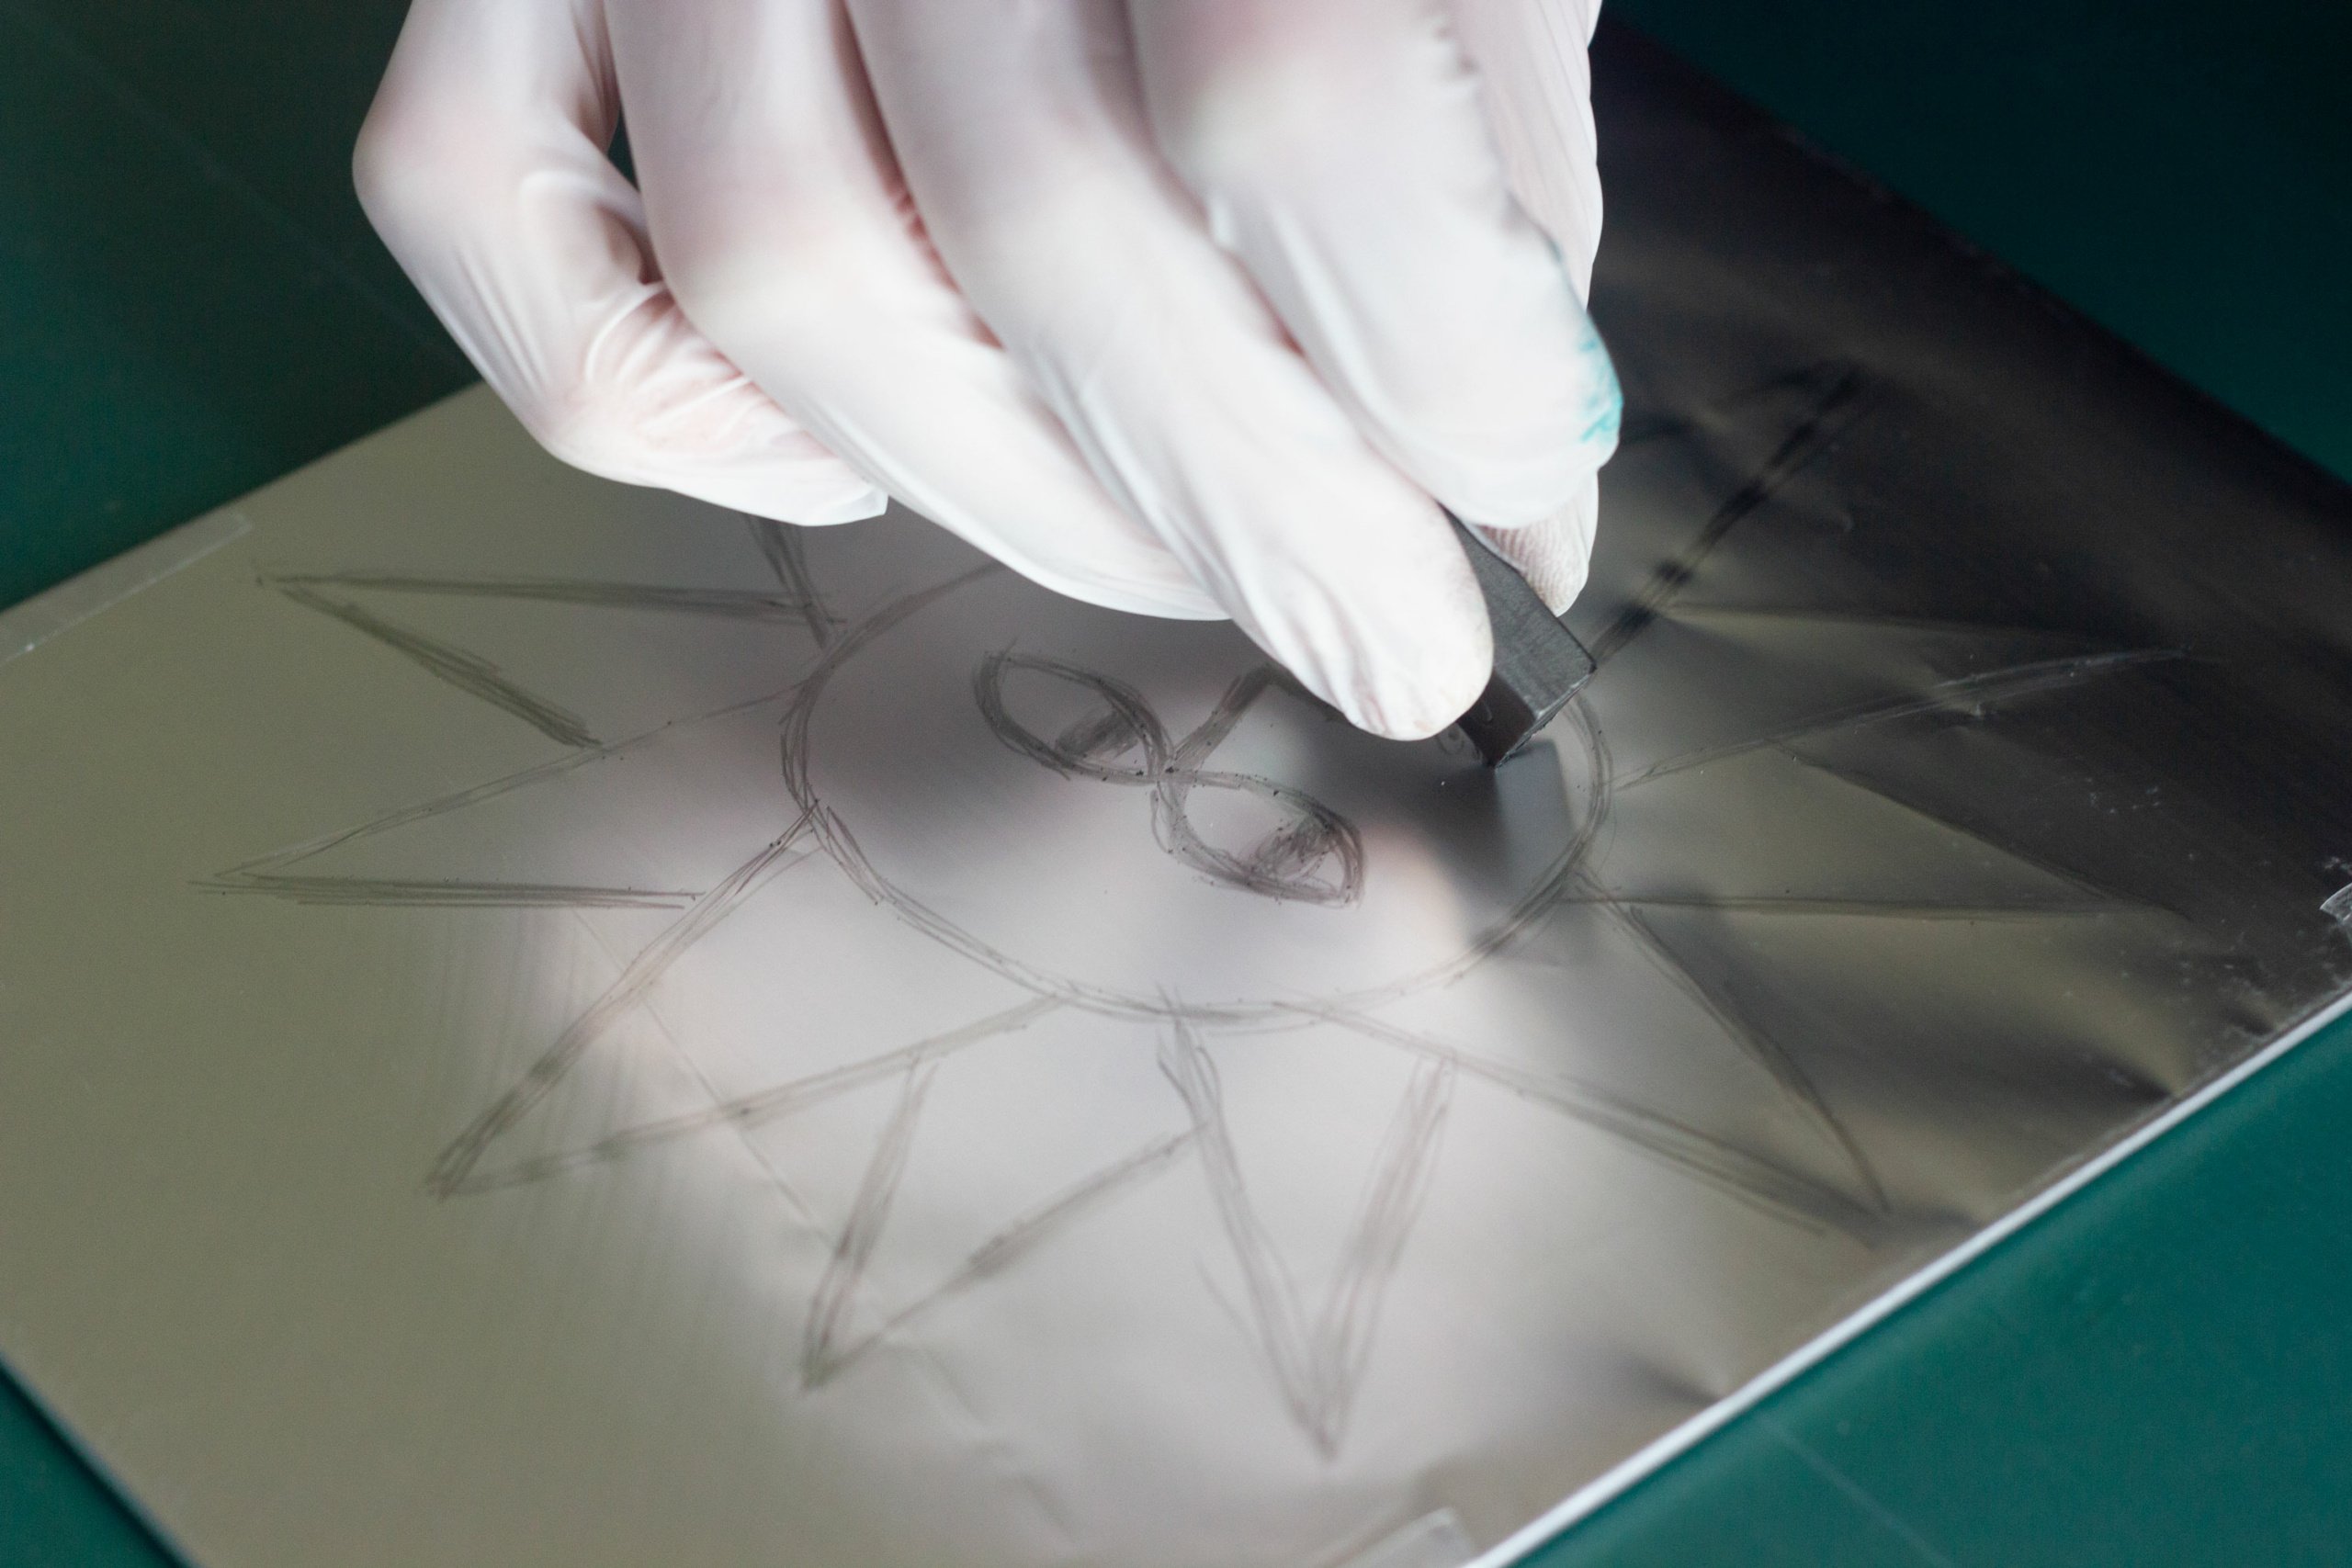
As in the previous step, you need to be careful not to touch the plate with your fingers while you’re drawing, which is where a pair of latex gloves come in handy.
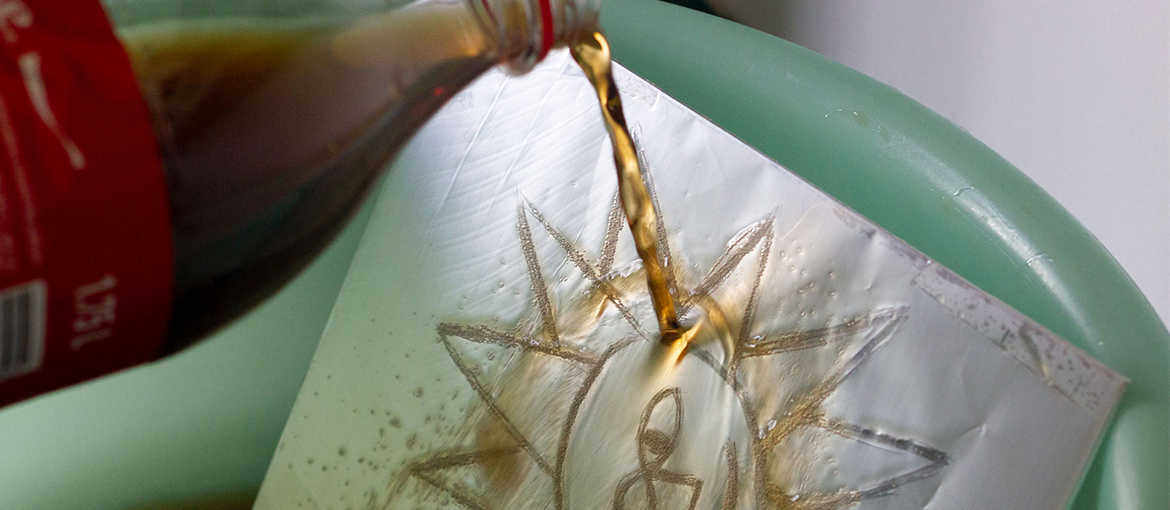
3.Acidifying the plate
Once you’ve drawn your image, put the plate in a washing-up bowl or in the sink, and pour the cola over it. Move the plate around to get the cola to run in every direction and ensure that all the non-printing areas are covered in the acid cola.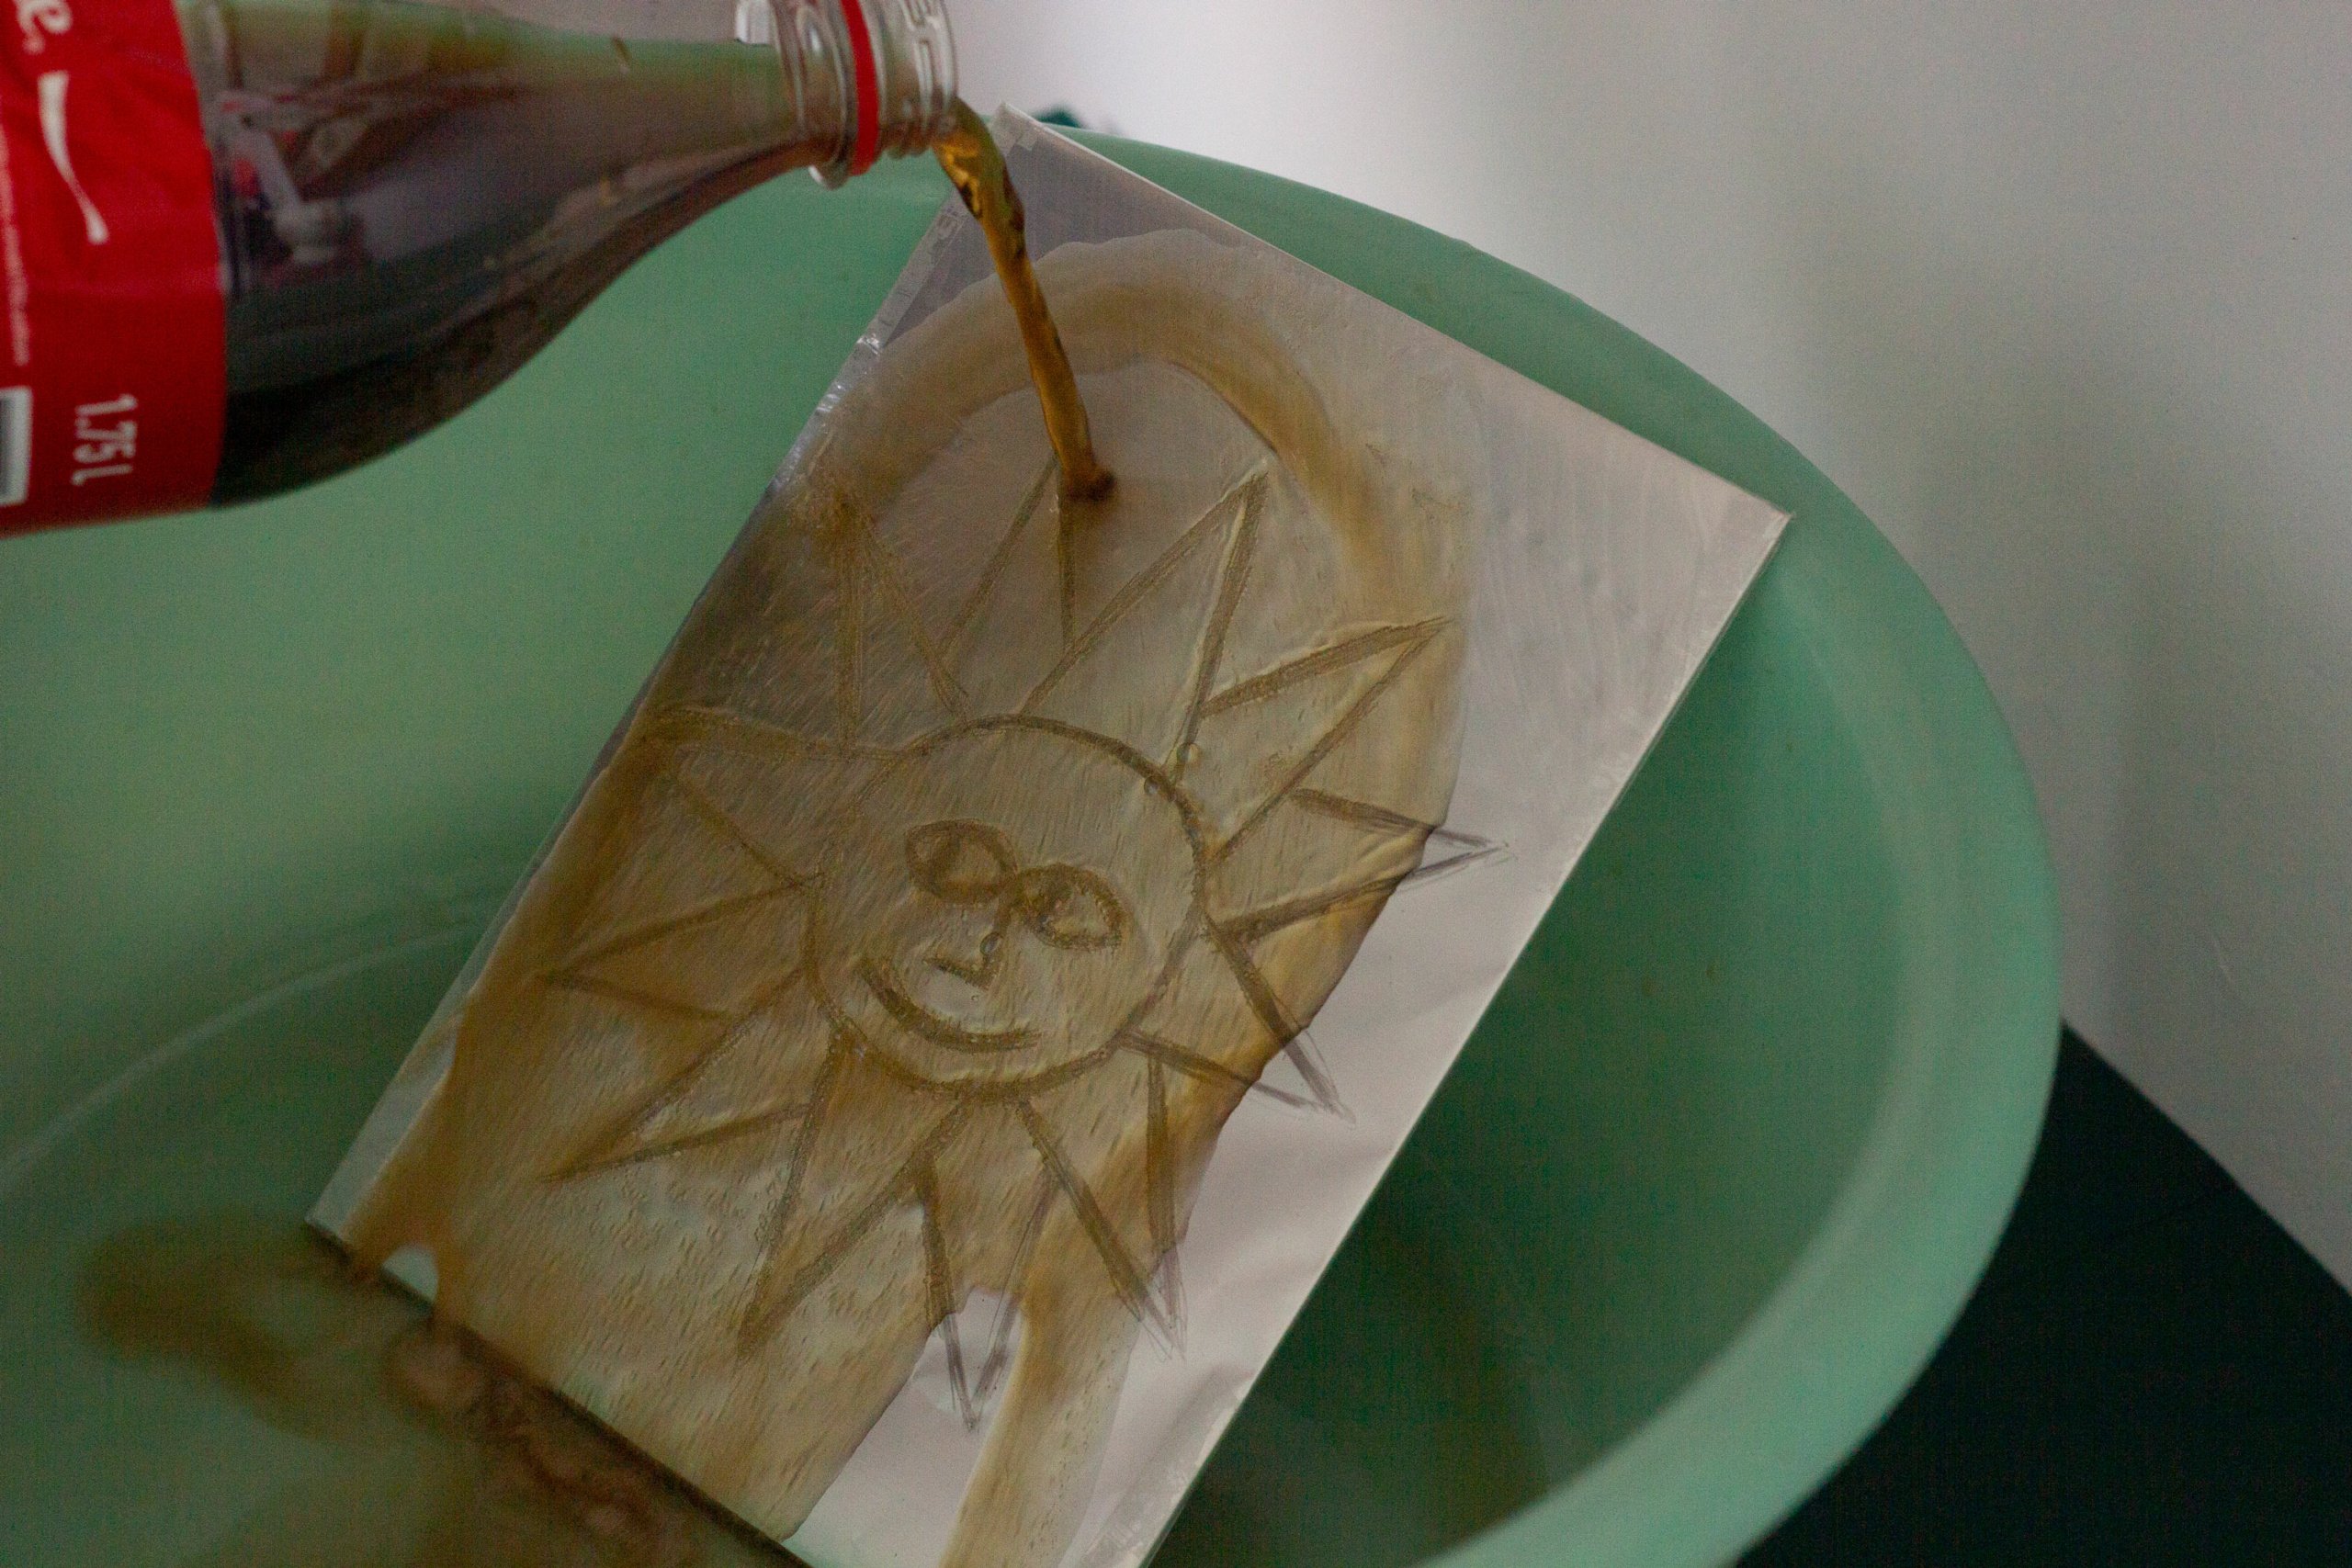
In places where there’s grease, you’ll see that the cola doesn’t stick, but fizzes and bubbles instead.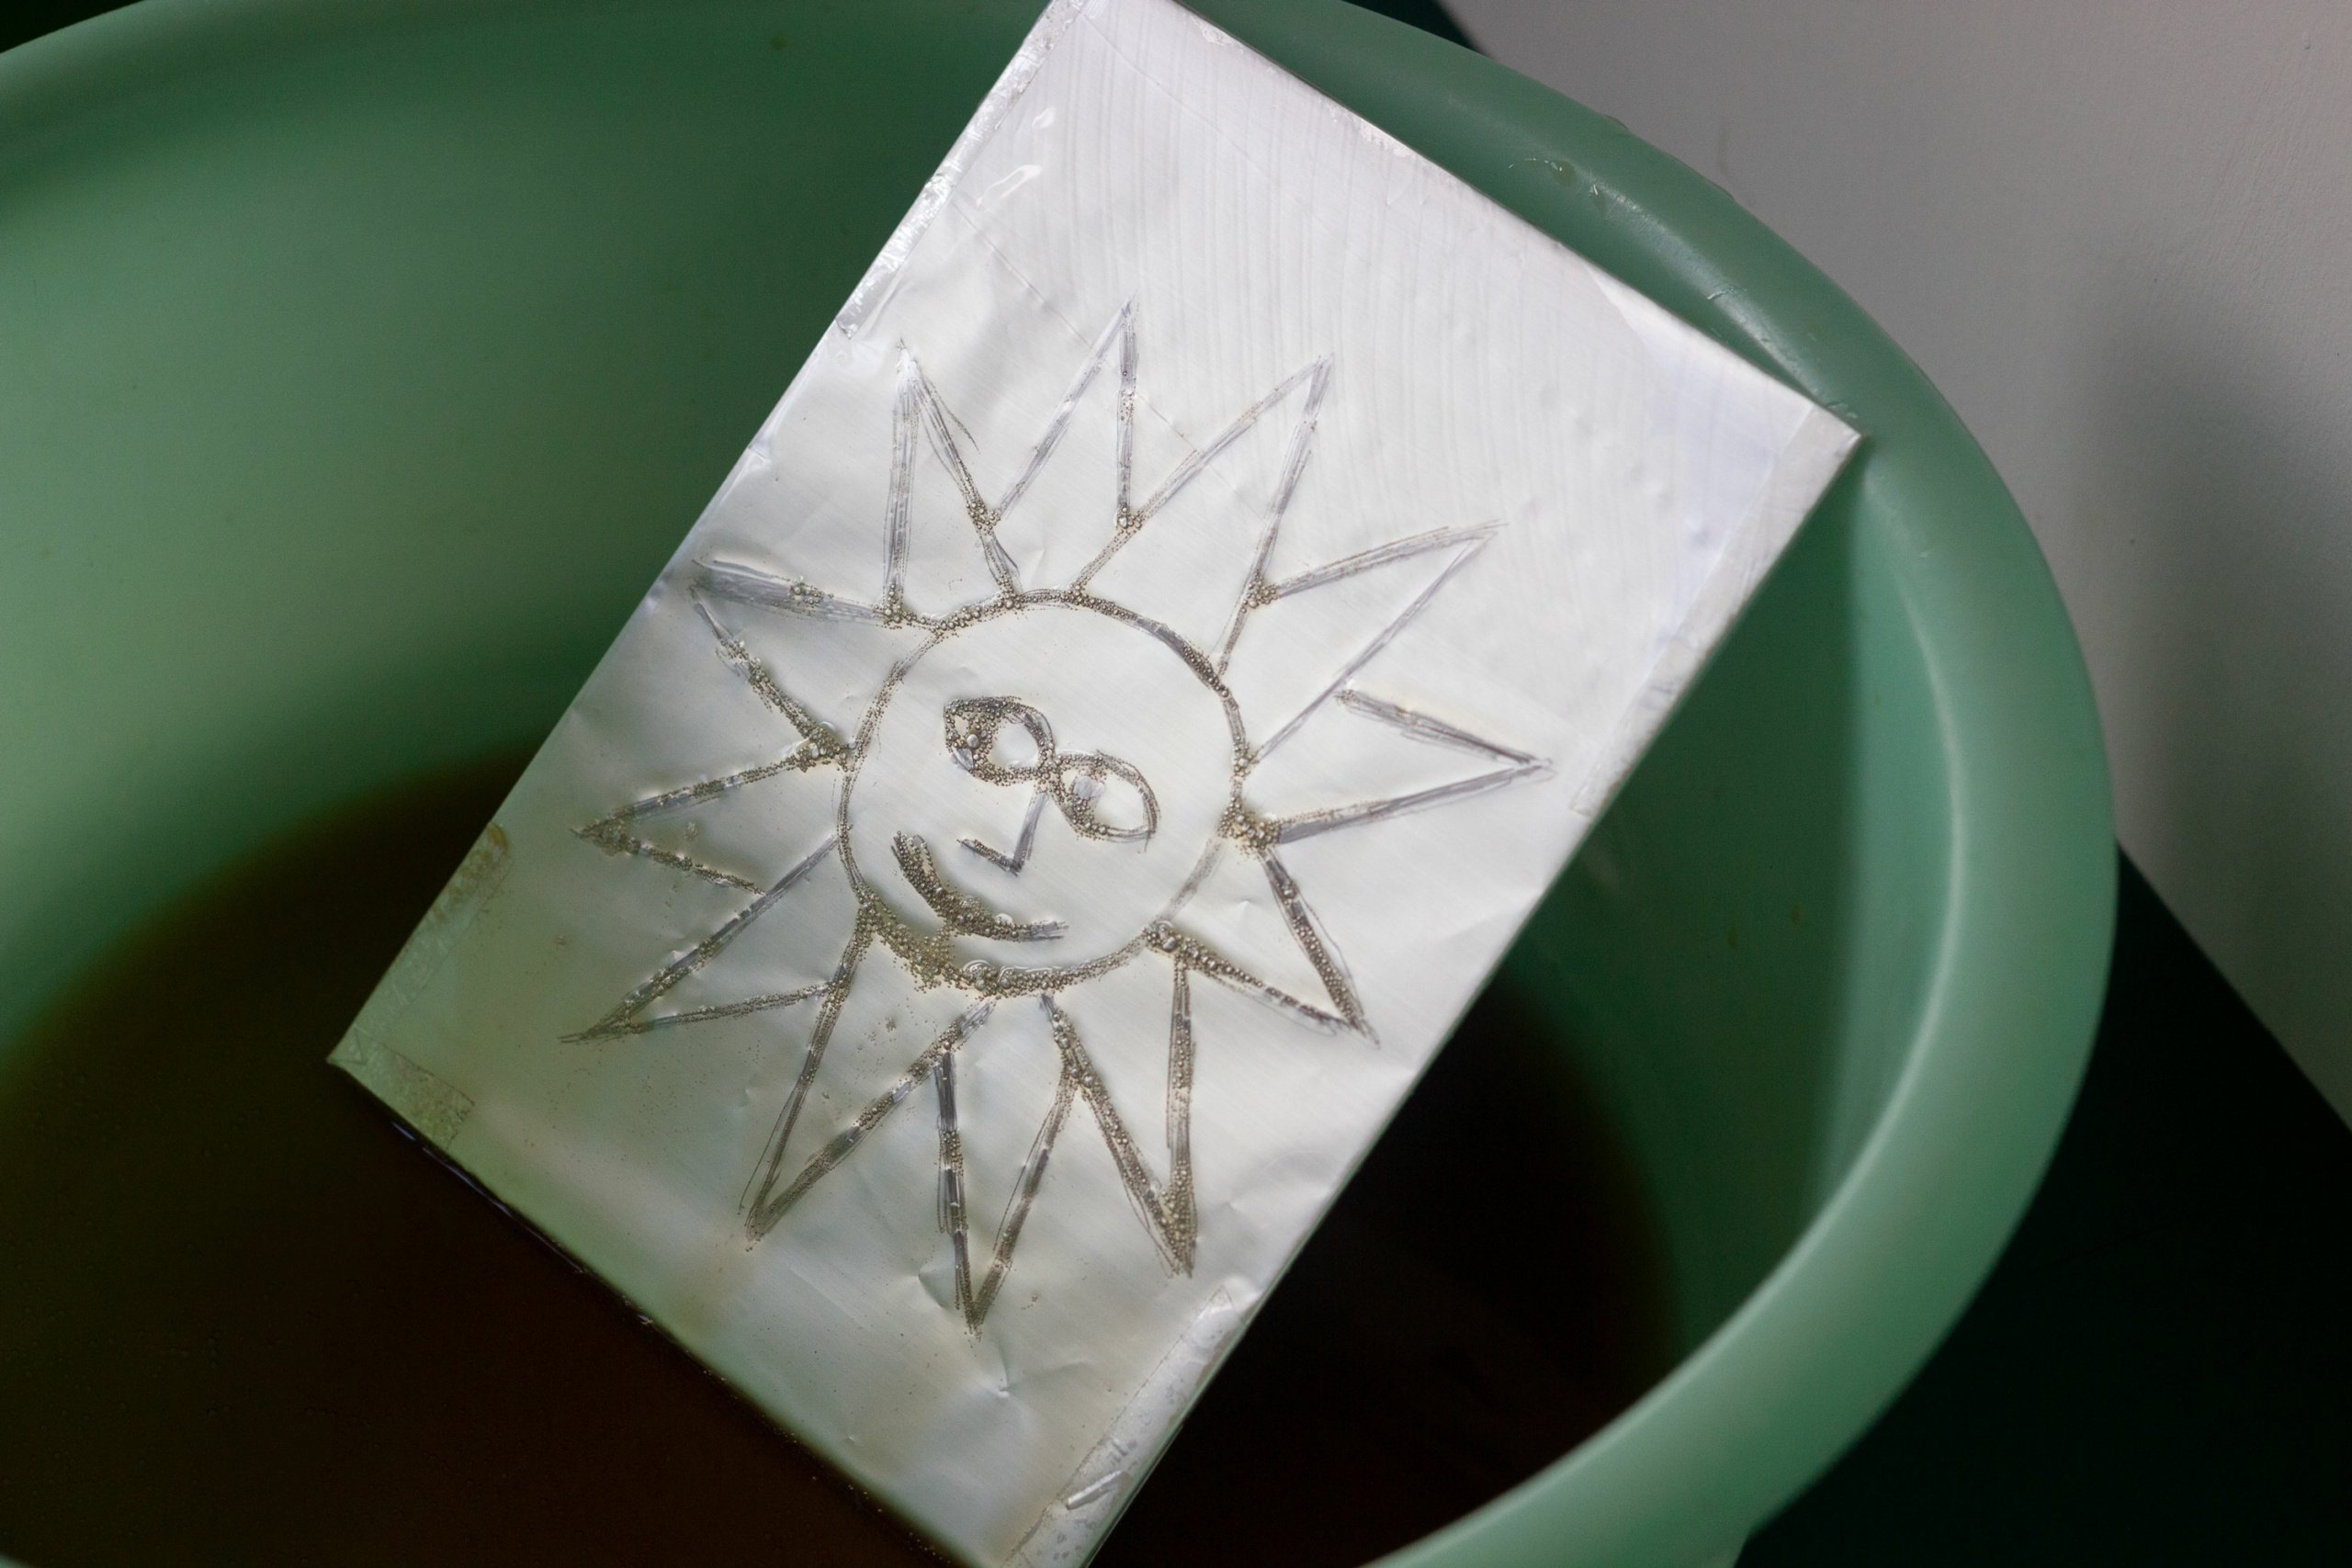
4.Cleaning the plate
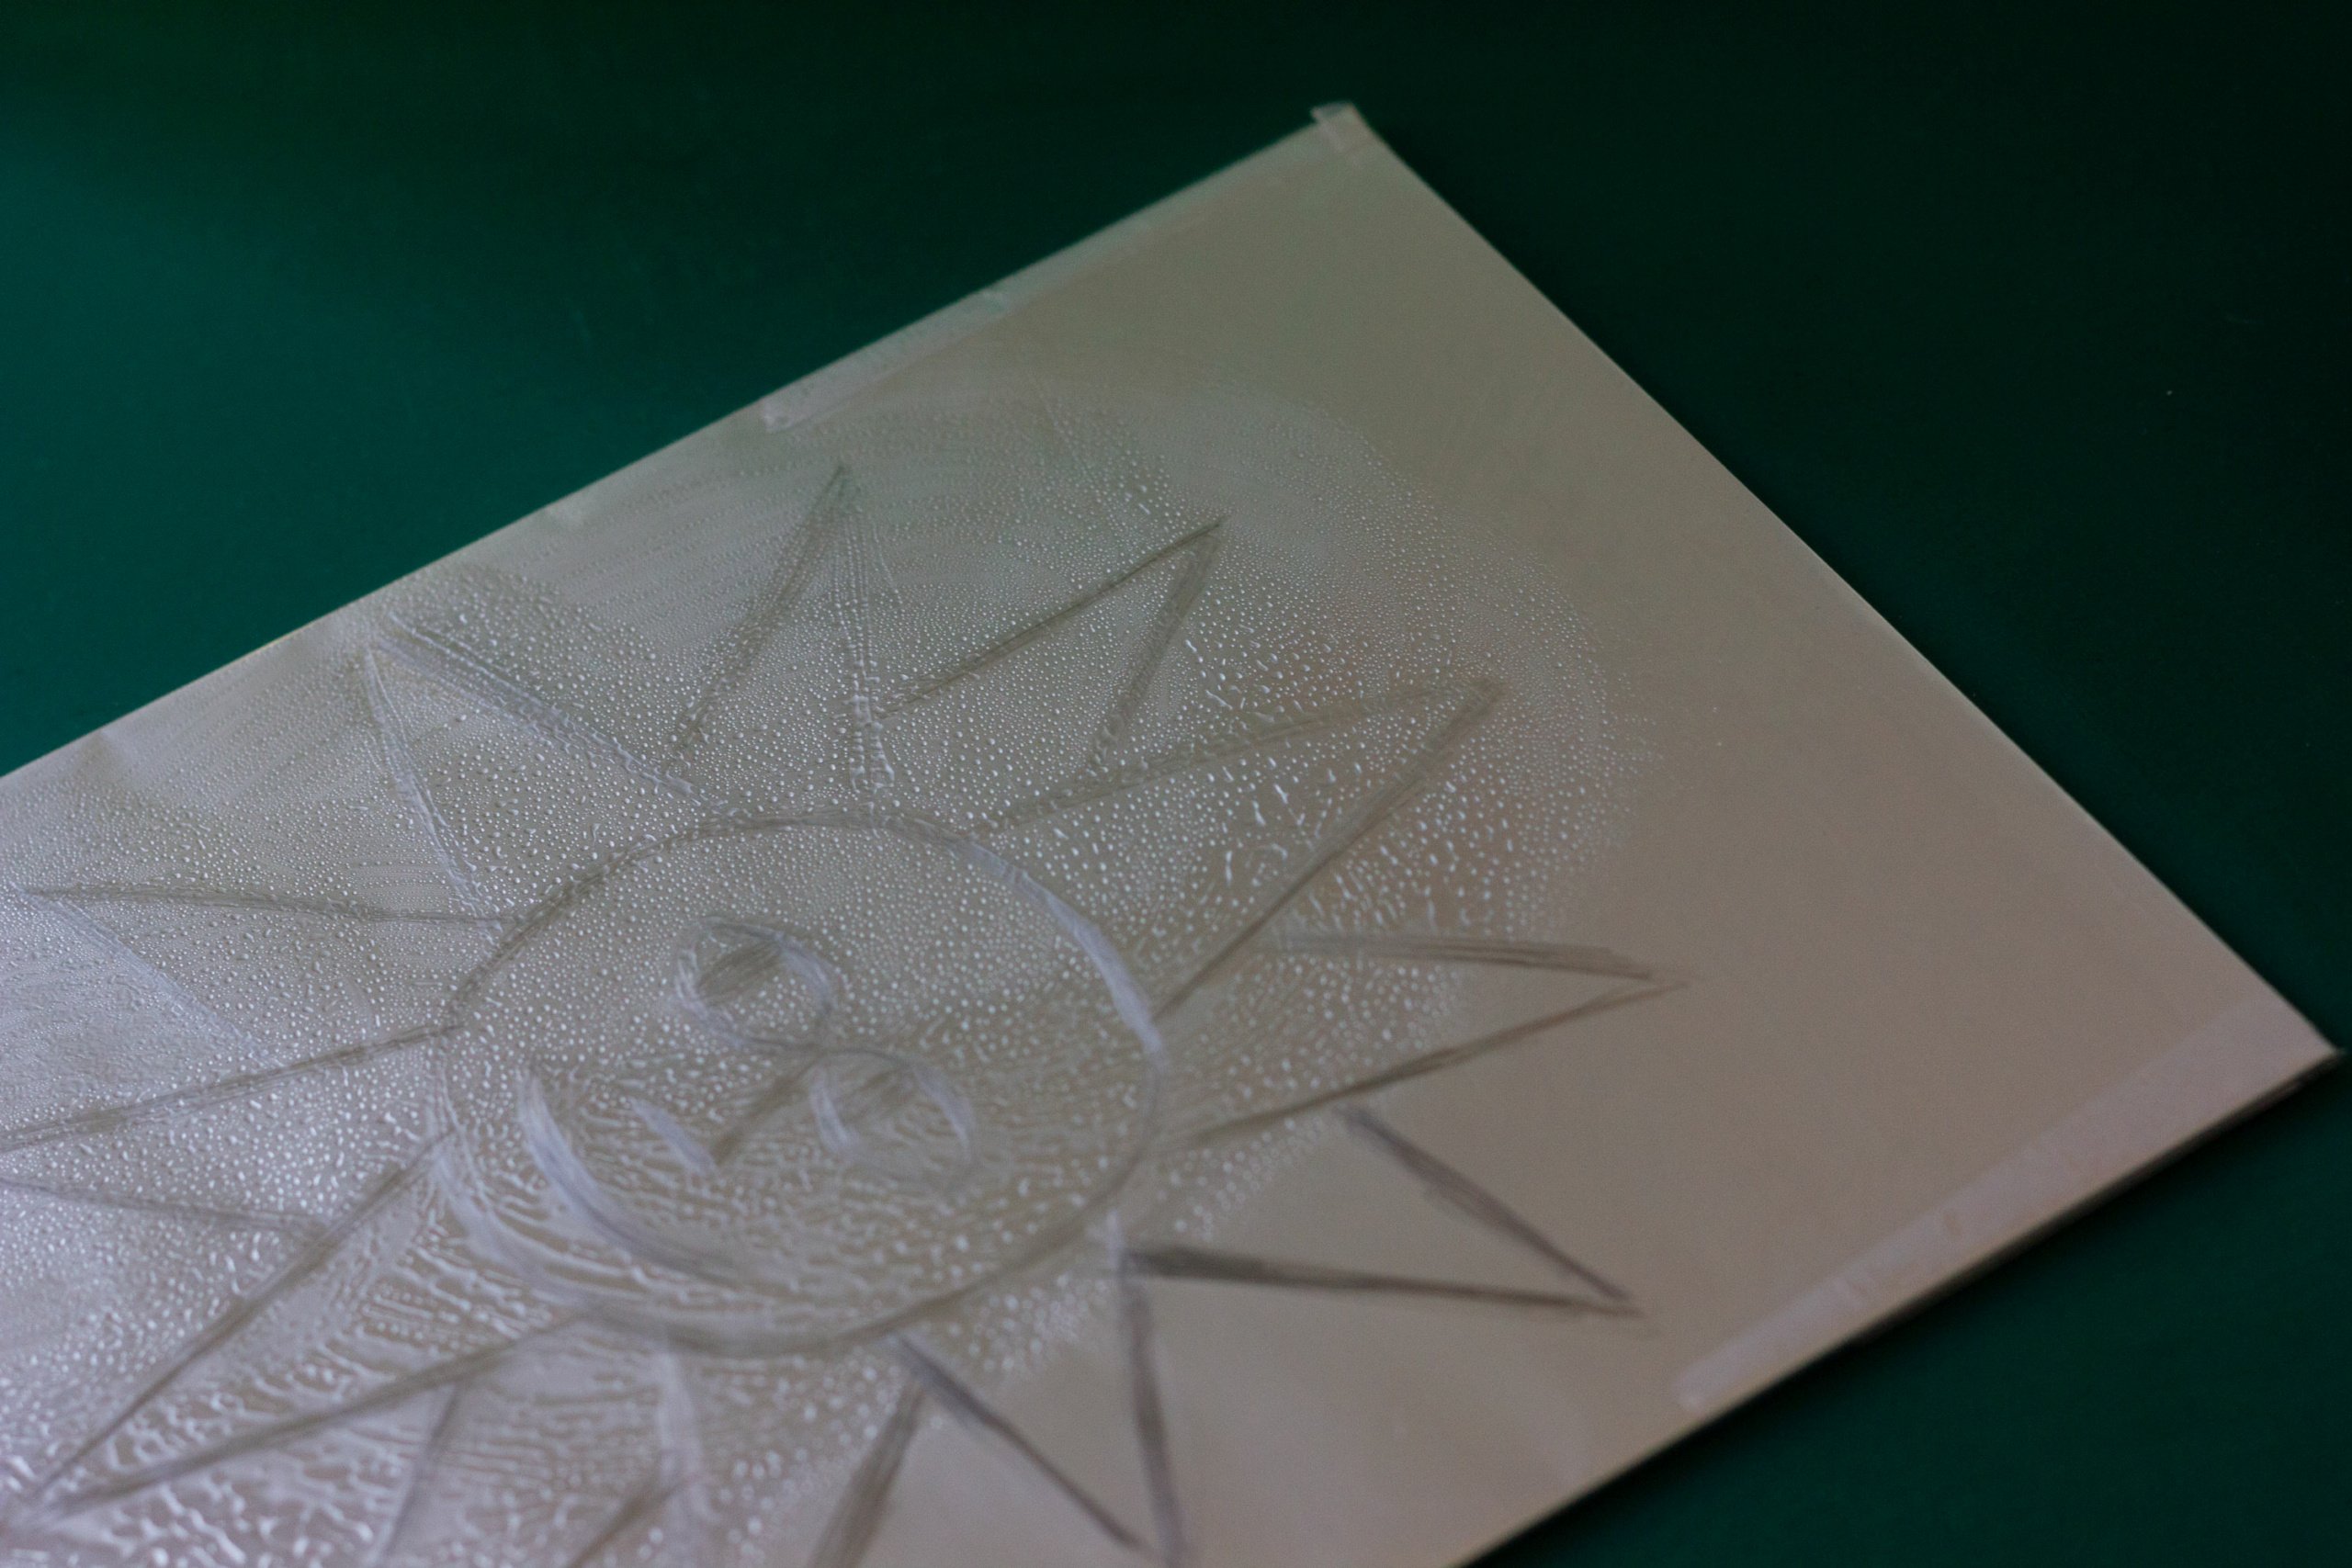
You only need to cover the plate in cola for a few seconds, then you can wipe it with a wet sponge to remove any remaining liquid. Next, using a cloth soaked in vegetable oil, gently clean the plate of any leftover grease, which may obstruct the ink. 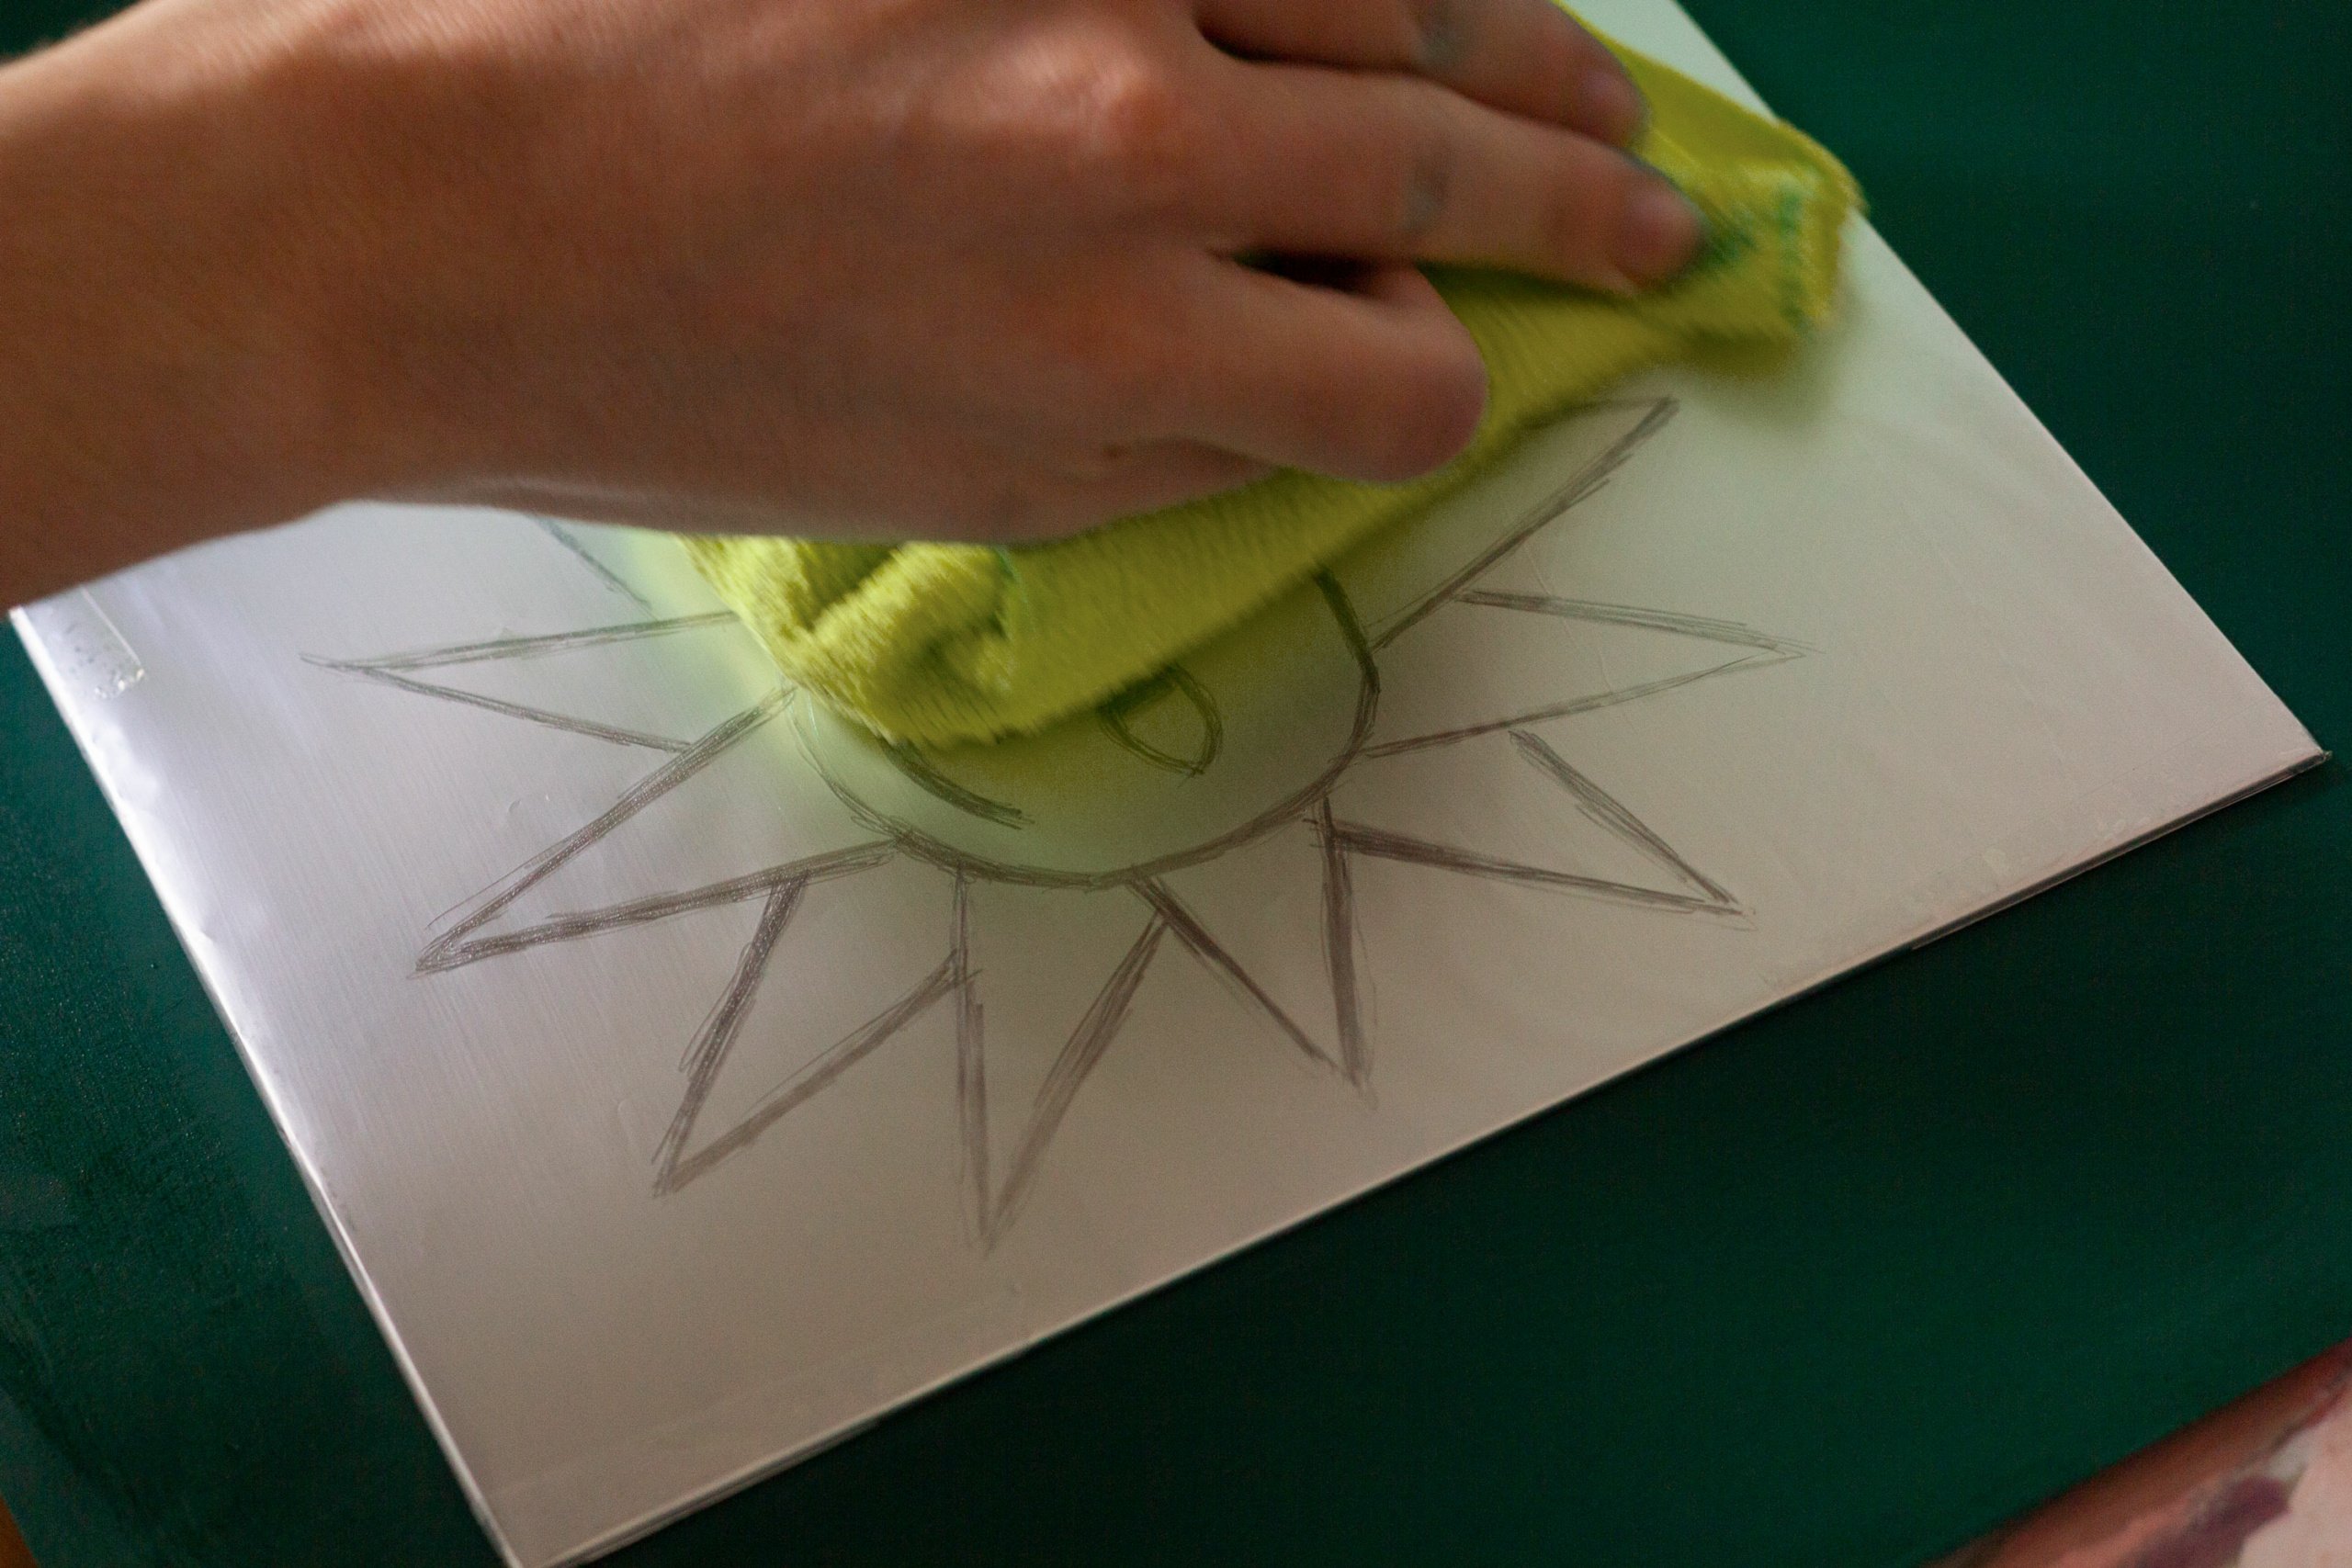 At this point, the image should remain visible (but faded) on the aluminium.
5.Inking
Now it’s time to prepare the ink. The right colour for this type of process is very thick and greasy, like etching ink, so you need to spread it on the plate and move the roller over it in every direction for a few minutes until it’s smooth and even.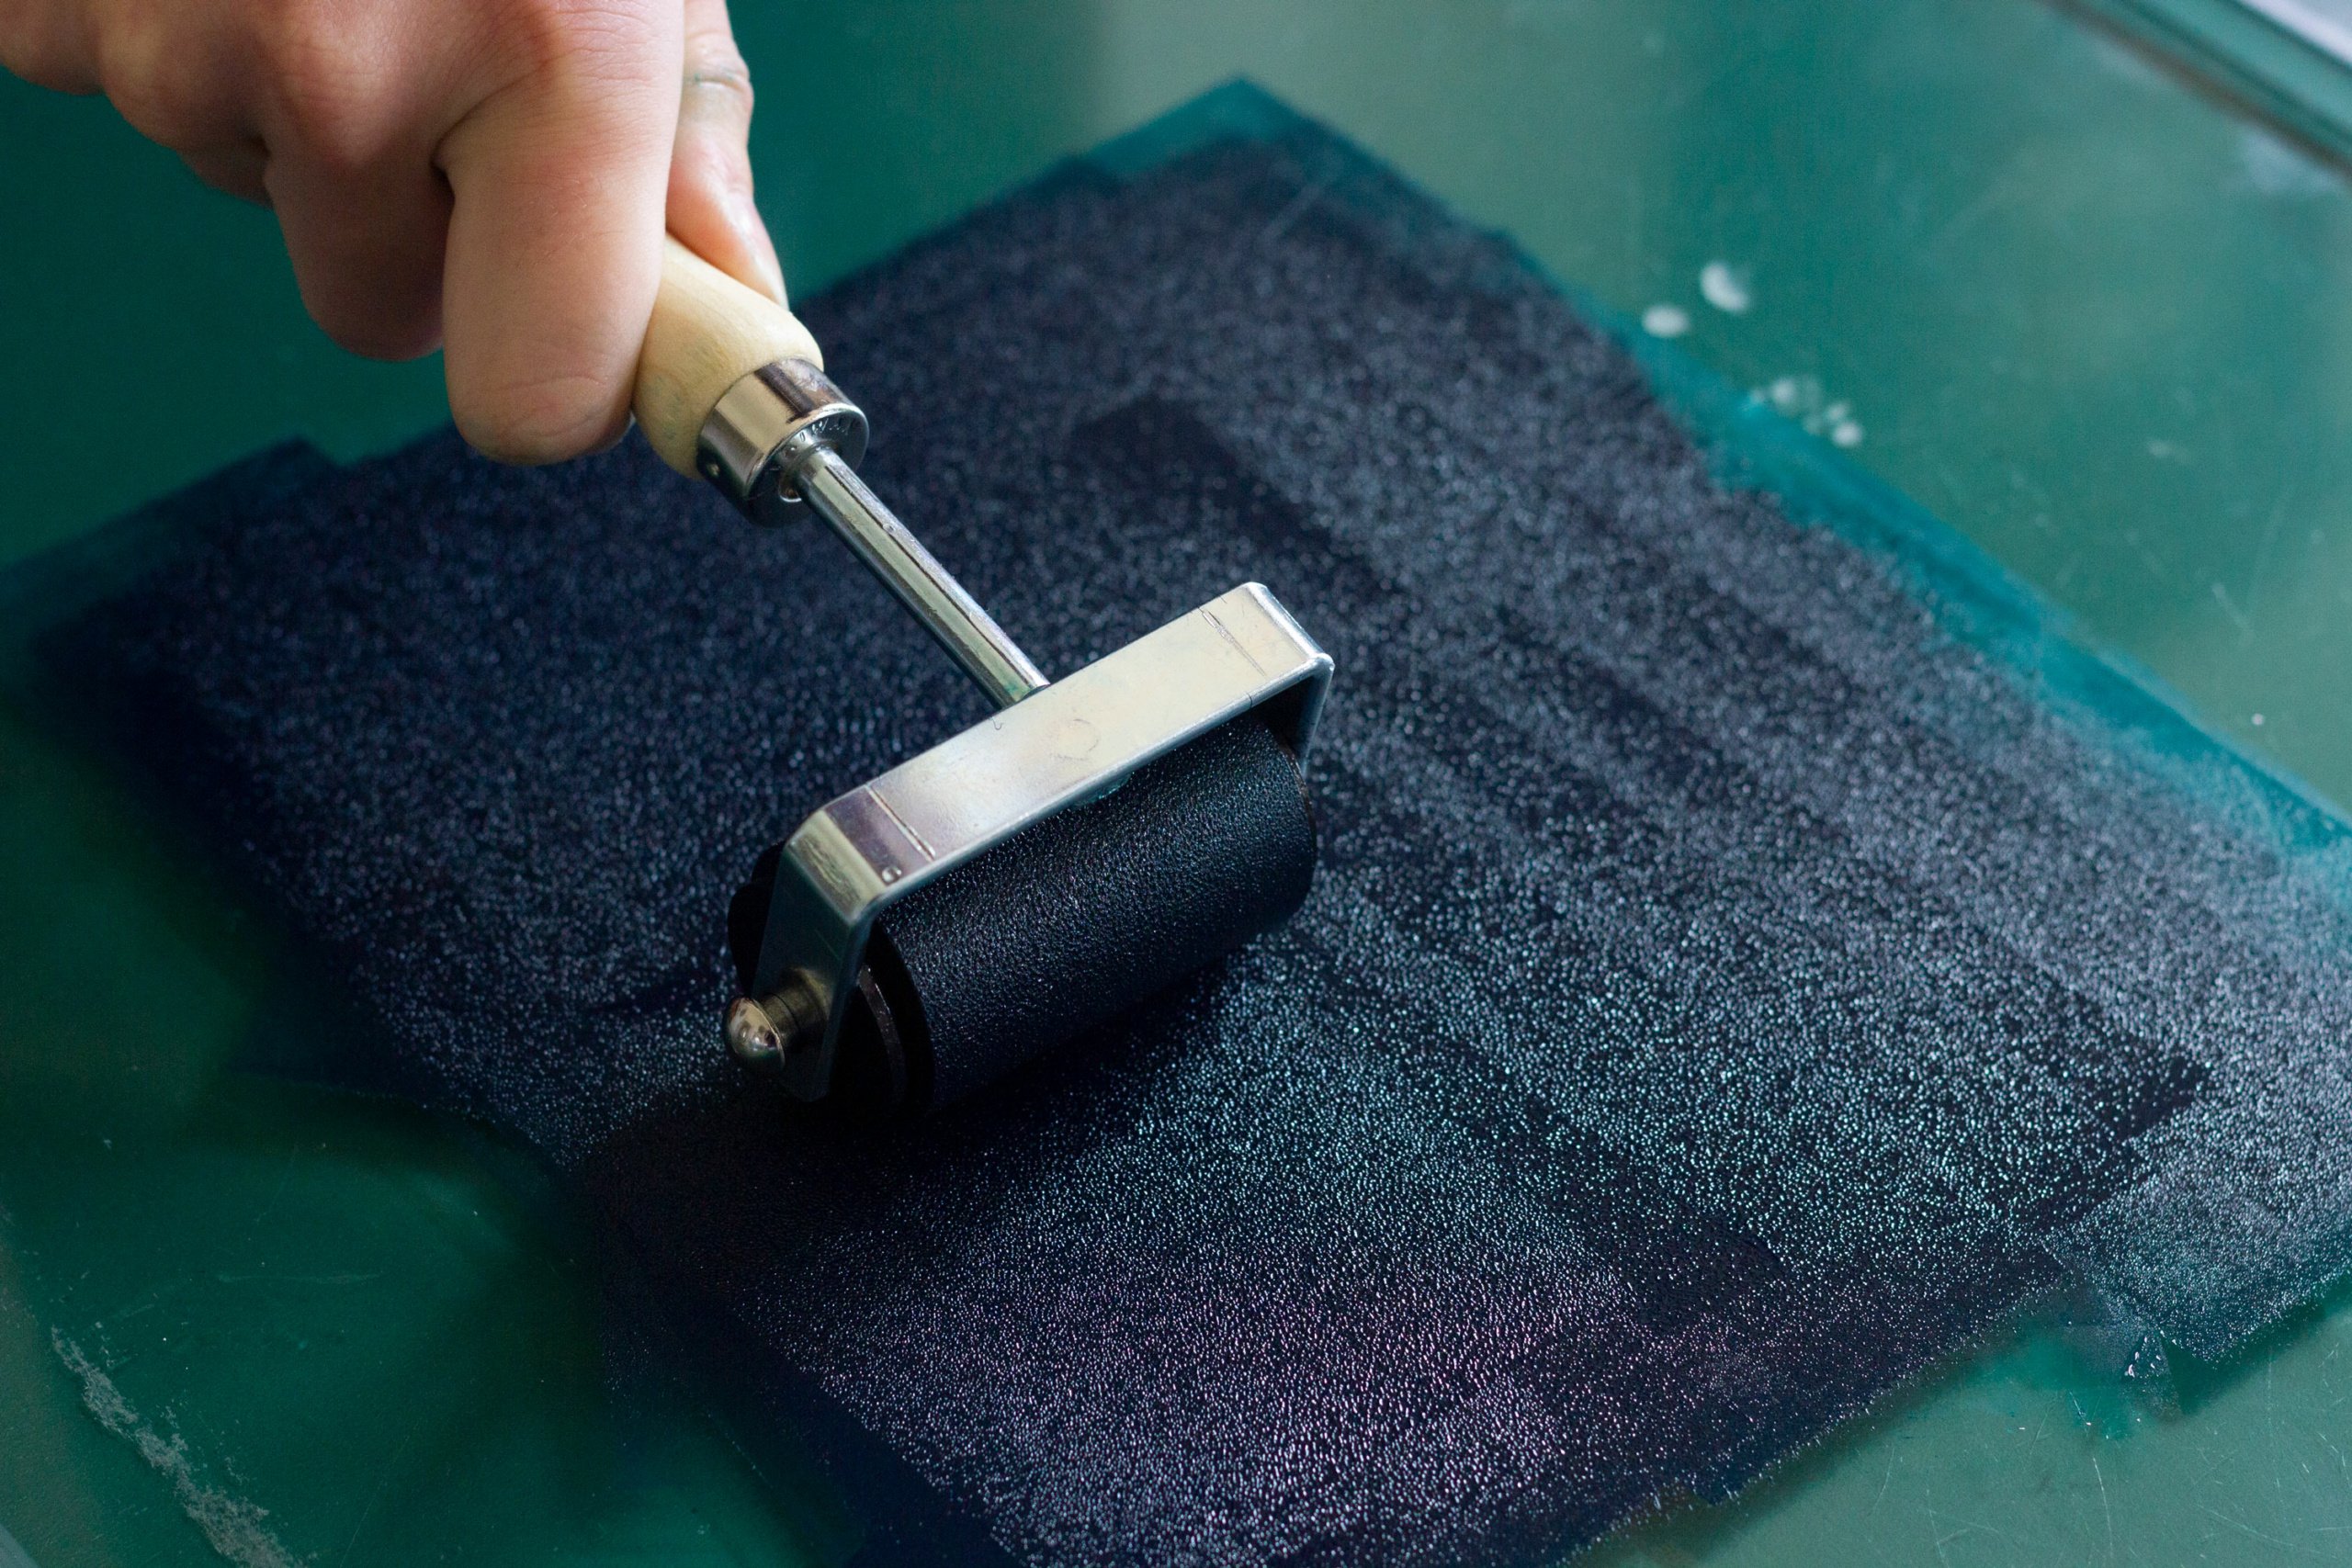
The phosphoric acid and gum arabic contained in the cola will make the areas of the plate that have not been drawn on hydrophilic. When the plate is dampened, the water will be deposited in these areas, but will be repelled from drawn areas where the oil-based ink will be deposited.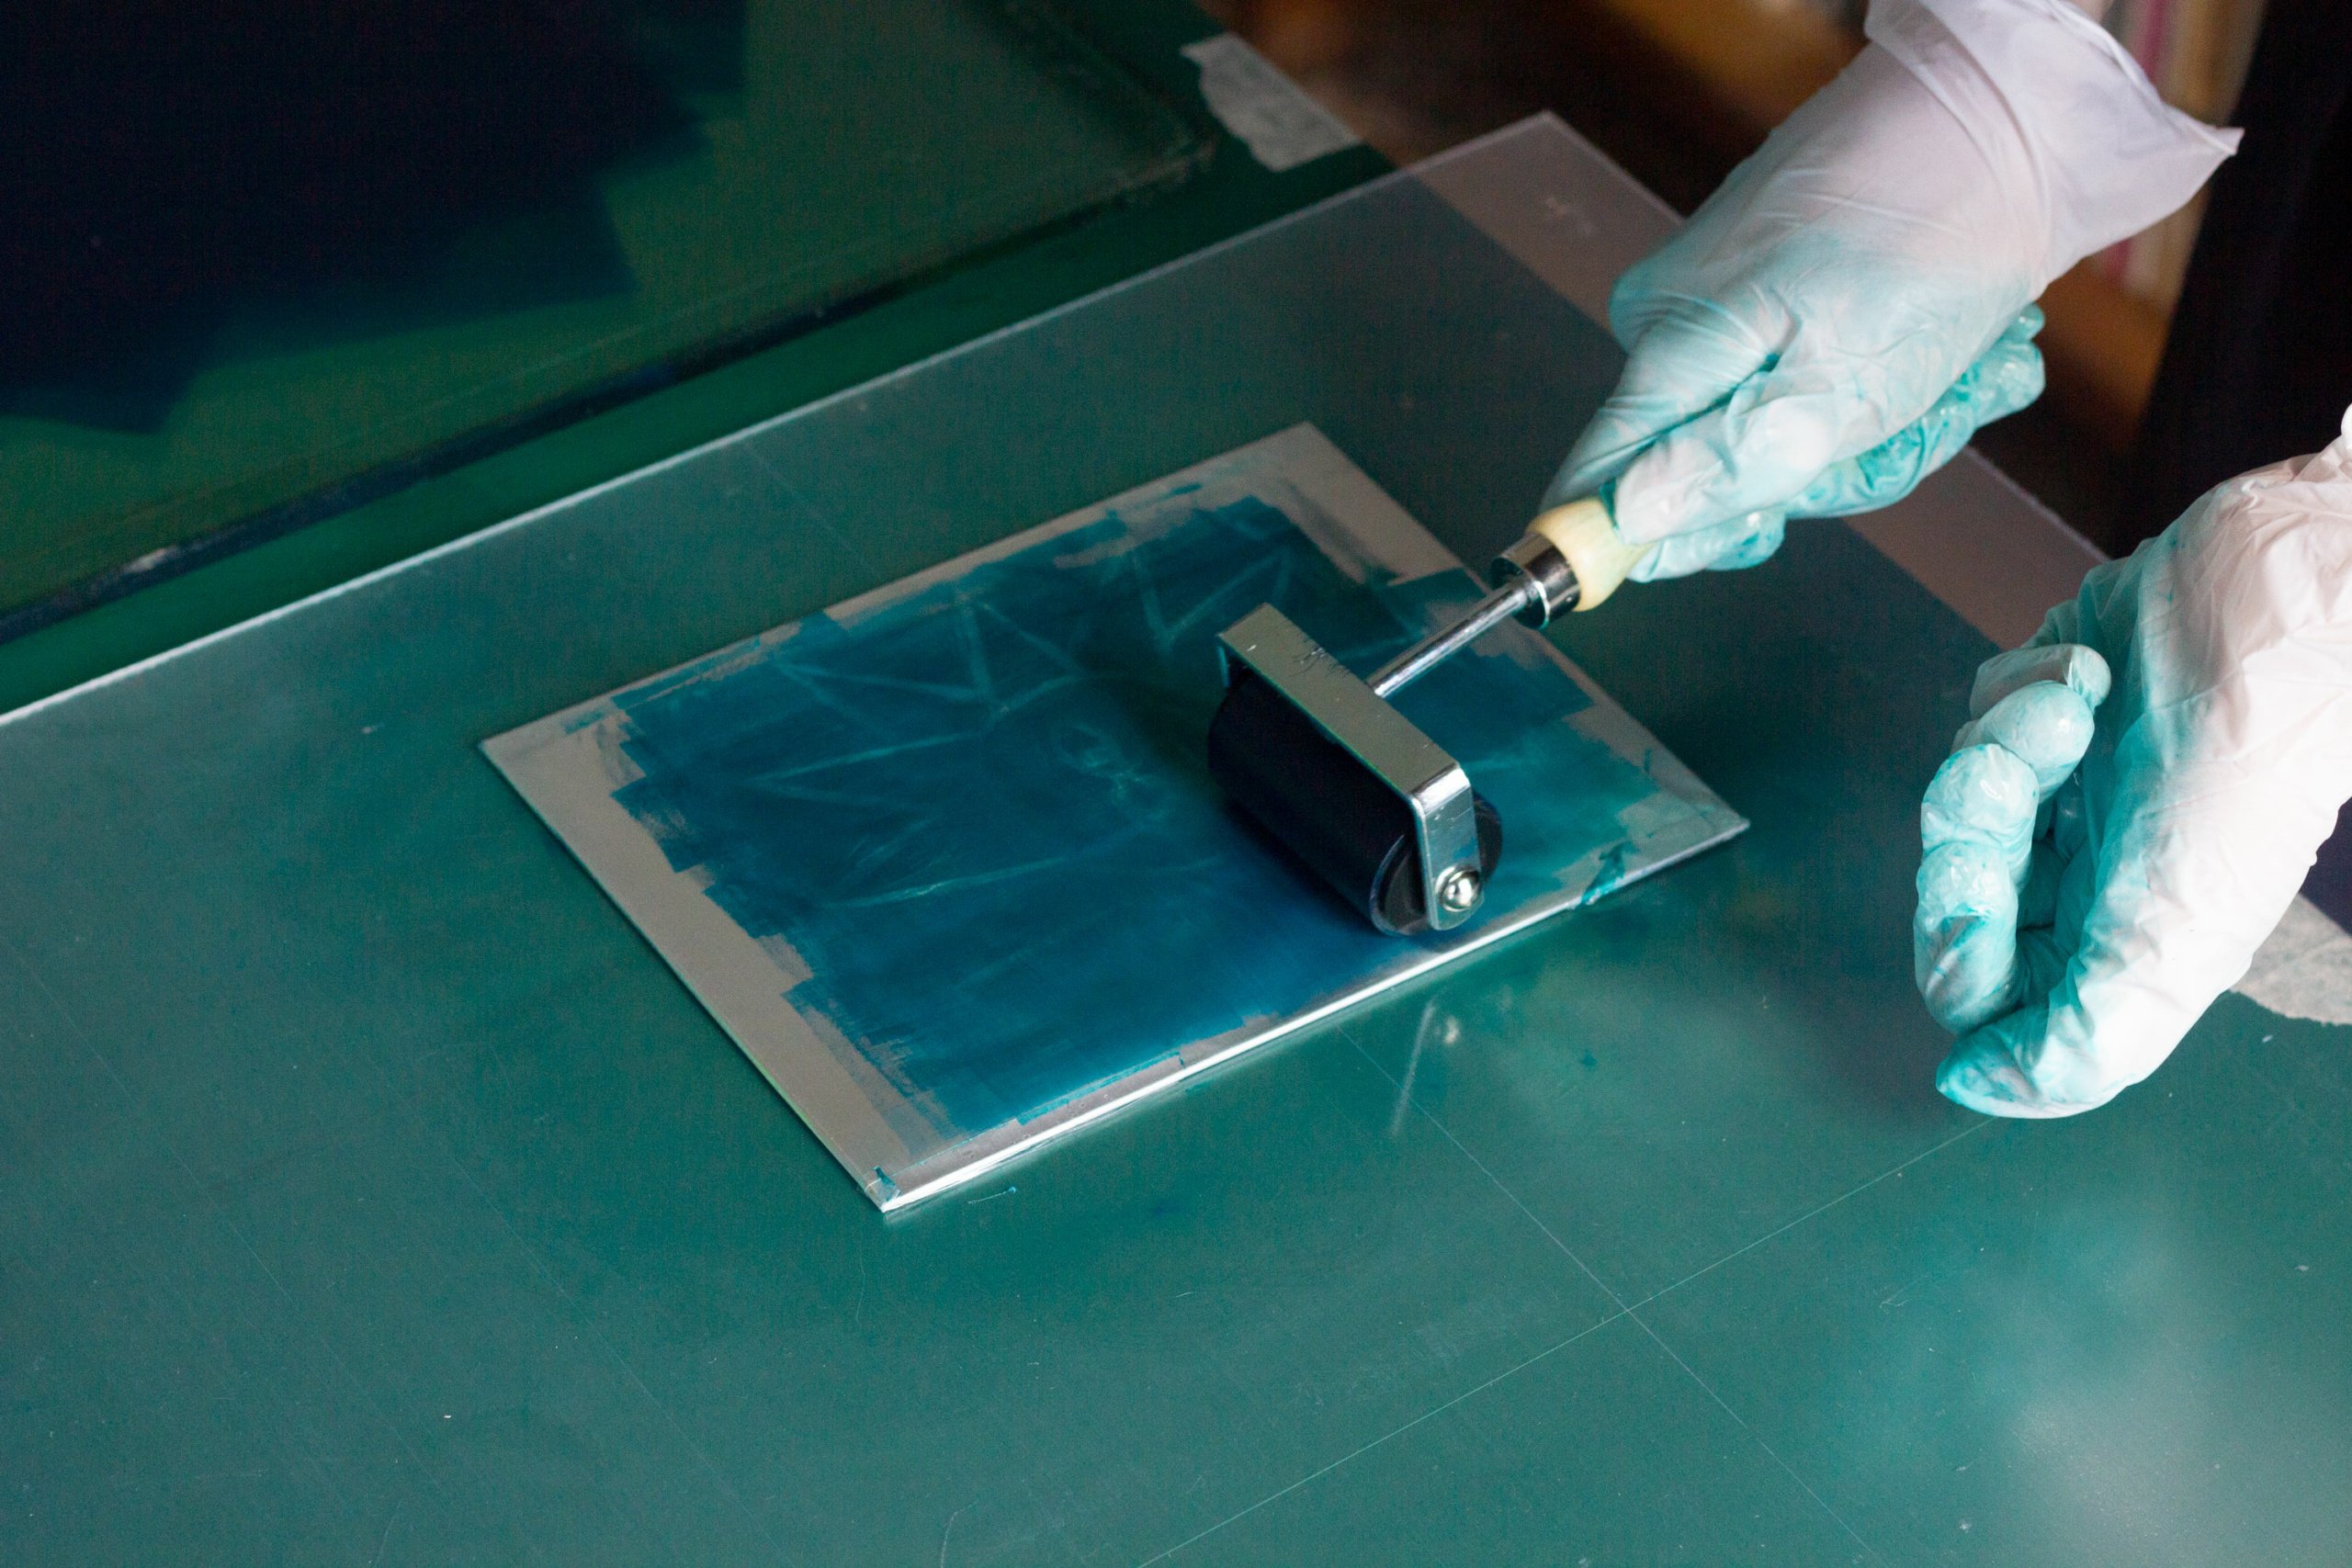
Before inking, wipe the plate with a damp (but not dripping wet) sponge or cloth, and then ink it using the roller. Don’t worry if, at the first coating, the ink is also deposited in areas it shouldn’t be: simply use the damp cloth again to wipe the design very gently. The sponge will only remove the ink from the undrawn areas.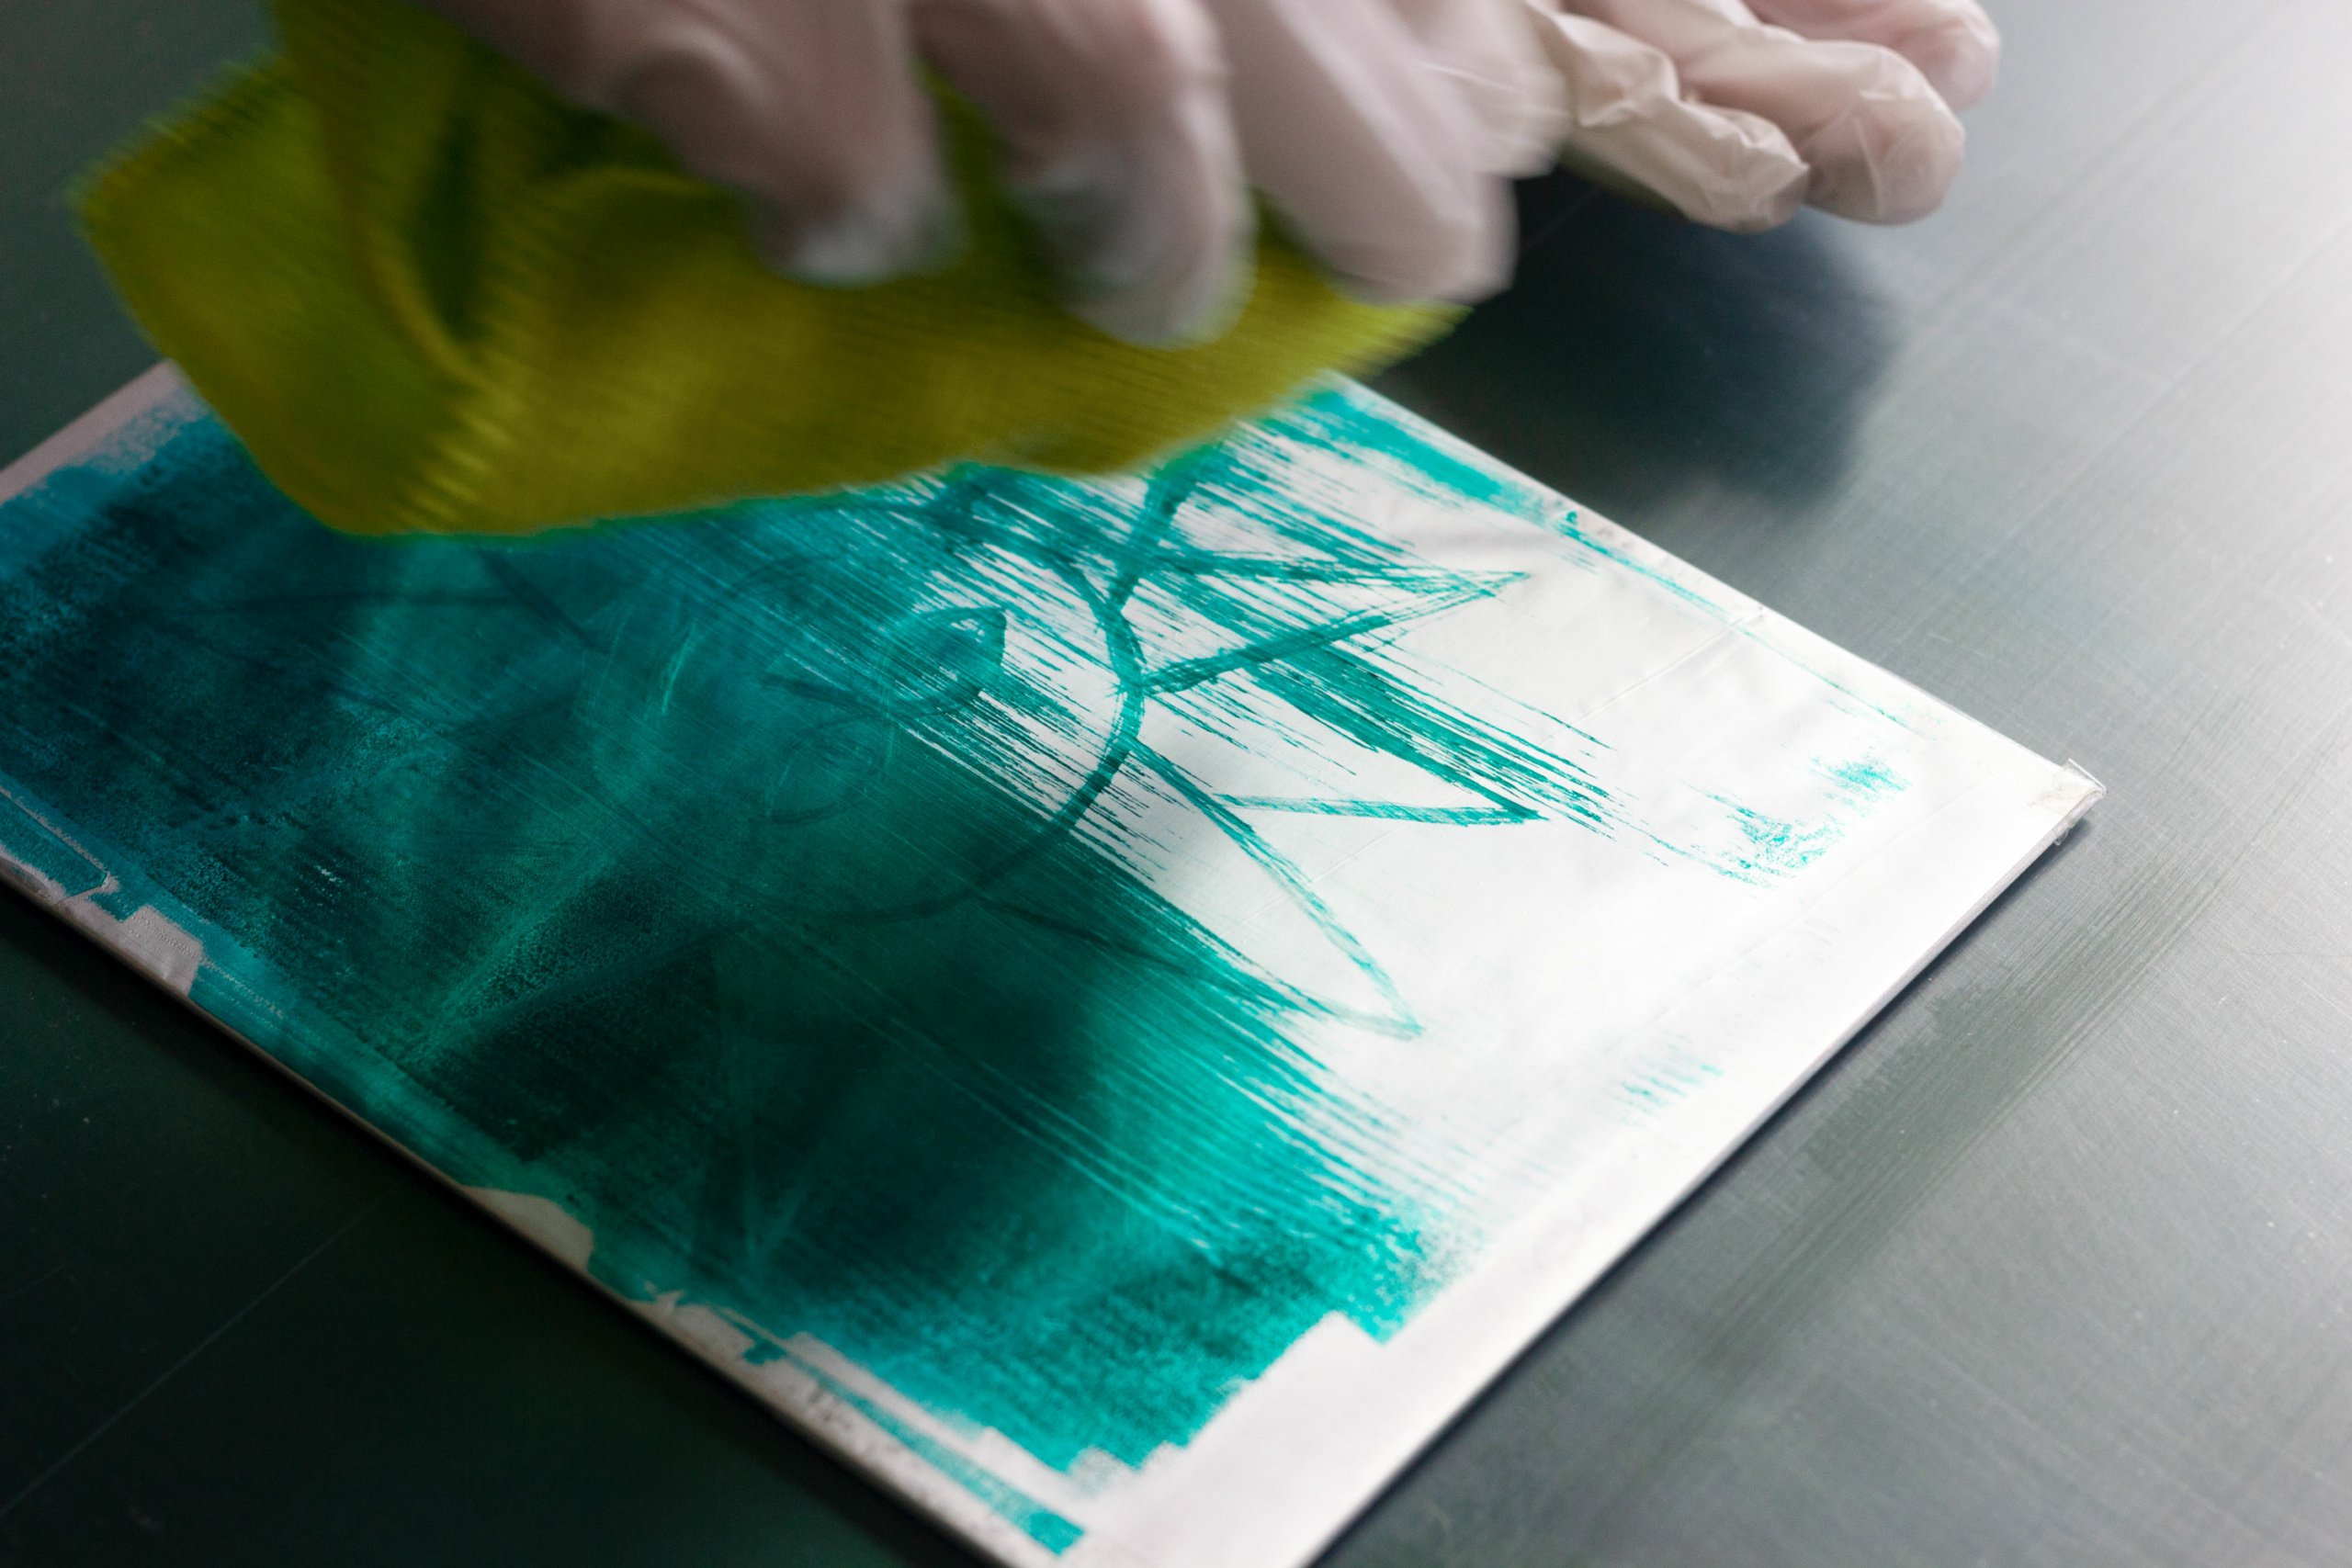
If too much dry ink builds up on the plate, wipe it with a cloth and a bit of vegetable oil to remove the any residue.
6.Printing
At this stage, a press would be ideal (in which case, the plate should be plastic rather than glass), but it’s not essential. You can still get good results by simply placing the sheet above the plate and pressing down on it, perhaps with the help of spoon or oven glove. To avoid ruining the paper by rubbing it, you can place a piece of greaseproof paper above the paper you’re printing on.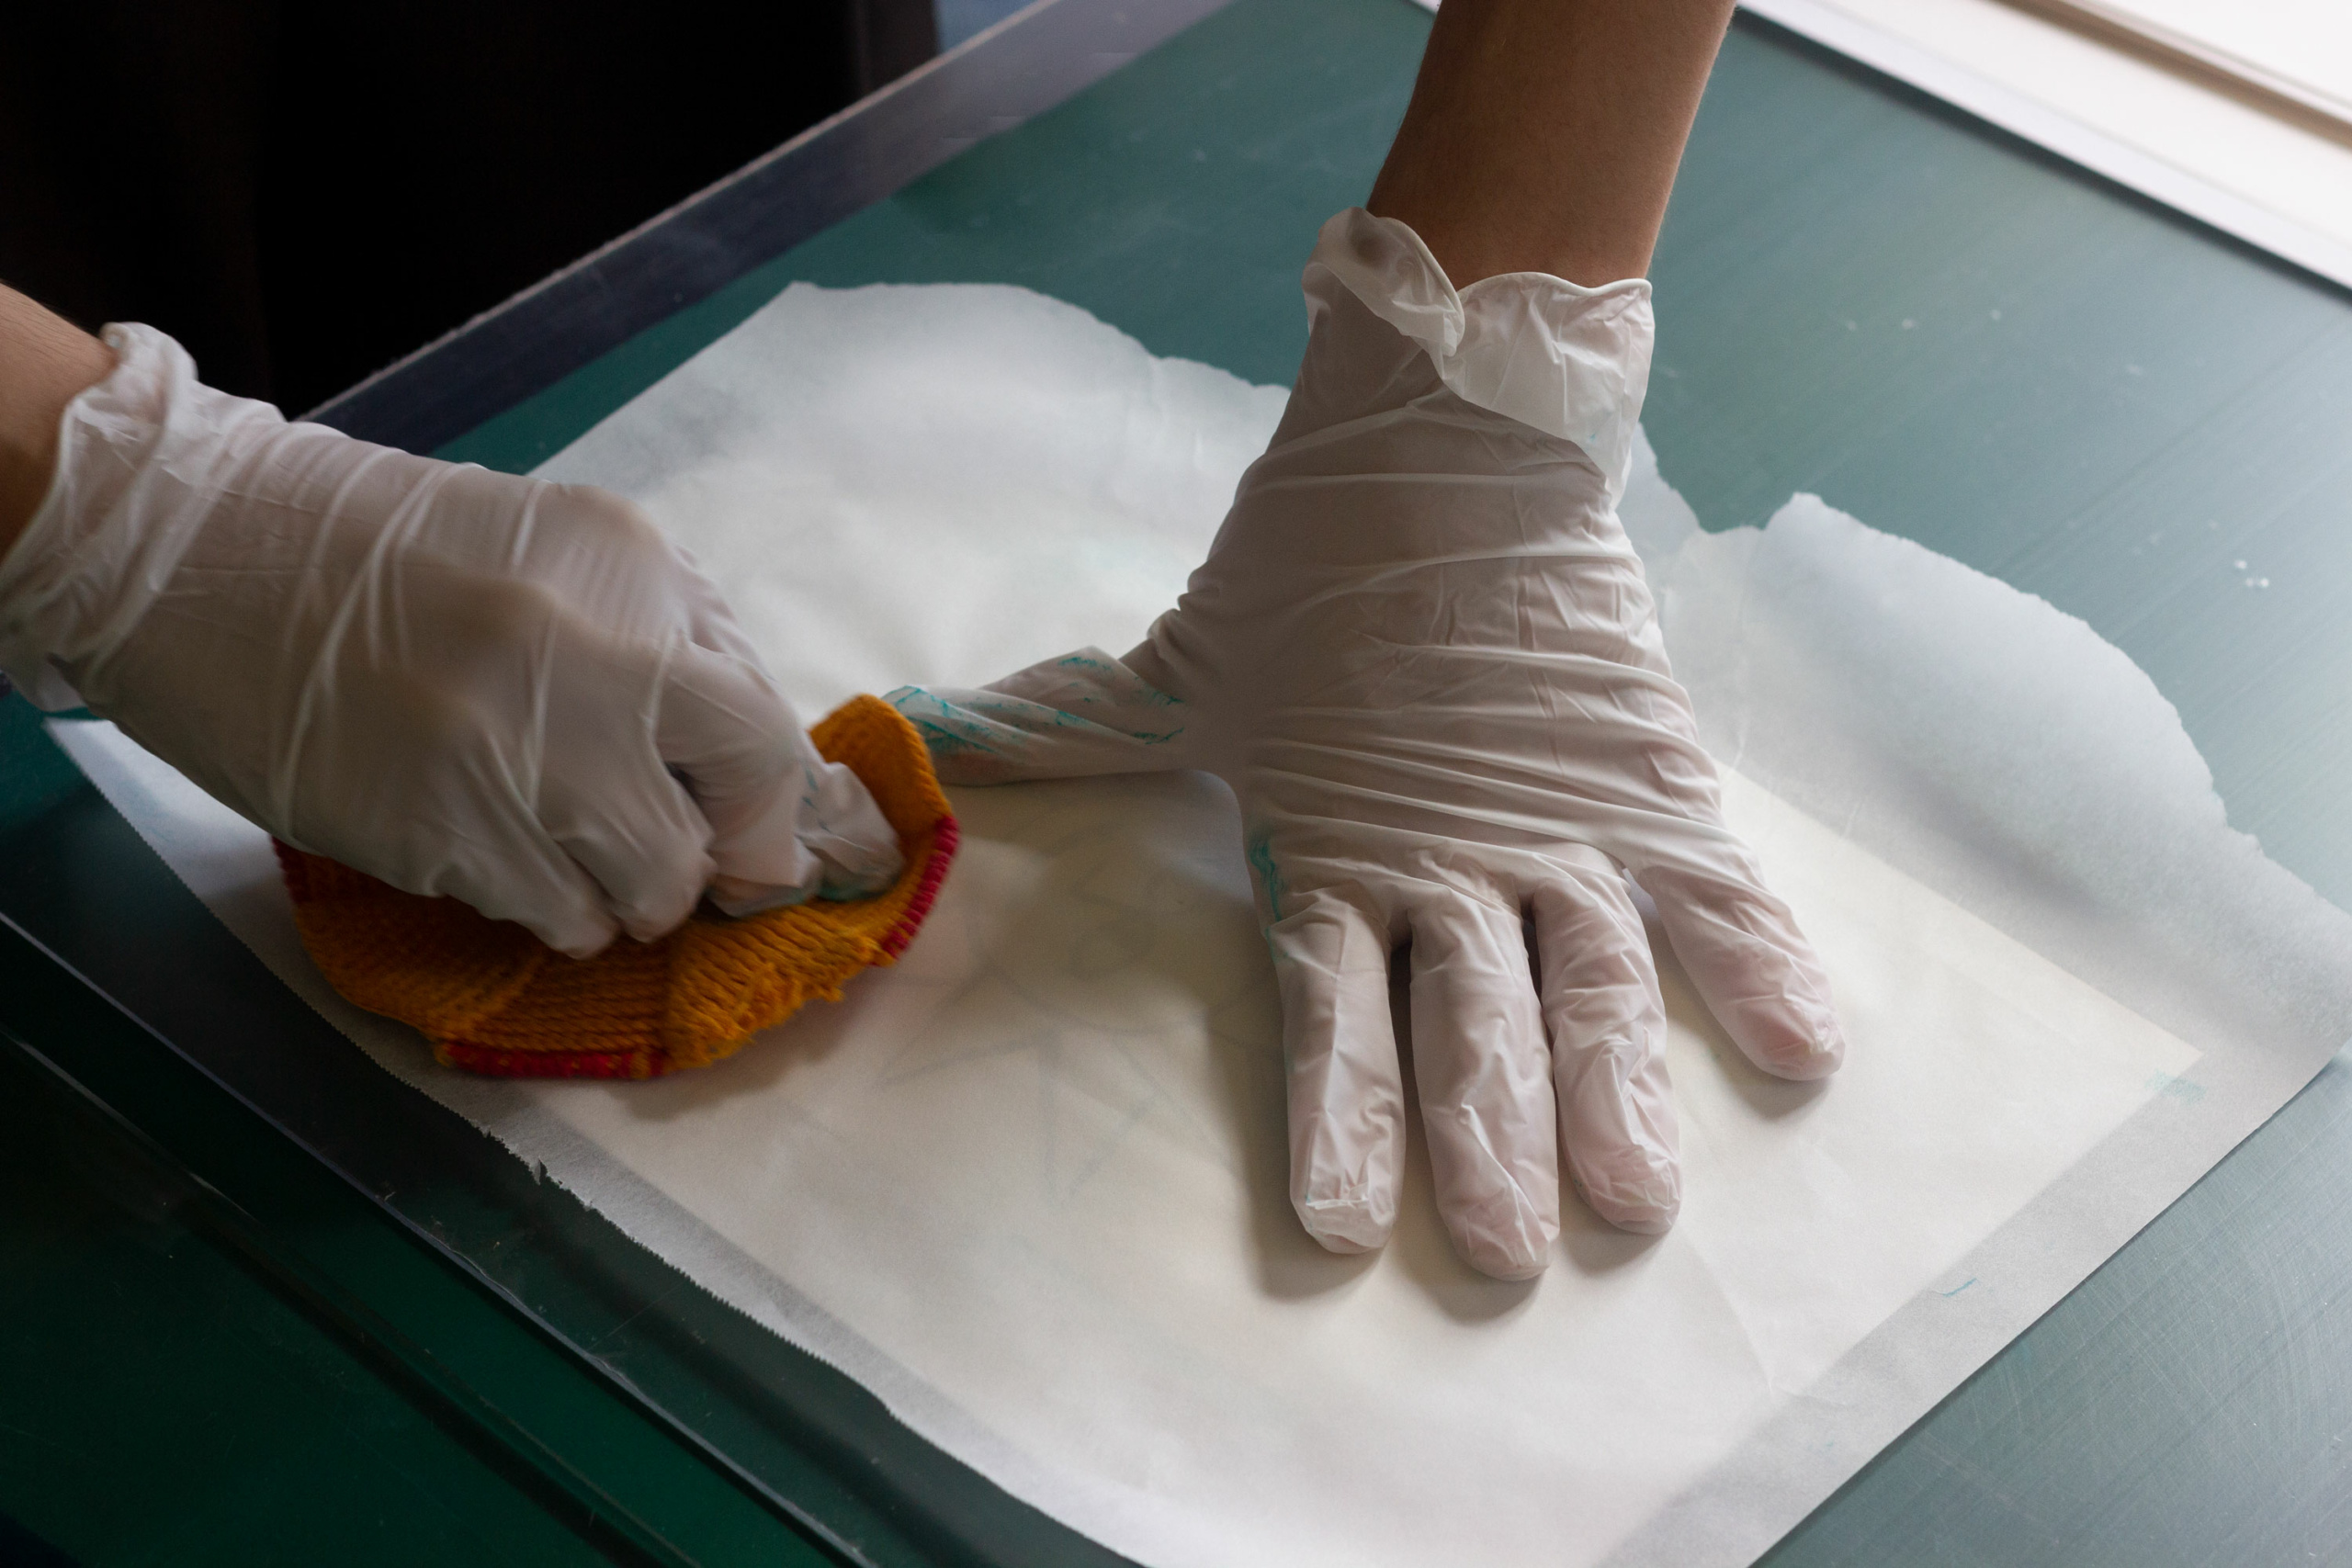
The plate will produce about a dozen prints before the print quality starts to diminish.
This process is undoubtedly rough and ready: lines are not sharp and ink can end up where it’s not supposed to be, but the results are very natural and not easily replicable with other techniques. With this in mind, it’s advisable to opt for a design that isn’t too refined or detailed, but which would benefit from slightly “dirty” lines.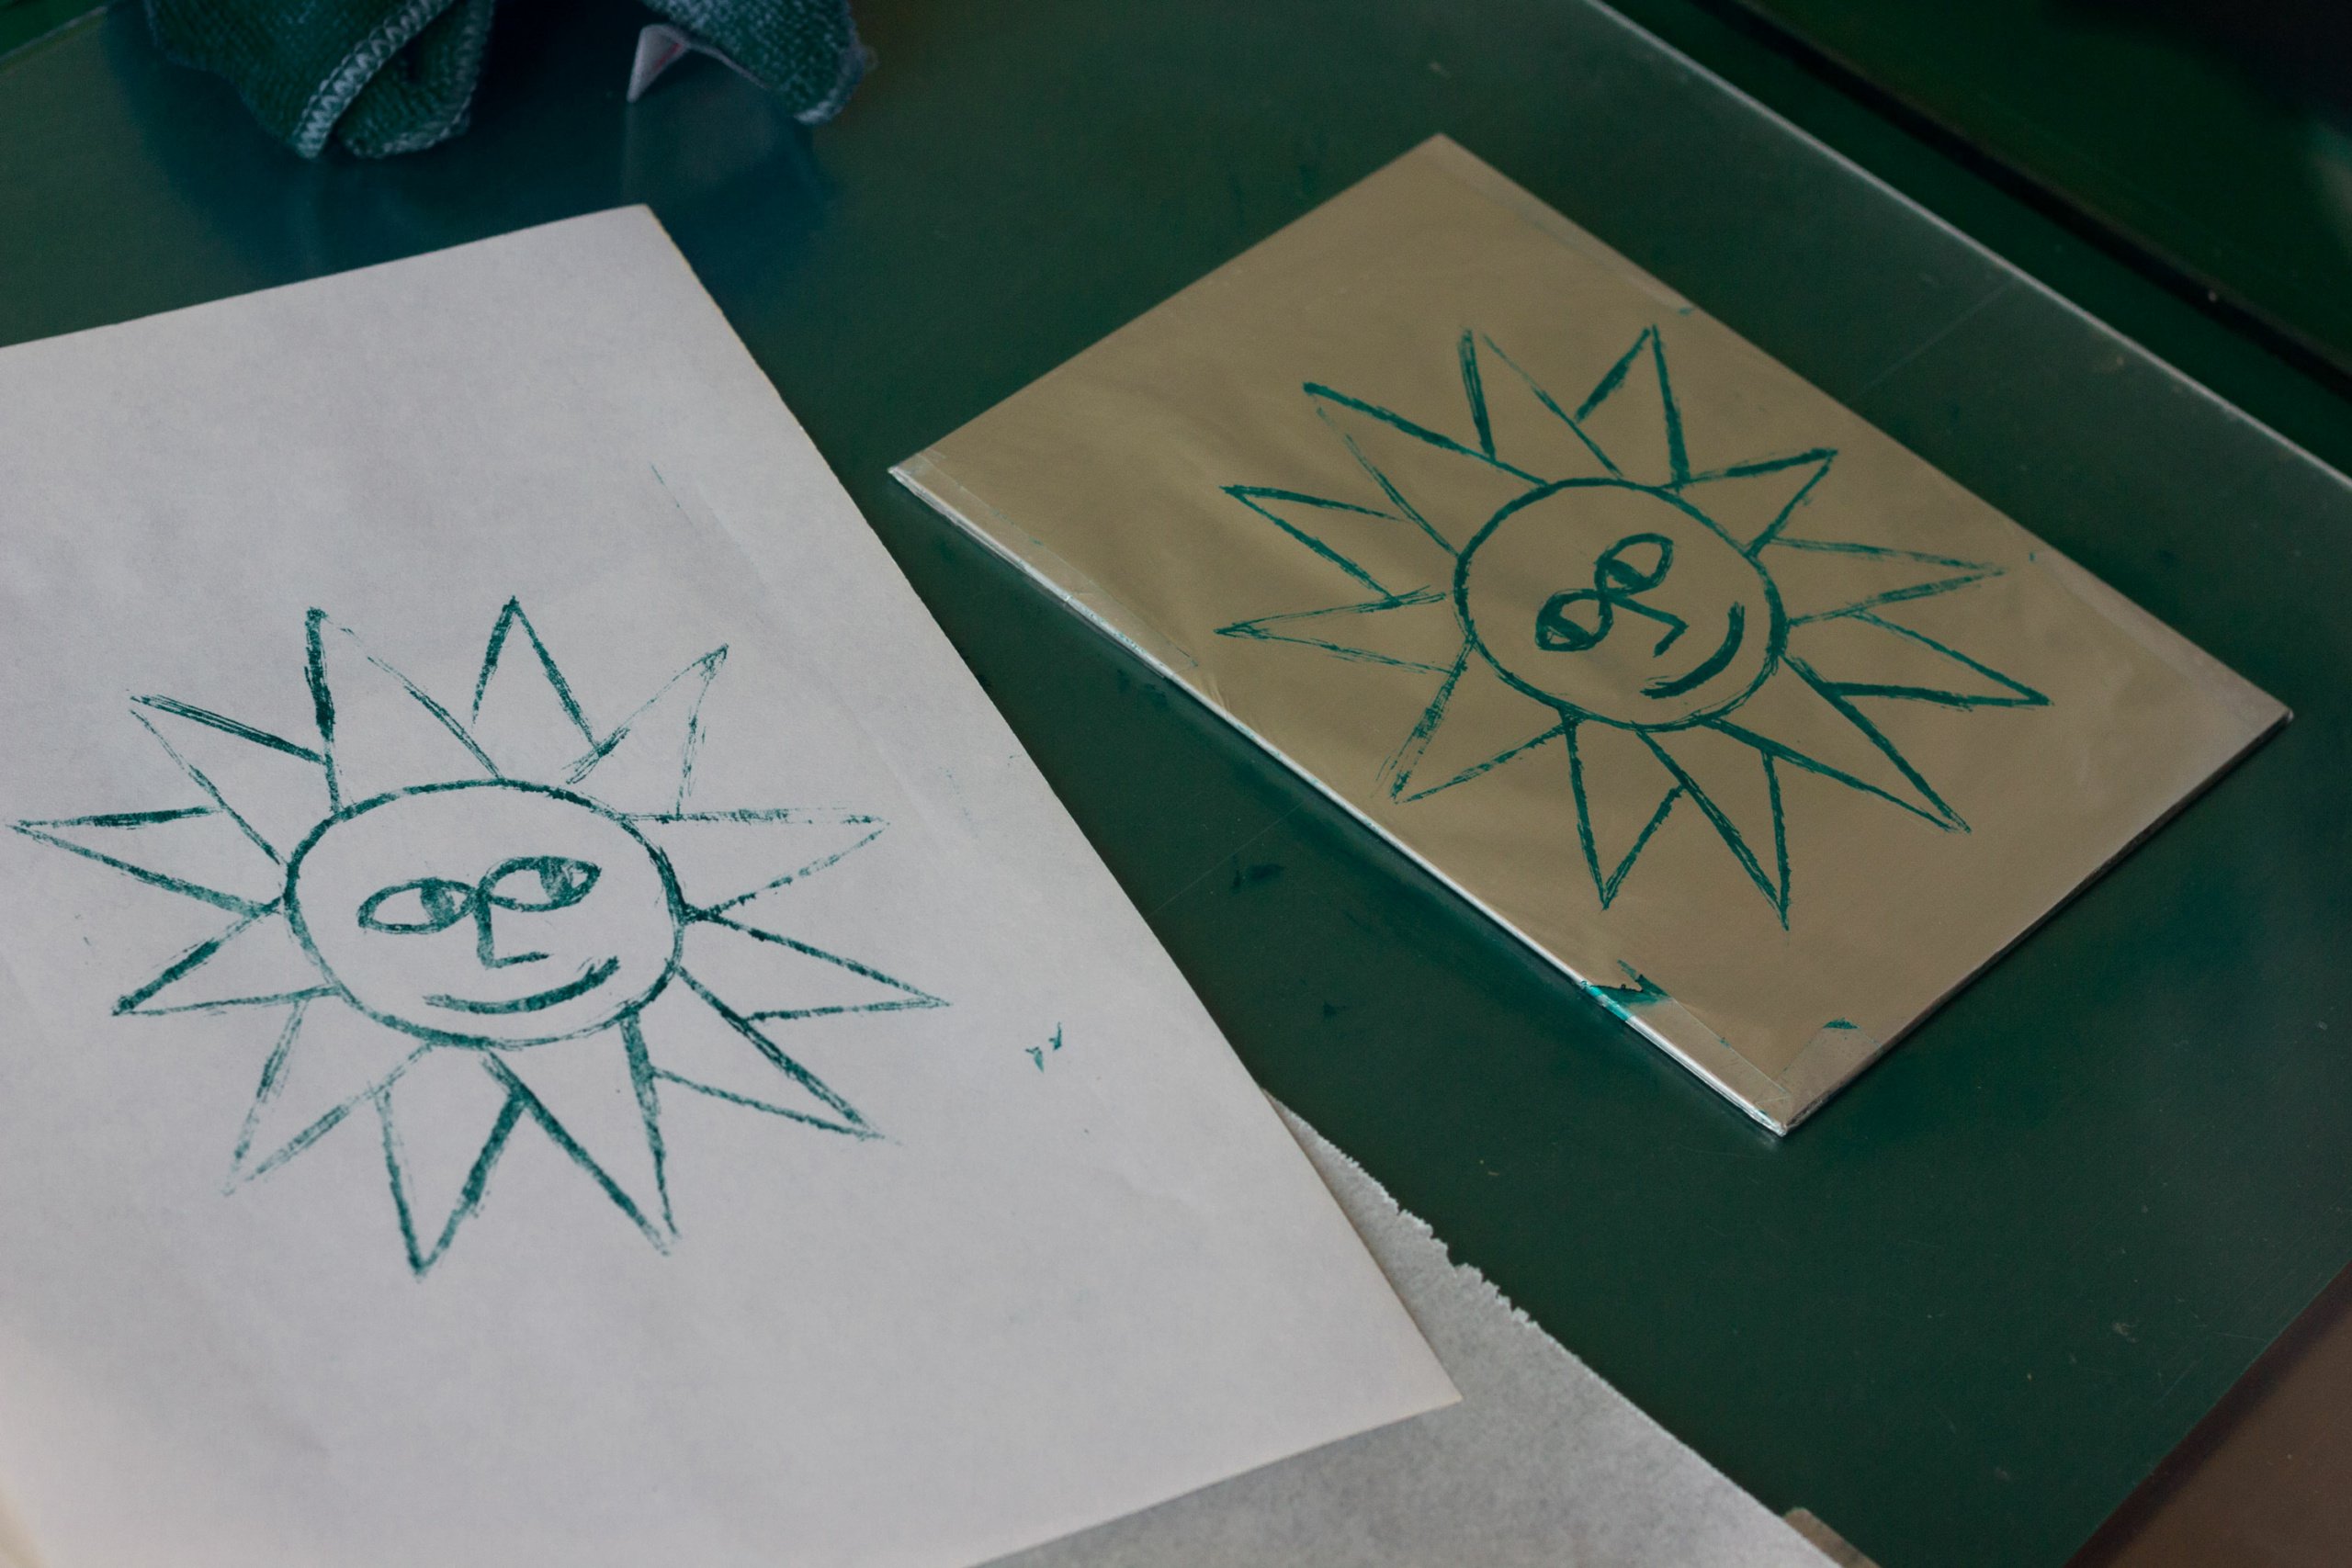
Now it’s over to you and your own “kitchen litho” experiments!