
Inspiration comes when you least expect it.
Sometimes ideas collide unexpectedly and a lightbulb comes on in your mind.
“Eureka!”.
That’s what Toni must have thought when he realised his passion for electronics and DIY could be harnessed to create a gaming cabinet like those seen in bars back in the day. Many will have fond memories of feeding these machines with coins and whiling away the hours playing videogames.
Once Toni had the idea, he couldn’t let it go. So, he quickly set about working out how to turn it into reality. Today we take you behind the scenes of this superb piece of work which, once complete, transported Toni back to his childhood. And Pixartprinting helped make it happen by printing the stickers that have made his bartop cabinet so pleasing to the eye.
Ready to relive your youth?
Happy reading!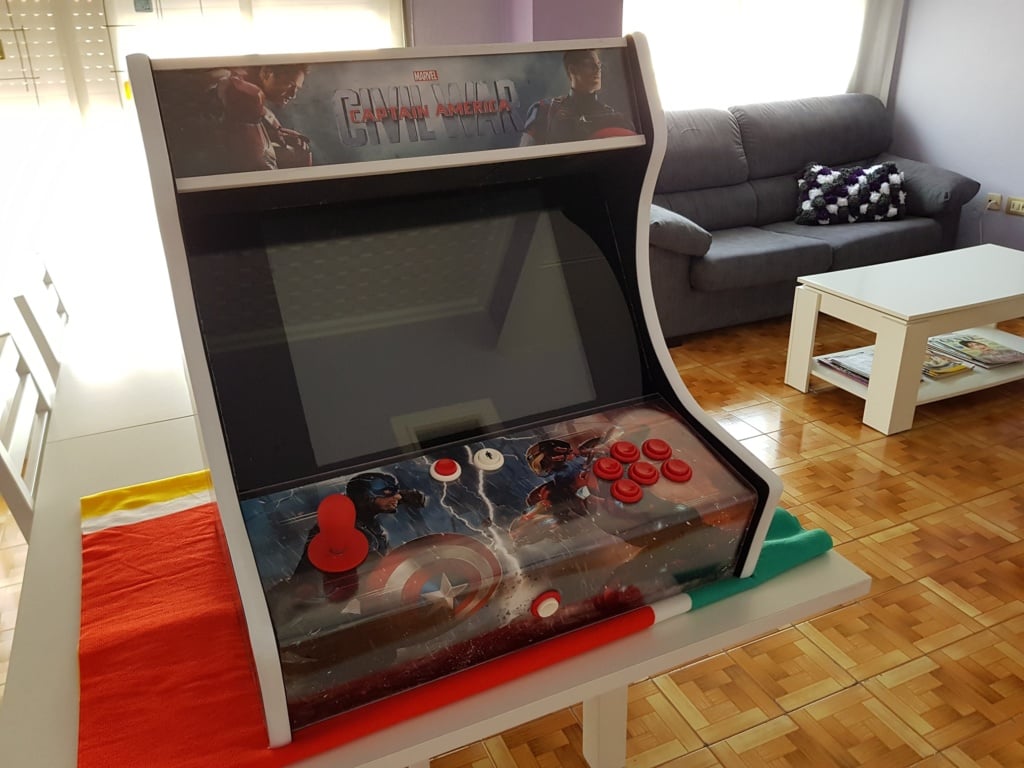
Who are you? Talk about yourself and about what you do. What are your dreams? And your aspirations and skills? Give us an idea – but be accurate!
Hello, my name is José Antonio Arnazo – but friends call me Toni. I was born in Sueca (a small village near Valencia, Spain), I am 50 and I have a wonderful Venezuelan wife of 13 years. I have been working since I was very young in construction and in my spare time I also deal with computer assembly and maintenance. What are your dreams and aspirations? Lately, I have many. An old saying goes “even under the weather, always put on a good face”. Professionally, I had to start from scratch twice.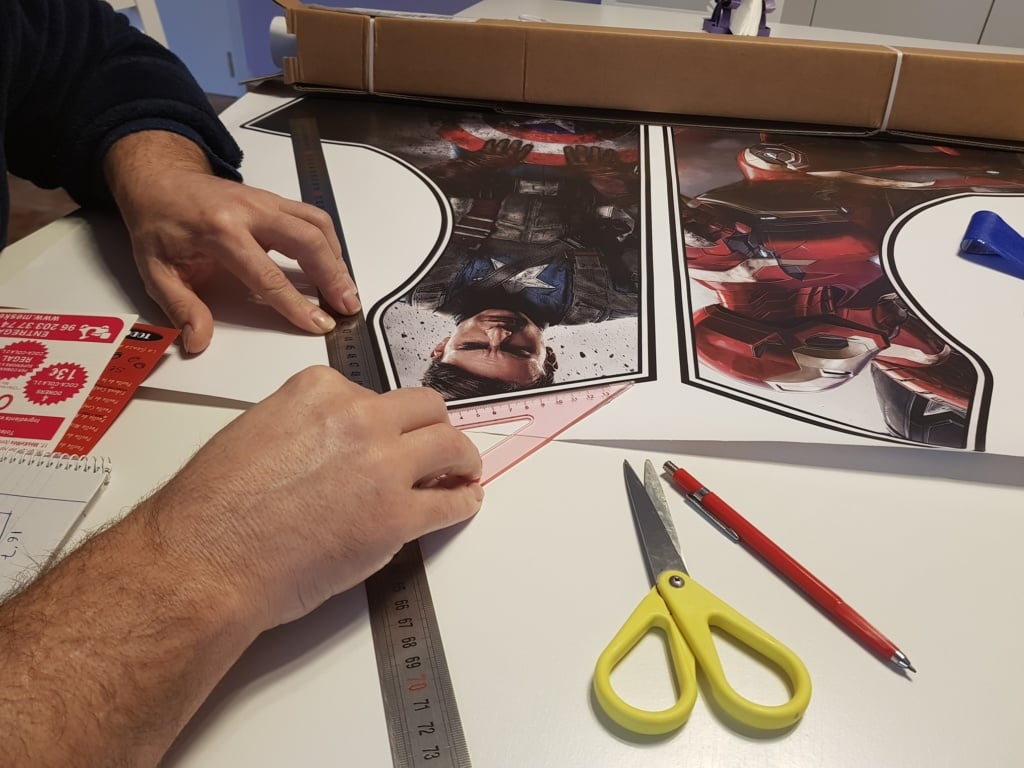 First, when I left for Venezuela after the economic crisis hit Spain in 2009. I worked there for 7 years as a cab driver. The second time was 2 years ago, upon my return to Spain. Once back, I thought hard and long about my life. And while I was far from feeling beat, I realised that I’ve always had a talent for IT and a passion for DIY, therefore I could make both aspects work in my favour. That’s when I started having lots of eureka moments and a ton of creative ideas – after that, I decided to turn my talents into my personal brand.
Before talking about your creative journey, can you tell our readers how did you use our printing services?
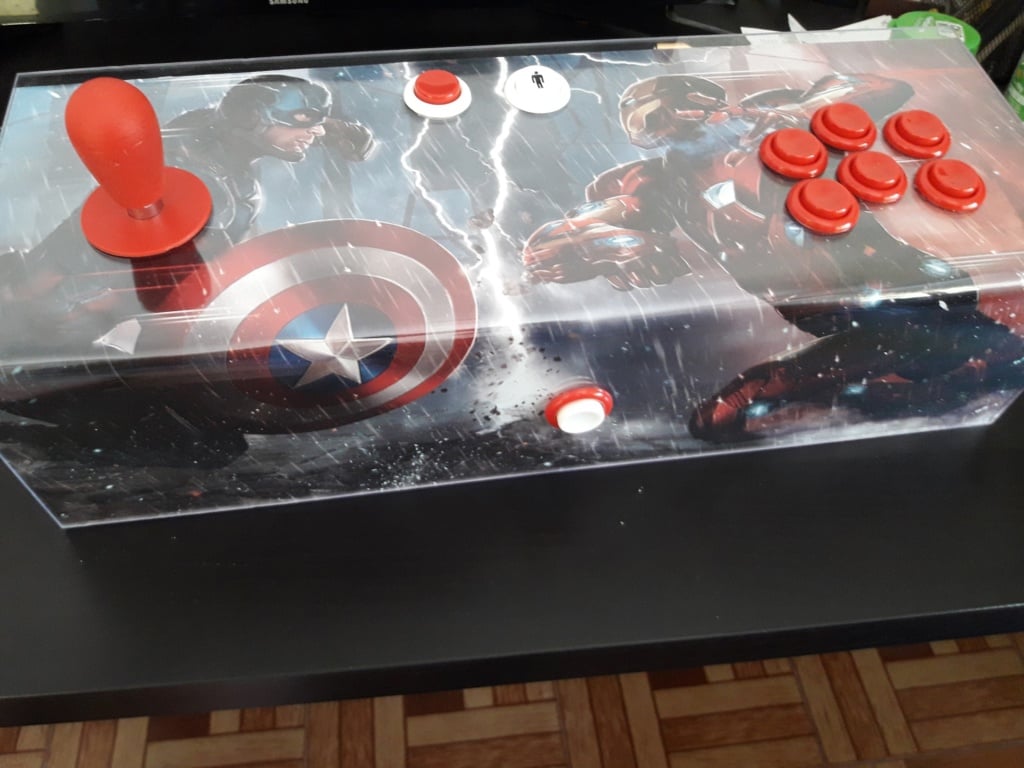
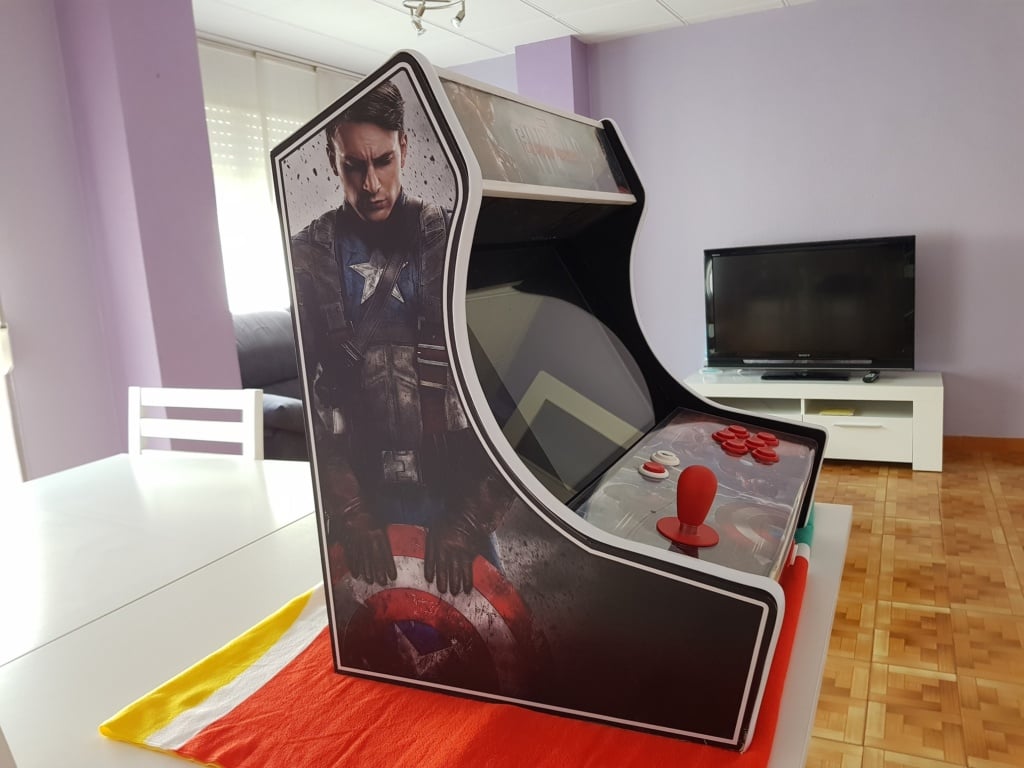
Until now, I’ve designed a single-player bartop decorated with Marvel’s Avengers graphics.
Let’s go back to when it all began. When did you have the idea of starting the project? Was it by accident? Tell us a bit more about your project.
I started as an amateur. I’ve always loved gaming even though I never owned a console. It all began when, one day, I was browsing some arcade video game forums and I noticed several projects that brought me back in time, to my childhood. I remembered that after school I used to go to the arcade round the corner to play a Martian video game! LOL. That’s how I started recalling my passions, like IT and DYI… and from there, I became obsessed about creating my own arcade.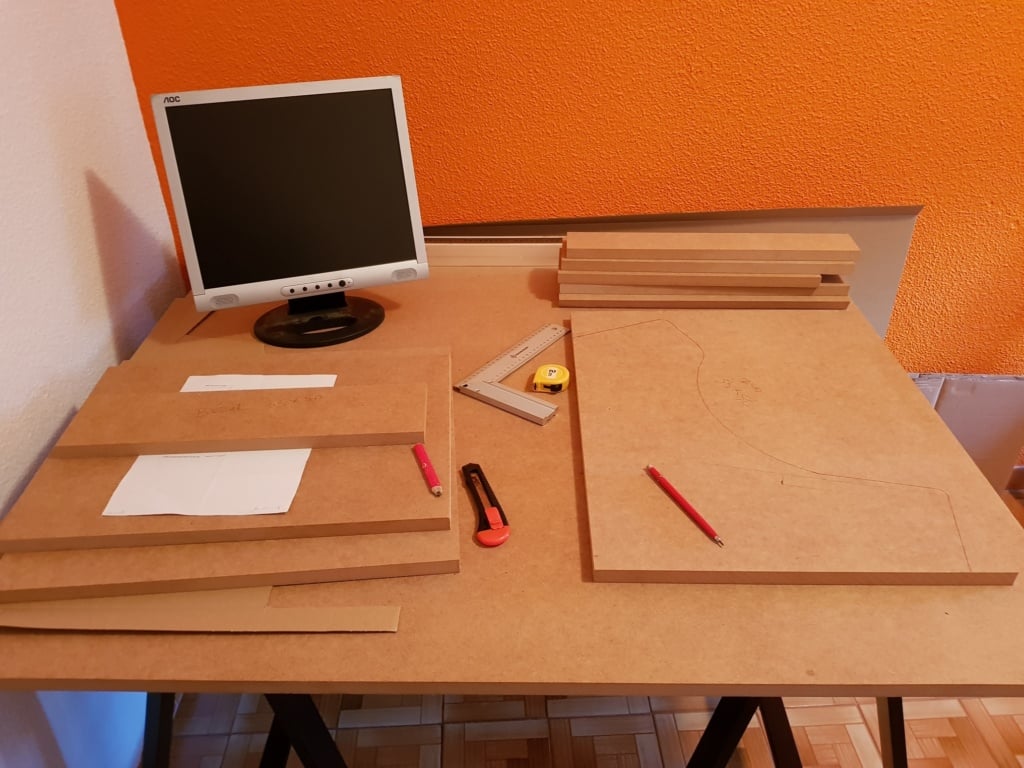
When you realised the idea was good, you had to set a goal. What did you want to achieve? What was your final objective?
The main goal was always personal satisfaction, creating something from start to finish; also, as I was a beginner of all things arcade, I decided I wanted to help other newcomers like me through social media.
So, we have an idea of the project and its purpose. Now, tell us: how did you go about it? How many phases did you identify and what were they about? Tell us about the process you went through, from the initial shaping of the idea up to printing.
The work was organised in 9 phases, for which I used the following materials:
Phase 1: purchase and delivery of vinyls.
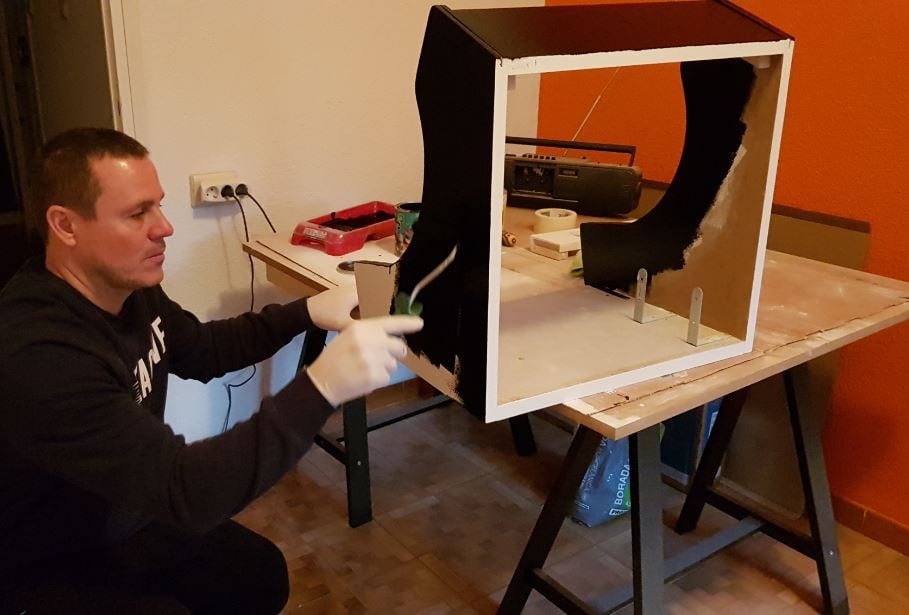
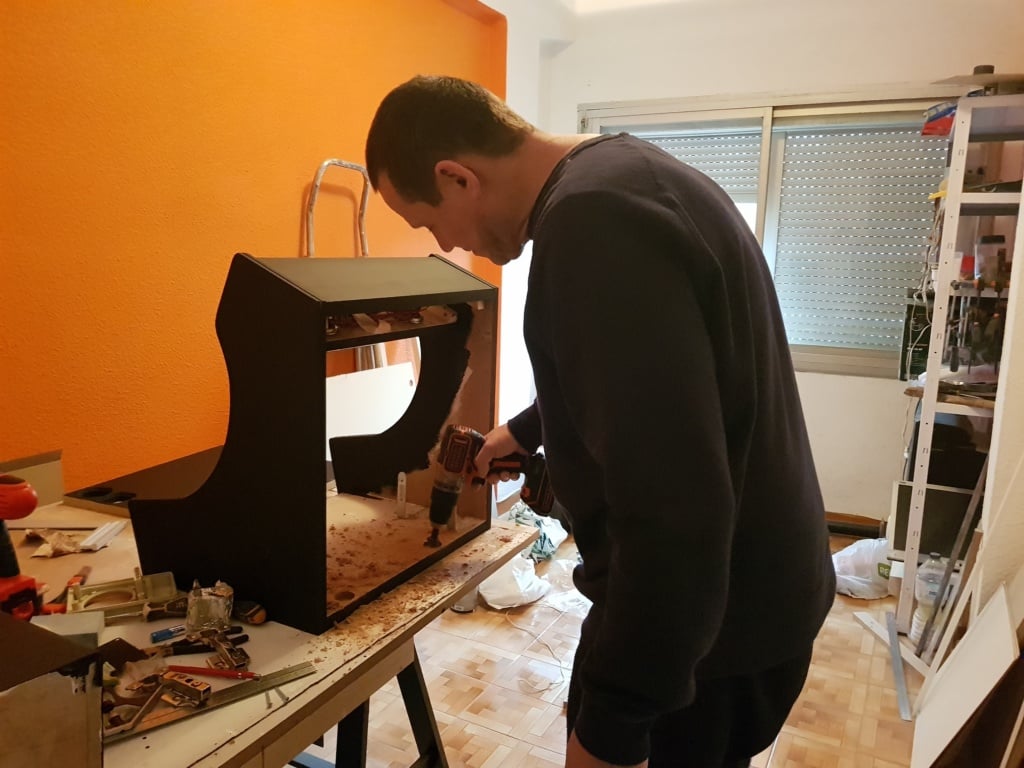
Phase 2: Workbench assembly, side cutting, edges sanding; creation, joining and anchoring of the CPO.
Phase 3: Primer and paint.
Phase 4: Power supply setup and installation of hinges, fans and speakers.
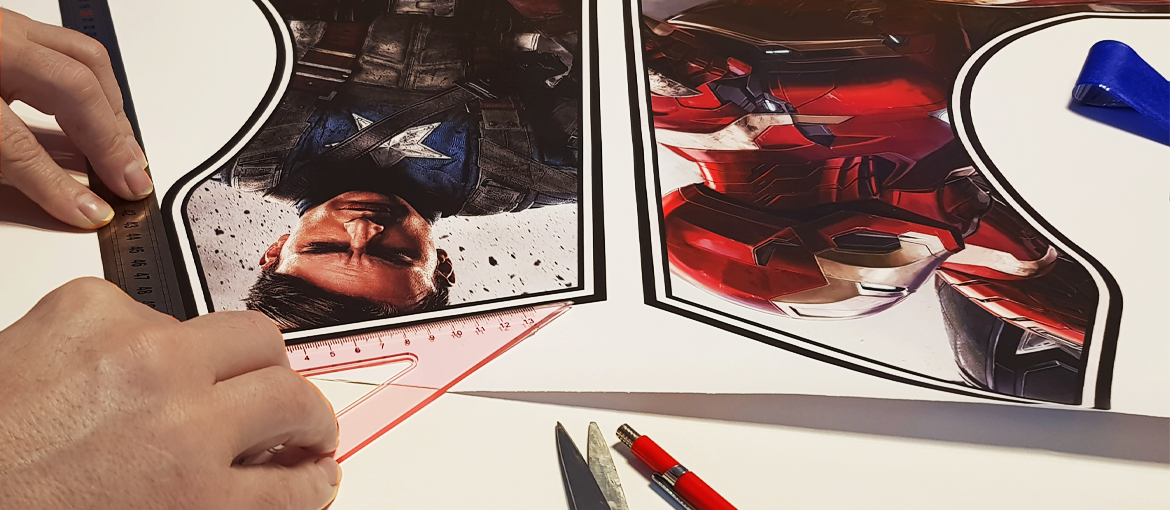
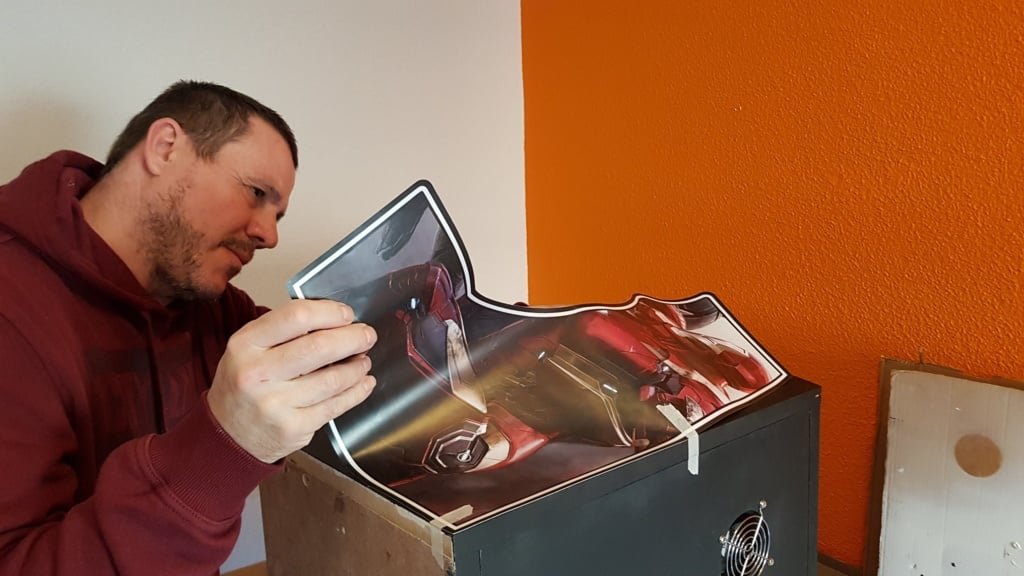
Phase 5: Vinyl bonding. This phase was the one I enjoyed the most because it was the one I was more anxious the most about since the moment of the purchase. To position the vinyl, I put water in a sprinkler with a splash of detergent to make the solution more viscous. I centred the vinyl onto the surface and fastened it with a strong tape so it wouldn’t move. Then, I sprayed both the adhesive part and the surface where I was going to place the vinyl. Once this was done, I gradually placed the vinyl and stretched it with a spatula from the centre outwards. This helped me eliminate any excess moist and prevented bubbles from forming.
Phase 6: Bending and drilling the methacrylate and installing buttons and hand lever.
Phase 7: Installation of the T-molding.
Phase 8: electronics. I started with CPO wiring.
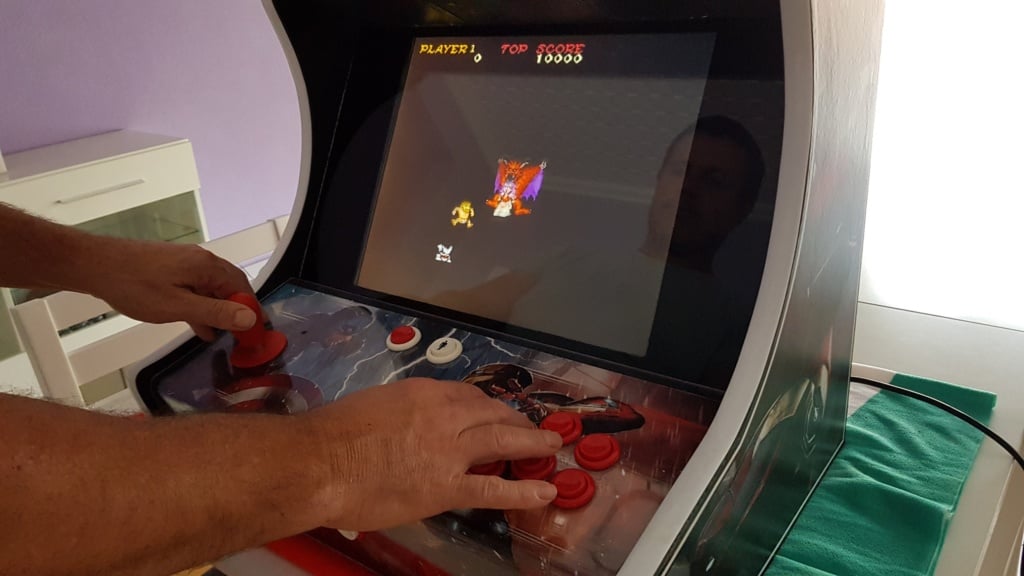
Final phase: the most anticipated and sought-after moment! The testing.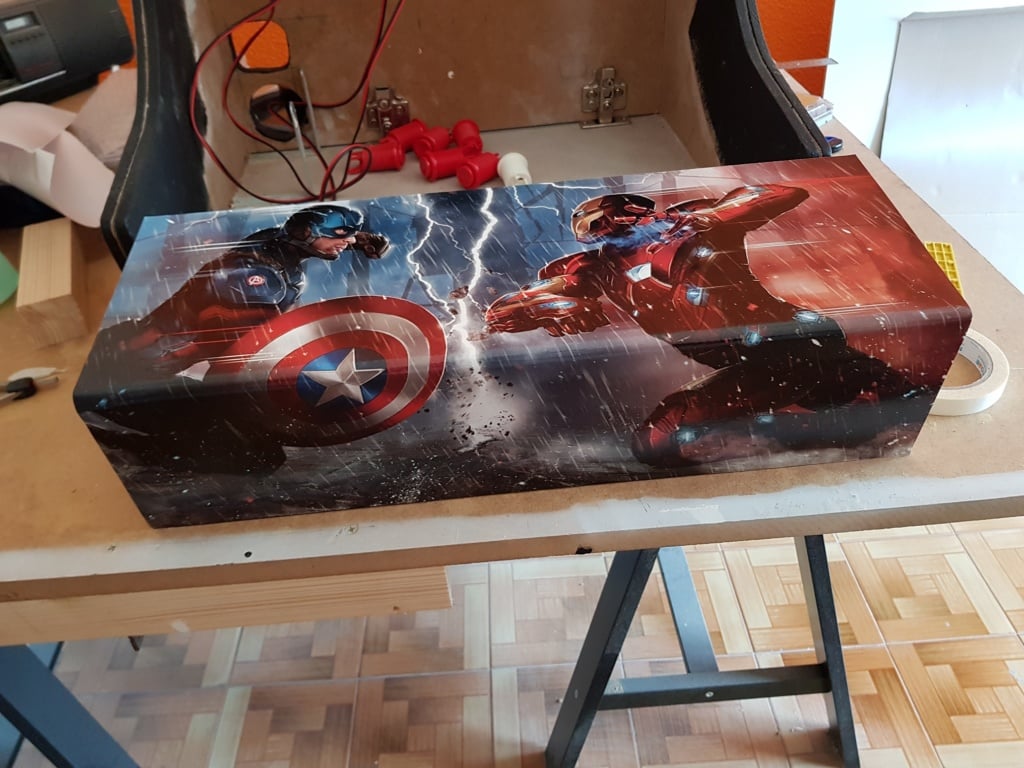
And it was then time to print the project! How did you use our service to bring it to life? What materials did you select? What led you to select those materials and this specific printing technique?
I decided to use your services because so many users in the forums were raving about the quality of your products. So I went onto your website – after realising how easy it was to order the printing of vinyls and the variety of options available, I went for monomeric matte that some colleagues recommended me.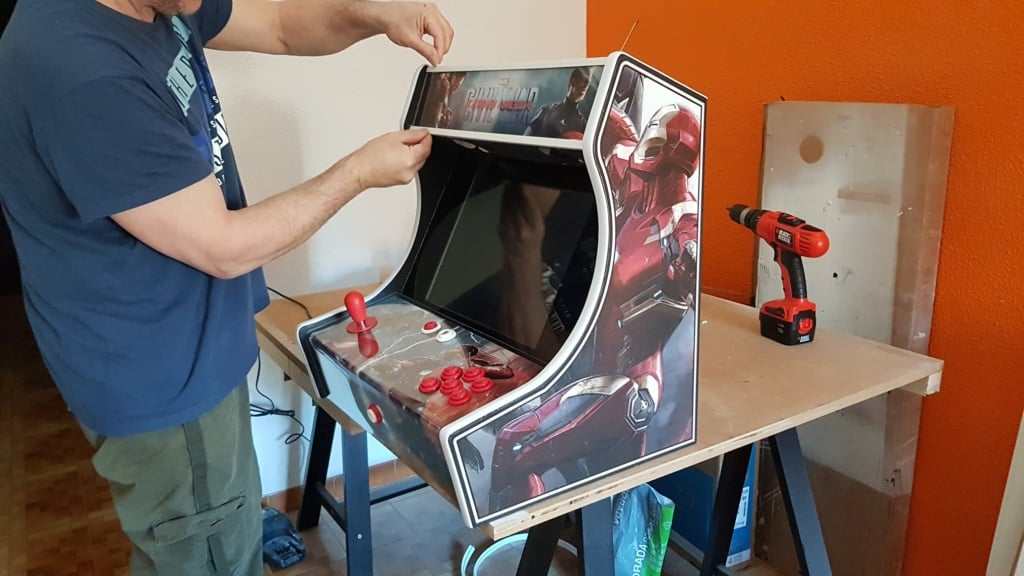 Now the time has come to make the most of the products you’ve created! In this case, the goal was to print stickers of Marvel superheroes. How did you feel when you finally saw them on your console?
From the very first day I received your shipment – and trust me, it’s no exaggeration – I felt like I was back to my childhood! It was an incredible feeling of happiness that I felt once I saw the stickers on the bartop! Actually, I must confess that my project started the day I received your stickers because at that point in time I still had no tools, no woods, nothing at all. I only had the design in my mind, because someone on the HFSPLAY forum shared the artworks. To be honest, I did not know anything about editing programs back then. It was thanks to your stickers that I was inspired and pushed to get all the tools and materials, day after day.
This is just the beginning! What other projects do you have in mind for later? Can you reveal anything to us?
Of course I can! I have enjoyed this so much that even before I finished it, I found myself already planning about the following project. I can anticipate that the next bartop will feature a 2-player Bubble Bobble design – plus, I have in mind another (somewhat) more ambitious project aiming to recreate a fully functional machine from the Eighties, like the Video Lider.