
The last show you exhibited at was a success: your stand really stood out from the others, attracting curious passersby and new customers. Mission accomplished! But you’re not resting on your laurels and are already preparing for another event. If you snooze, you lose!
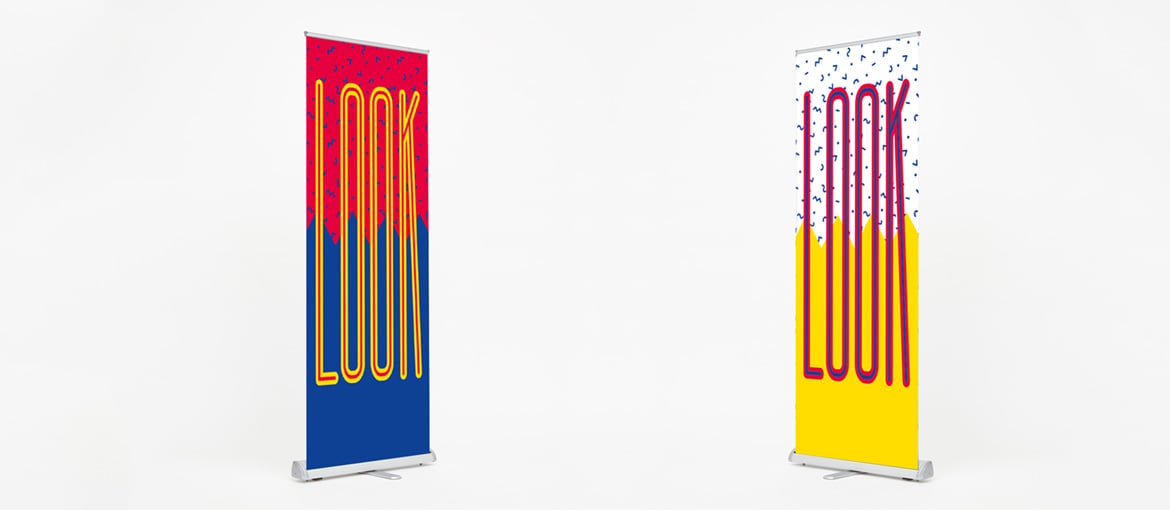
While getting everything ready, you realise that the roller banners used last time are going to be updated. You’ve already printed the new graphic specially for the occasion.
But how do you do it? Changing your roller banner print is easy. Don’t sweat it, just follow the simple steps below:
- Pull the banner out of the roller frame until the white part that attaches it to the frame is visible. This might be tricky on your own, so get someone to help you!
- Once the banner is fully unrolled, insert the key (supplied with the product) into the hole in the side of the frame. This will lock the spring, which will otherwise briskly roll up the banner.
- Now remove the banner from the base. Don’t worry about damaging the banner – it should come off easily.
- Next, move on to the horizontal bar at the top that keeps the banner taut. Take off the caps that secure the banner and remove it carefully.
- Unroll the new banner and insert it onto the tensioning bar. Carefully secure the bar with the caps that you took off earlier.
- Now position the bottom part of the banner level with the black line on the base of the frame.
- The original adhesive strip will no longer work once the banner has been removed. We recommend using a piece of strong adhesive tape to attach the new graphic to the frame. Tape both the back and the front to be on the safe side!
- Once you’ve taped the banner to the base, hold it tight, remove the key and let it roll up carefully and gently.
Your roller banner is now ready! Now you’ve mastered the process, you can change banners whenever you want: another show, another banner!