Table of Contents
Vector graphics are a widely used resource among designers and illustrators. Adobe Illustrator is the most popular editor for this kind of work and it comes with a great number of features. Here is a list of some of its most useful and little-known tools.
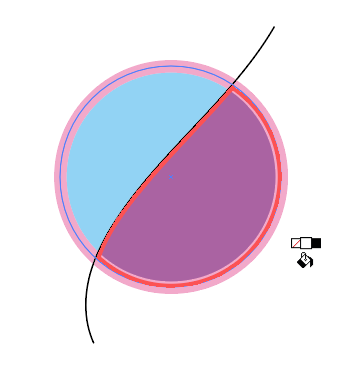
Live paint bucket – Easily colour segments of complex illustrations
Converting your illustration to Live Paint groups allows you to stroke each path segment with a different colour and fill each enclosed path.
To use Live Paint, first select the entire illustration that you want to colour, then go to Object > Live Paint > Make.
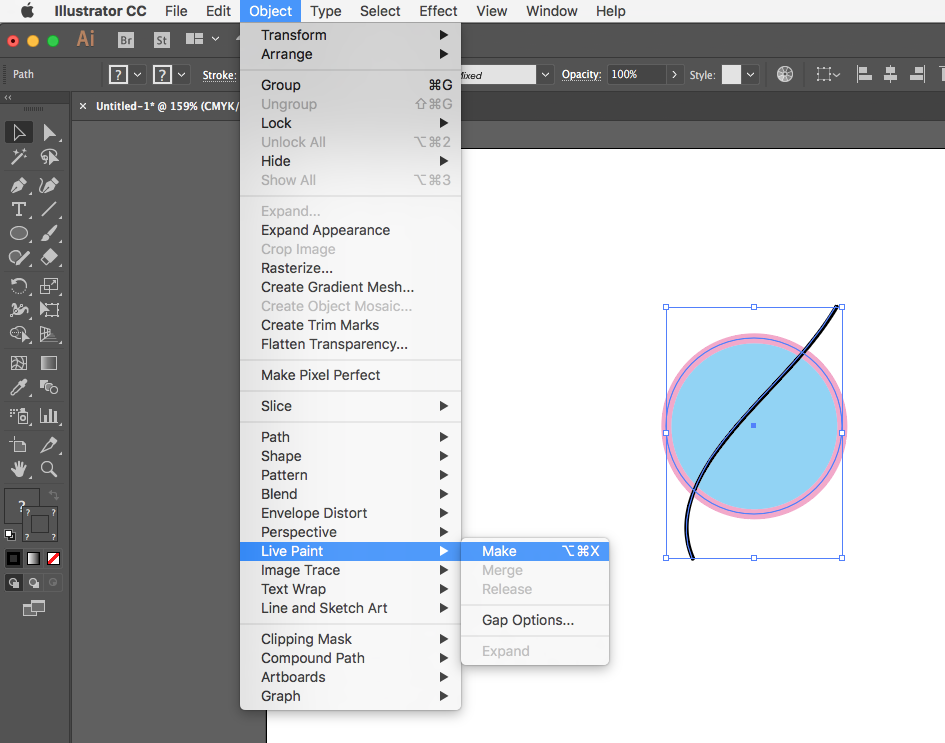
To colour the segments of the illustration, select the Live Paint Bucket tool on the side bar. With the Live Paint Bucket, you can select colours, samples or patterns and apply them to different segments of the illustration.

Live corners – Change corner styles in one stroke
The Live Corners widget appears as a dot when an object or path with corner points is selected using the Direct Selection tool (A).
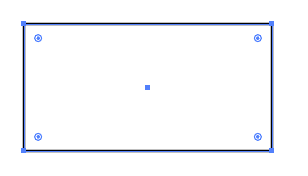
Clicking on the widget and dragging the selected corner gradually rounds the corner, while moving it inwards enlarges the radius and dragging it outwards shrinks it.
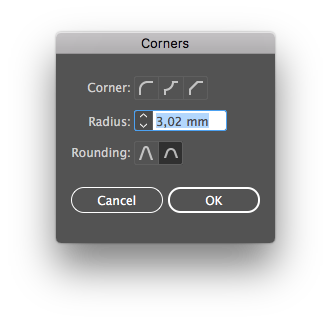
To access the Corners dialogue, double click on the Corners widget. The Corners dialogue includes the option to toggle the shape of the selected corner between Round, Inverted Round and Chamfer. The radius of the corner can also be changed.

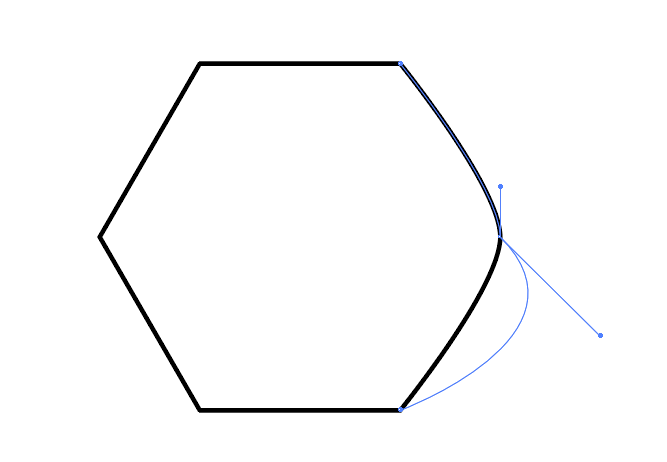
Anchor point tool – Changing corners to curves and editing paths
To access to the Anchor Point tool, select it in the side toolbar by opening the Pen tool or using the shortcut (Shift+C).
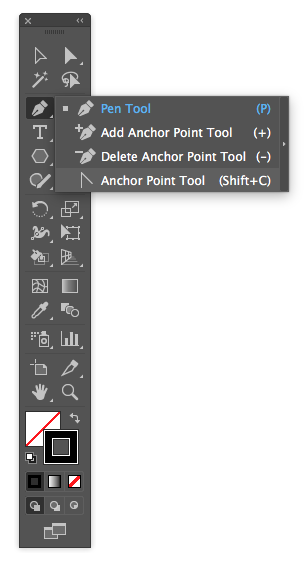
The Anchor Point tool allows you to add curvature to straight path segments by clicking and dragging.
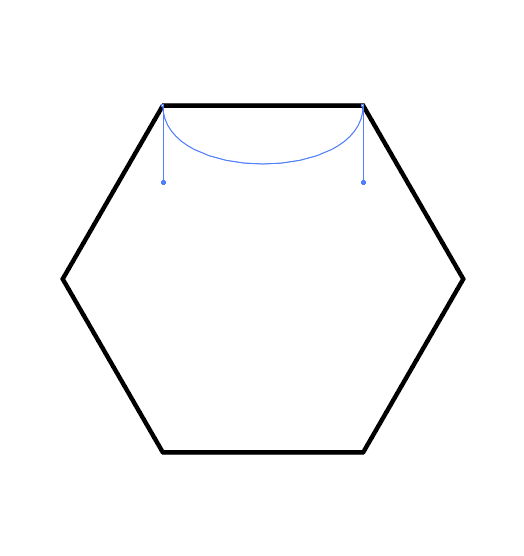
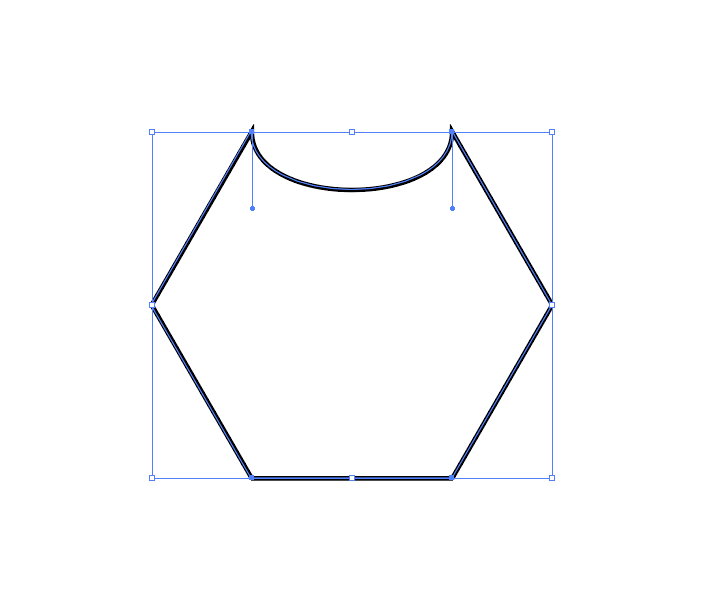
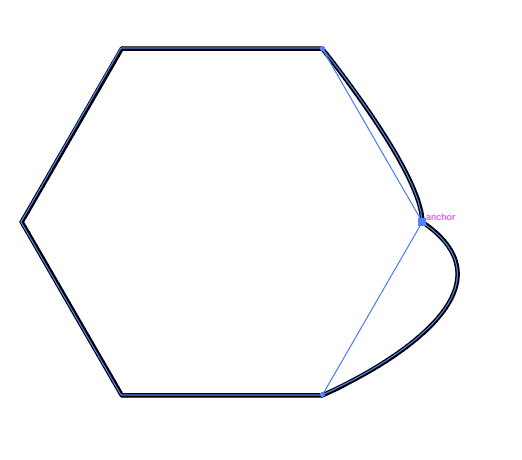
Turn a corner into a gentle curve by clicking and dragging it.
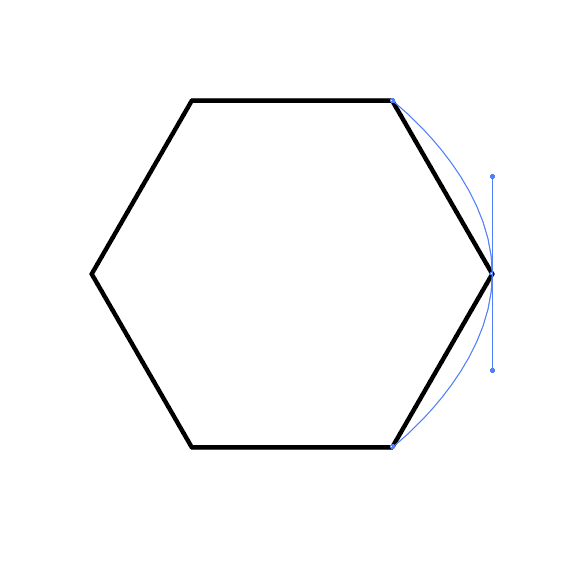
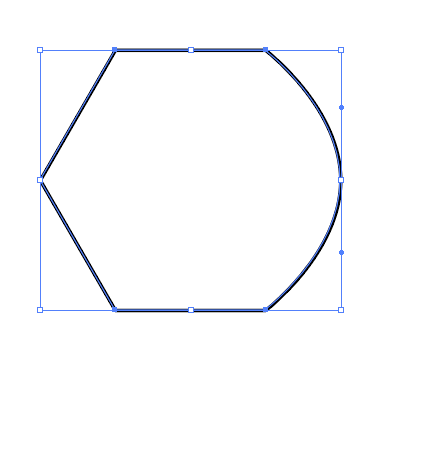
Click and drag a handle to break its symmetry. Click on an anchor point to delete its handles.
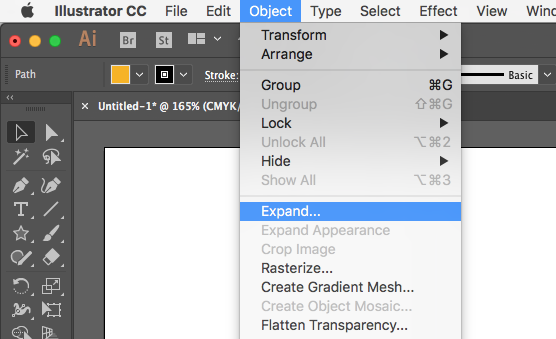
Expand objects – Create shapes using strokes
Object expanding is useful for changing attributes such as Fill and Stroke independently. Object expanding is also especially useful for maintaining the proportions between Fill and Stroke when illustrations are scaled.
To convert the strokes of an object into another independent object, select it and go to Object > Expand.
The Expand options can be defined in the dialogue box:
Object: Expands complex objects, including blends, envelopes, symbol sets and sparkles.
Fill: Expands fills. Stroke: Expands strokes.
Gradient Mesh: Expands gradients to a single mesh object.
Specify: Sets the tolerance for colour values between colour stops. Higher numbers help maintain a smooth colour transition; low numbers can create a more banded appearance.


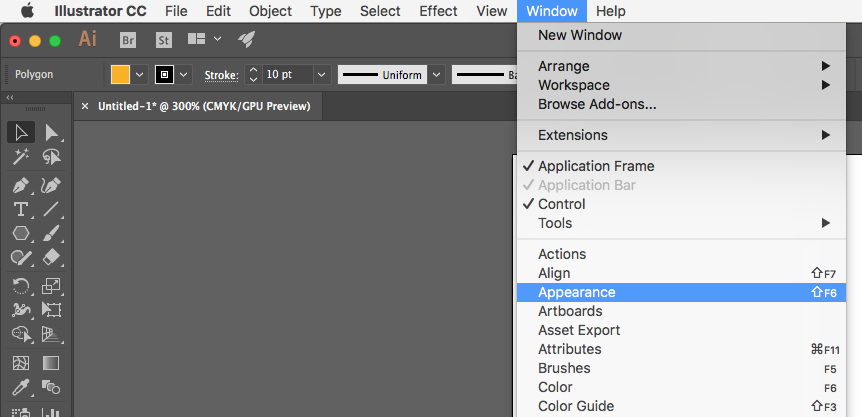
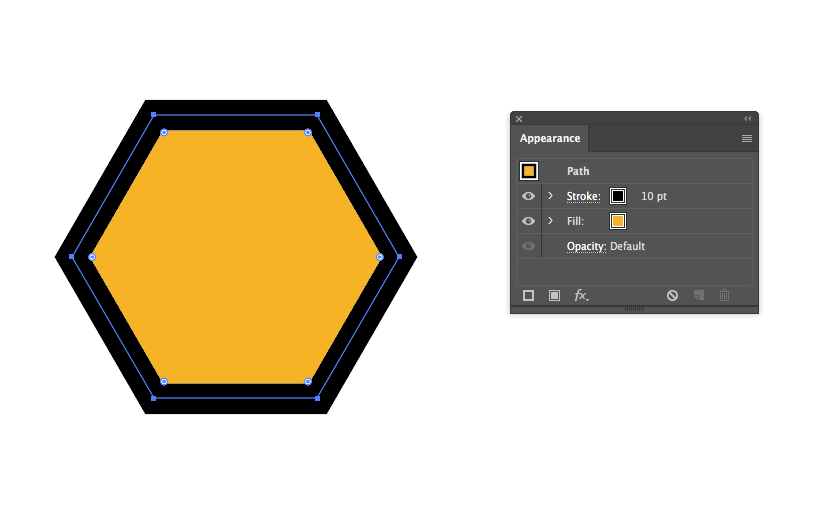
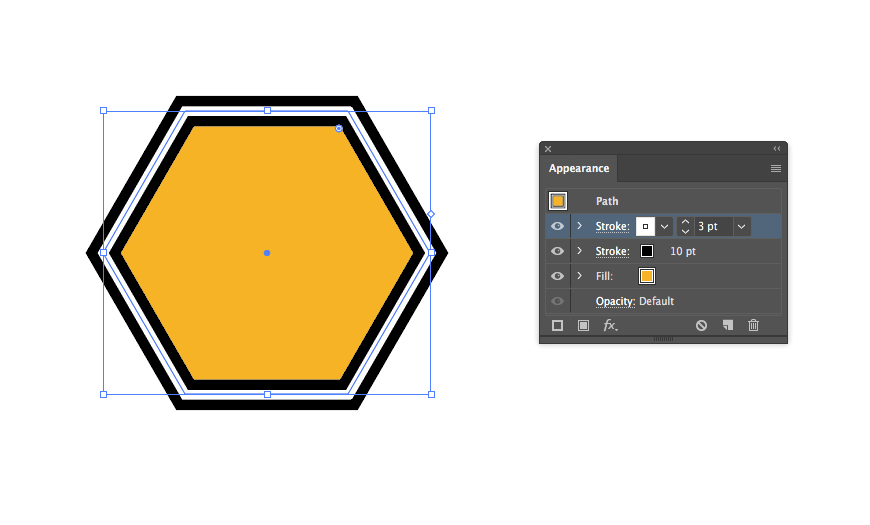
Appearance panel – Apply multiple fills and strokes to objects
Access the Window > Appearance panel to add multiple fills and strokes to an object.
To add new attributes such as fills, strokes and effects, click on the icons at the bottom of the panel.