
Table of Contents
Cyanotype is a photographic printing method that produces prints with a distinctive Prussian-blue colour.
The process was developed in 1842 by the scientist and astronomer Sir John Herschel, who employed it to reproduce notes and diagrams (the technology would be widely used in architecture and engineering until the mid-20th century, hence the term “blueprint”).
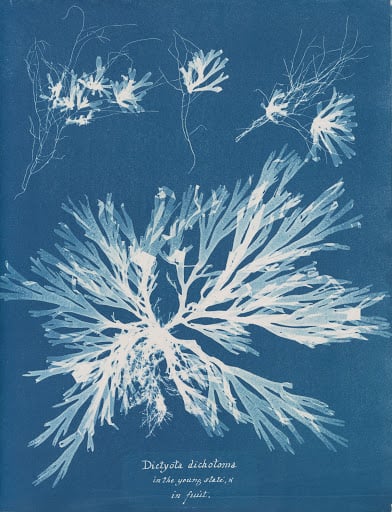
The first to adopt this technique in photography was botanist and photographer Anna Atkins. She published a volume of algae cyanotypes that is considered to be the first ever book with photographic images.
Printing cyanotypes is a simple and rewarding process that can be easily done at home. You can buy the chemicals required in powder form, or purchase a kit with ready-diluted solutions (in which case you can skip the first step).
What you need for producing around 50 prints in A4 format:
- 20 g of green ferric ammonium citrate
- 8 g of potassium ferricyanide
- 200 ml of water (preferably distilled)
- Scales
- Graduated cylinder
- Paper (mustn’t contain acids and must be quite thick)
- Two 100 ml bottles or containers and one 200 ml bottle or container (preferably made from brown glass)
- Washing-up bowl
- Brush or sponge without metallic parts
- Glass sheet at least as big as the piece of paper you’re using
Caution
Cyanotype is a photographic printing method that can be safely used at home. Ferric ammonium citrate and potassium ferricyanide are not harmful substances. However, use common sense and always take safety precautions to avoid ingesting or inhaling these substances. Protect your work surface, do not use utensils and containers that are also used for food, do not store solutions together with food or drink, and always wear gloves and a mask when preparing and using the solutions.
Potassium ferricyanide becomes dangerous if it reaches temperatures of over 300 °C or if mixed with a strong acid. It is therefore important to avoid these situations, although they should not occur in the cyanotype process.
1.Preparing the solutions
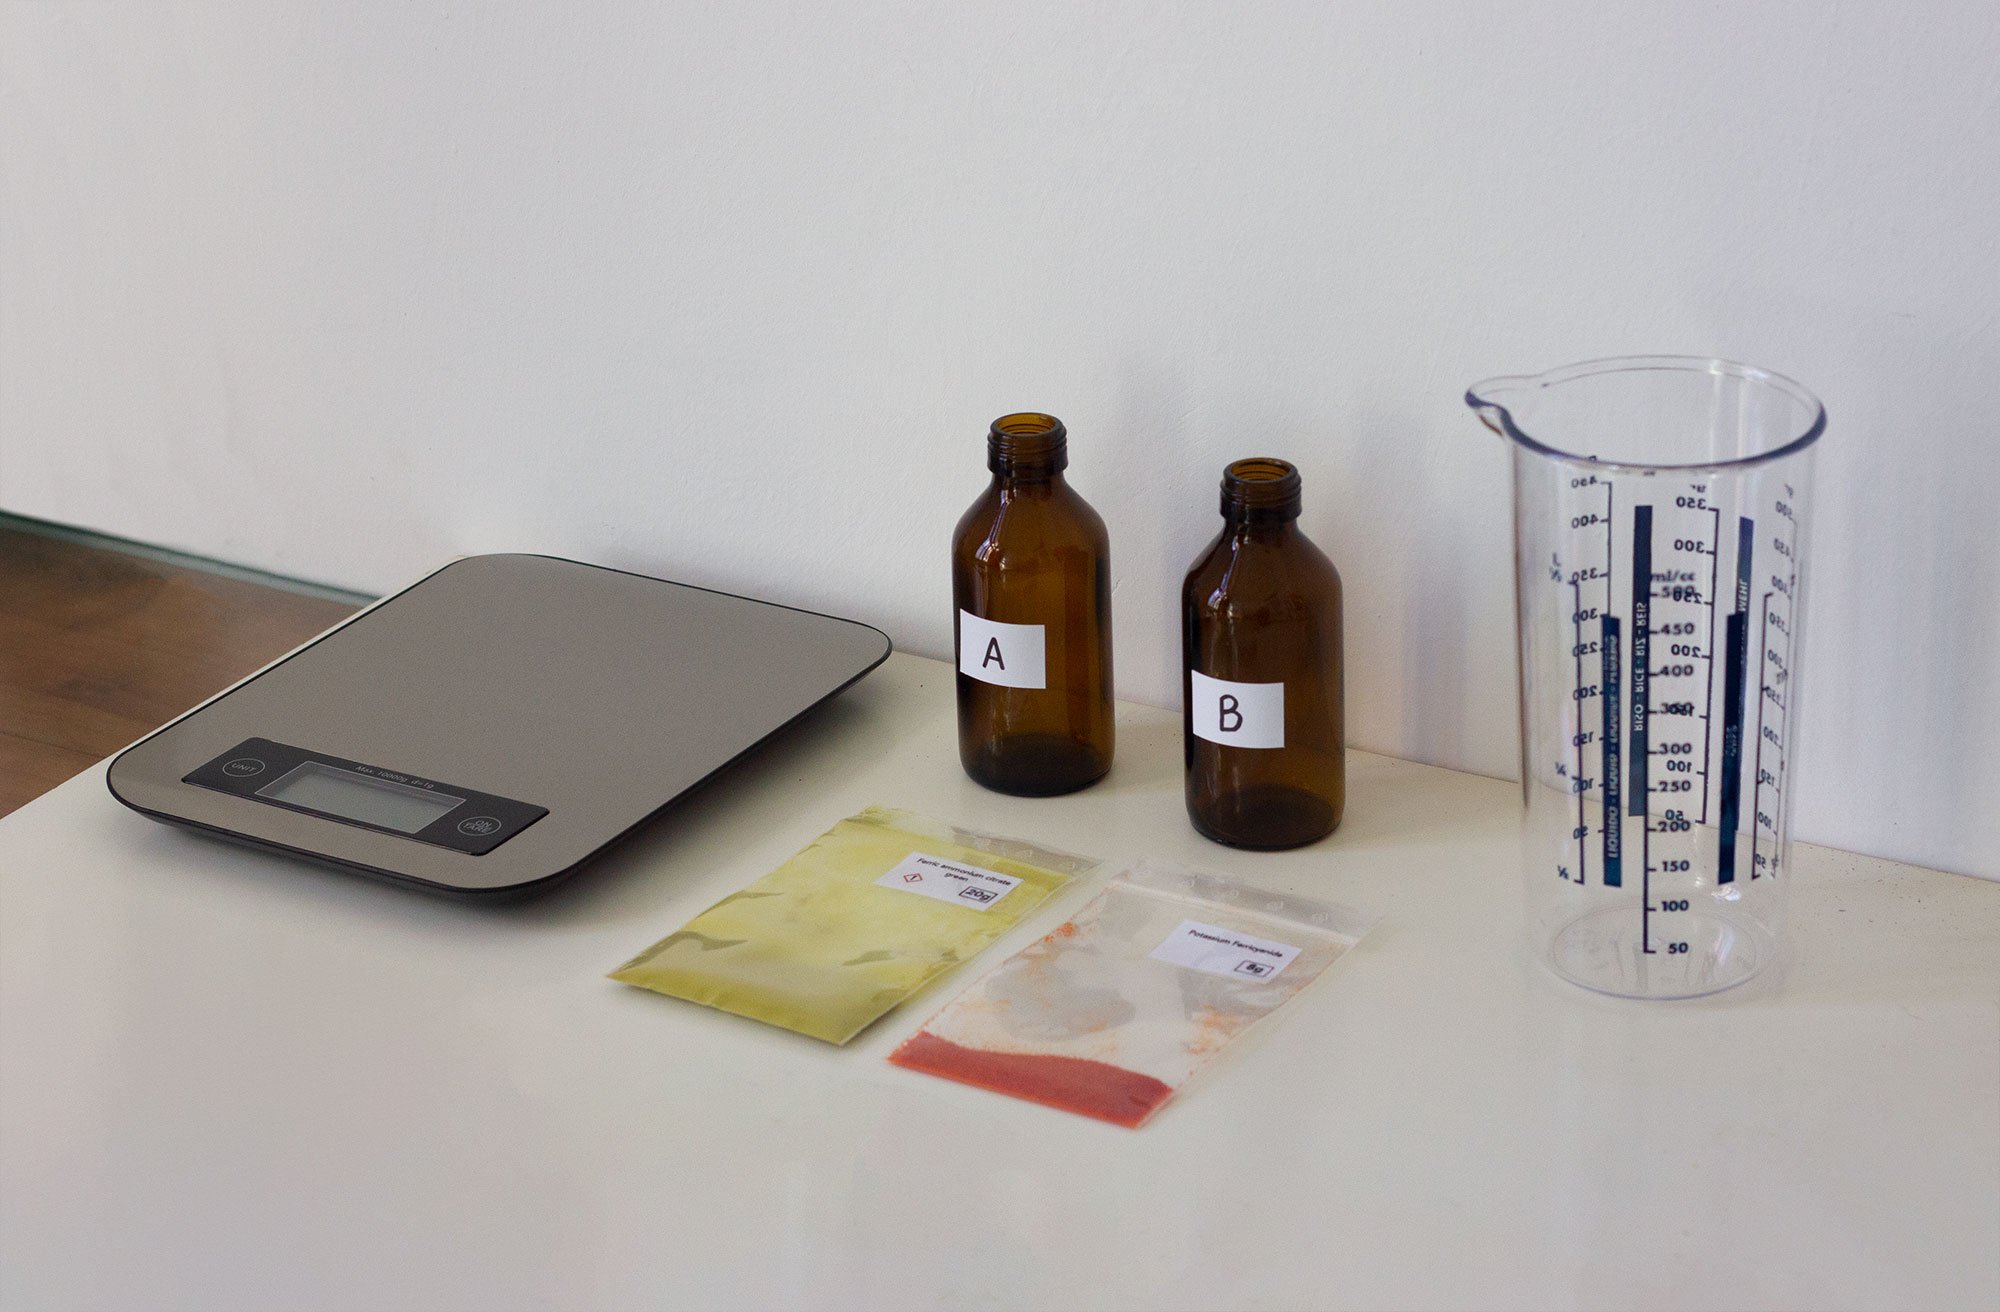
First of all, make sure you’re in a well-ventilated part of the house without a lot of sunlight. Then, prepare your work surface by covering it with newspaper or plastic to prevent the solutions from staining the surface. Next, dilute the ferric ammonium citrate in a container with 100 ml of water (Solution A), and dilute the potassium ferricyanide in another container with the same amount of water (Solution B). Leave both solutions somewhere dark and dry for at least 24 hours. The solutions can be stored in this state for up to 6 months but, for best results, you should ideally use them within a few weeks.
2.Preparing the emulsion
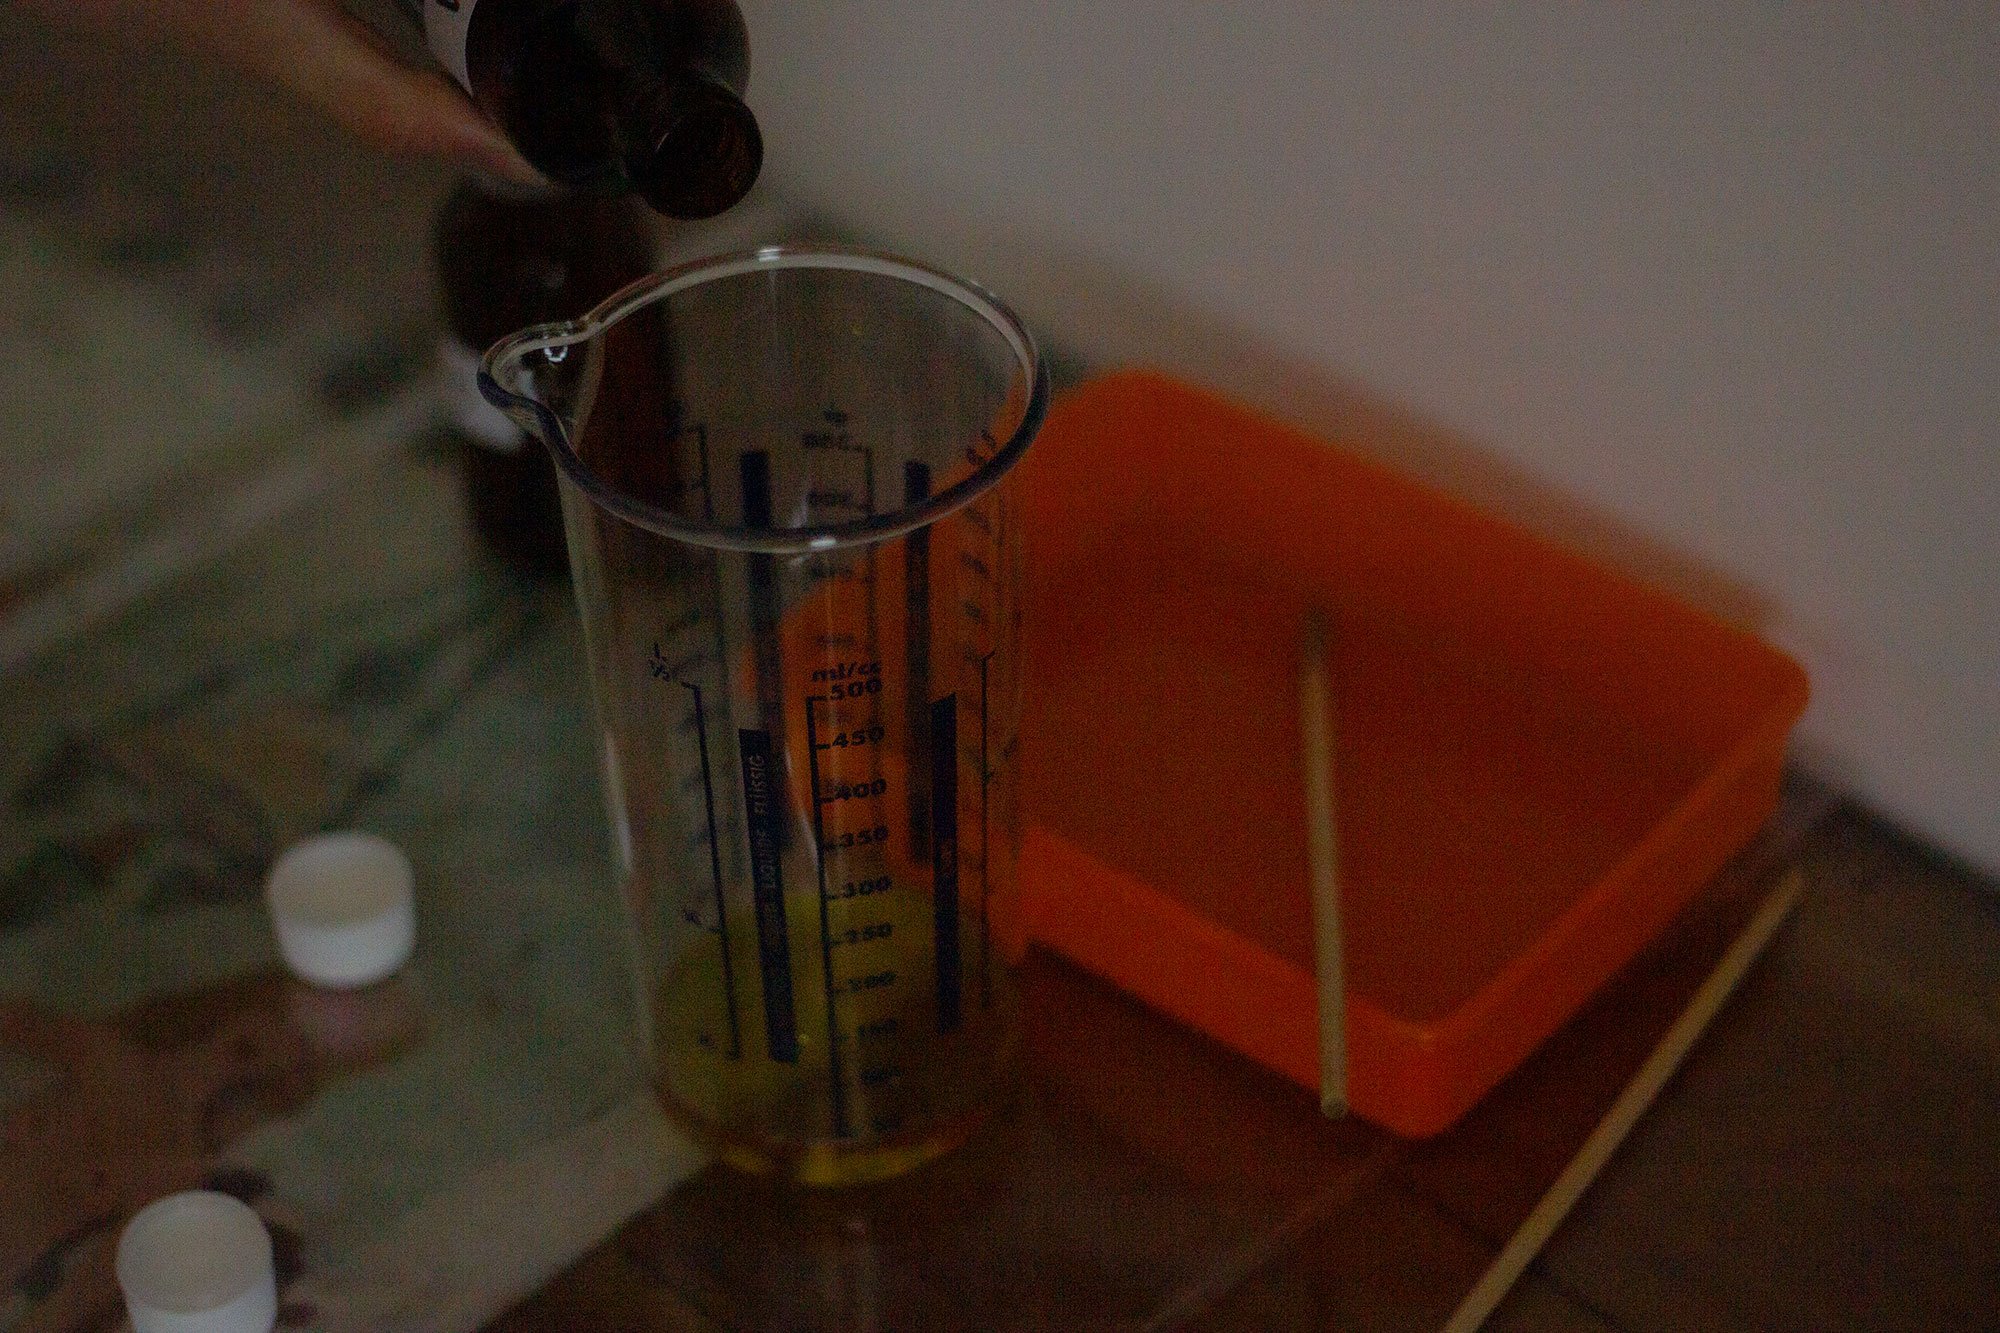
To prepare the emulsion, mix equal proportions of the two solutions in an opaque container. This procedure should be carried out in a room that doesn’t let any sunlight in, but it doesn’t have completely dark: you can keep a 25-watt lamp lit; the emulsion is only sensitive to ultraviolet light.
Once mixed together, the solutions must be used as quickly as possible to prevent colour intensity and sensitivity from diminishing. Ideally, prepare just the right amount of emulsion that you need for your project. As a rule of thumb, 200 ml of emulsion (100 + 100 ml) will cover about 50 sheets of A4.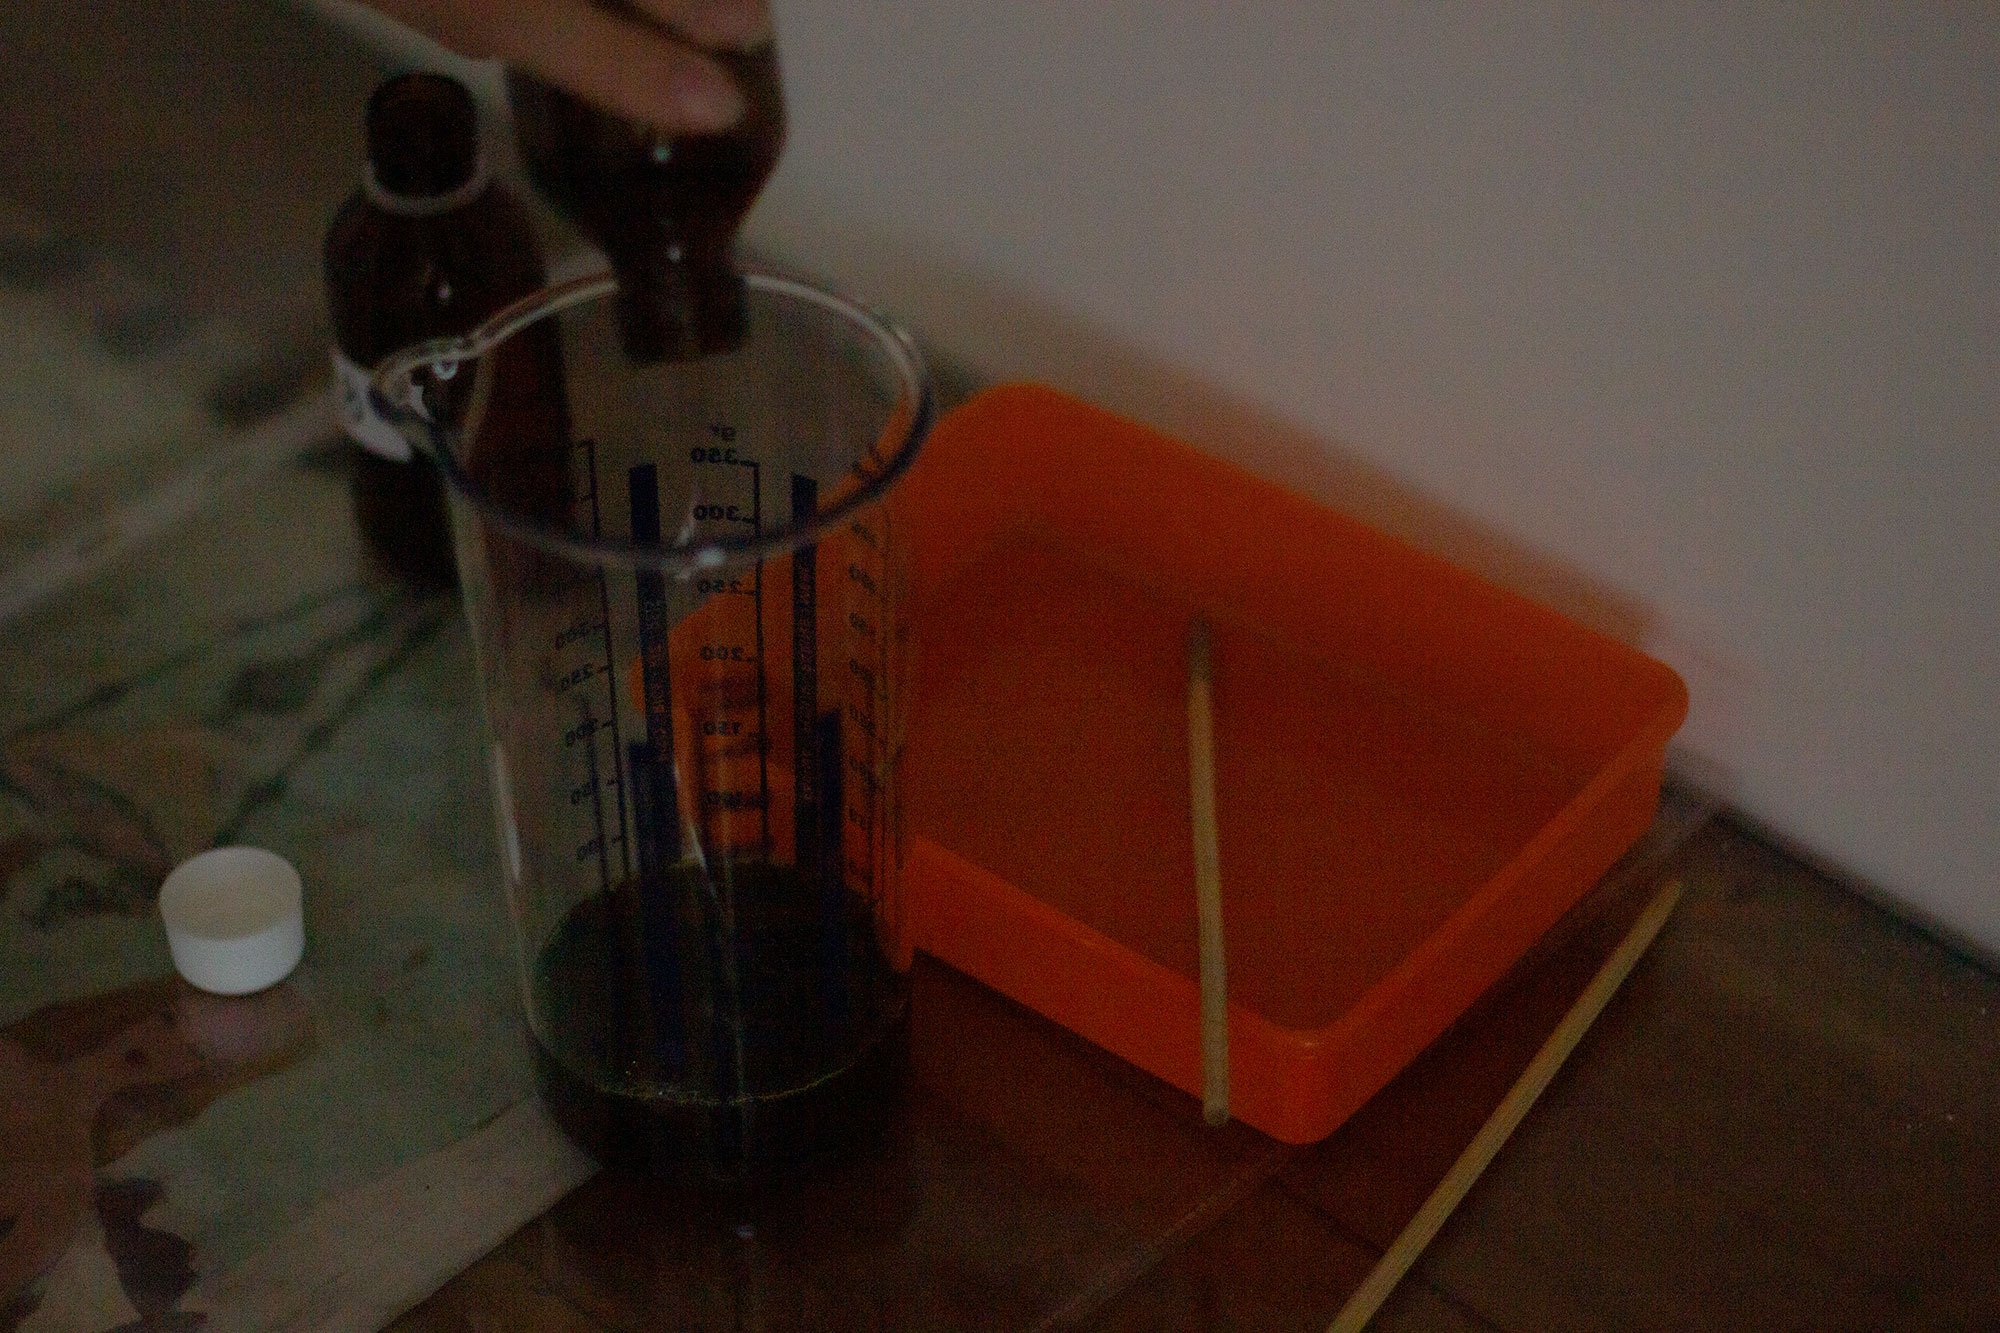
3.Coating the paper
Continuing to work in your room without sunlight, pour the emulsion onto a small tray. Then, using a brush or sponge, spread it all over the paper. The goal it to cover the paper as evenly as possible so that there are no streaks or stains.
The ideal paper for cyanotype is thick and strong (it will have to withstand immersion in water), like that used for watercolours, but you can try out other types of paper to see how they affect the result.
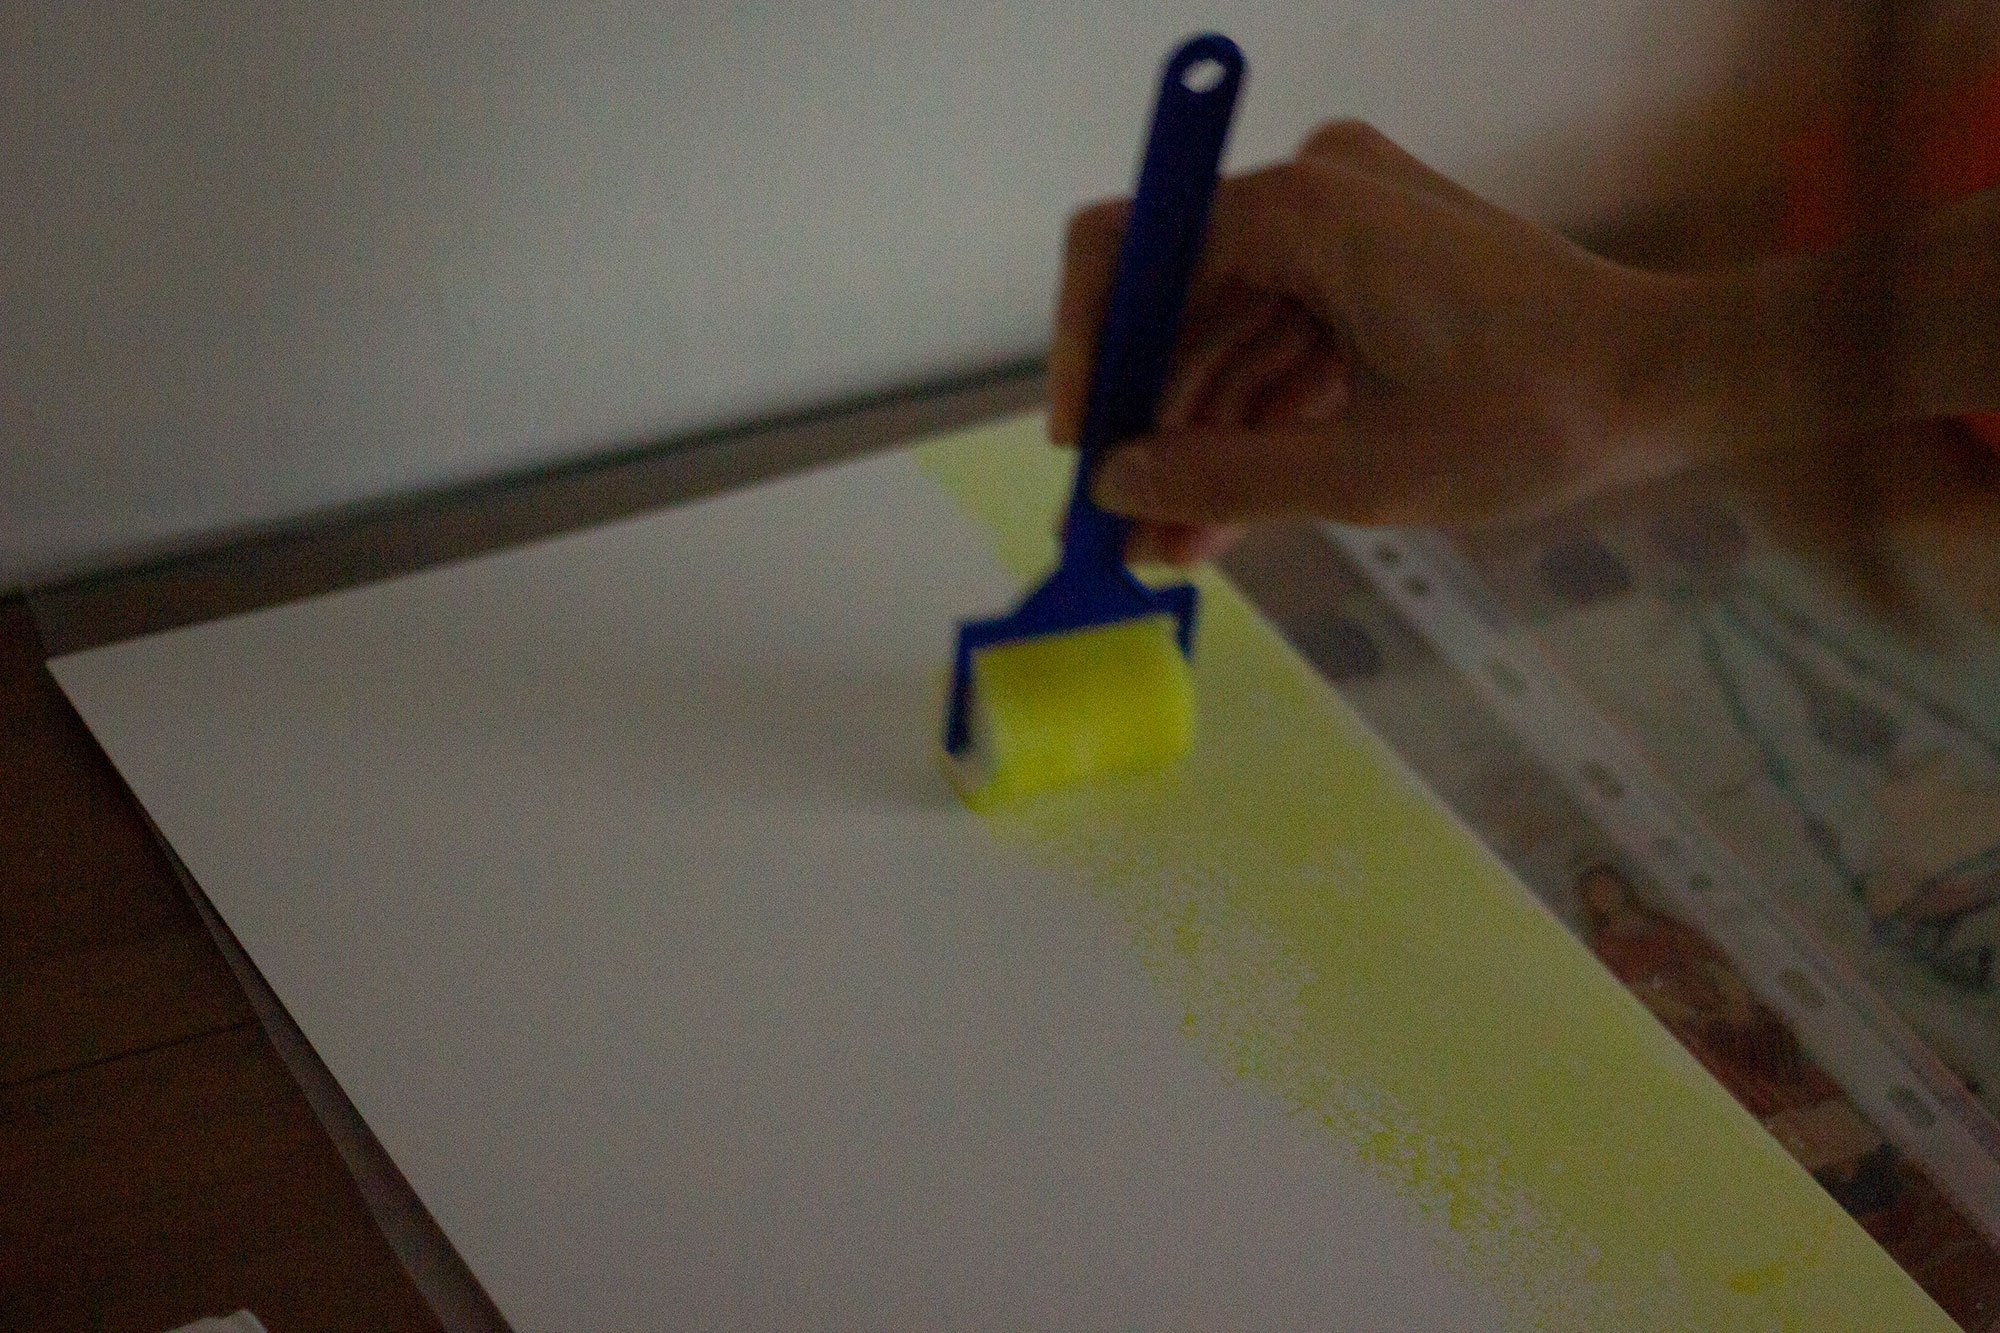
Once covered in emulsion, the sheets will take around 30 minutes to dry.
4.Exposure
When the sheets are dry, the real printing process begins.
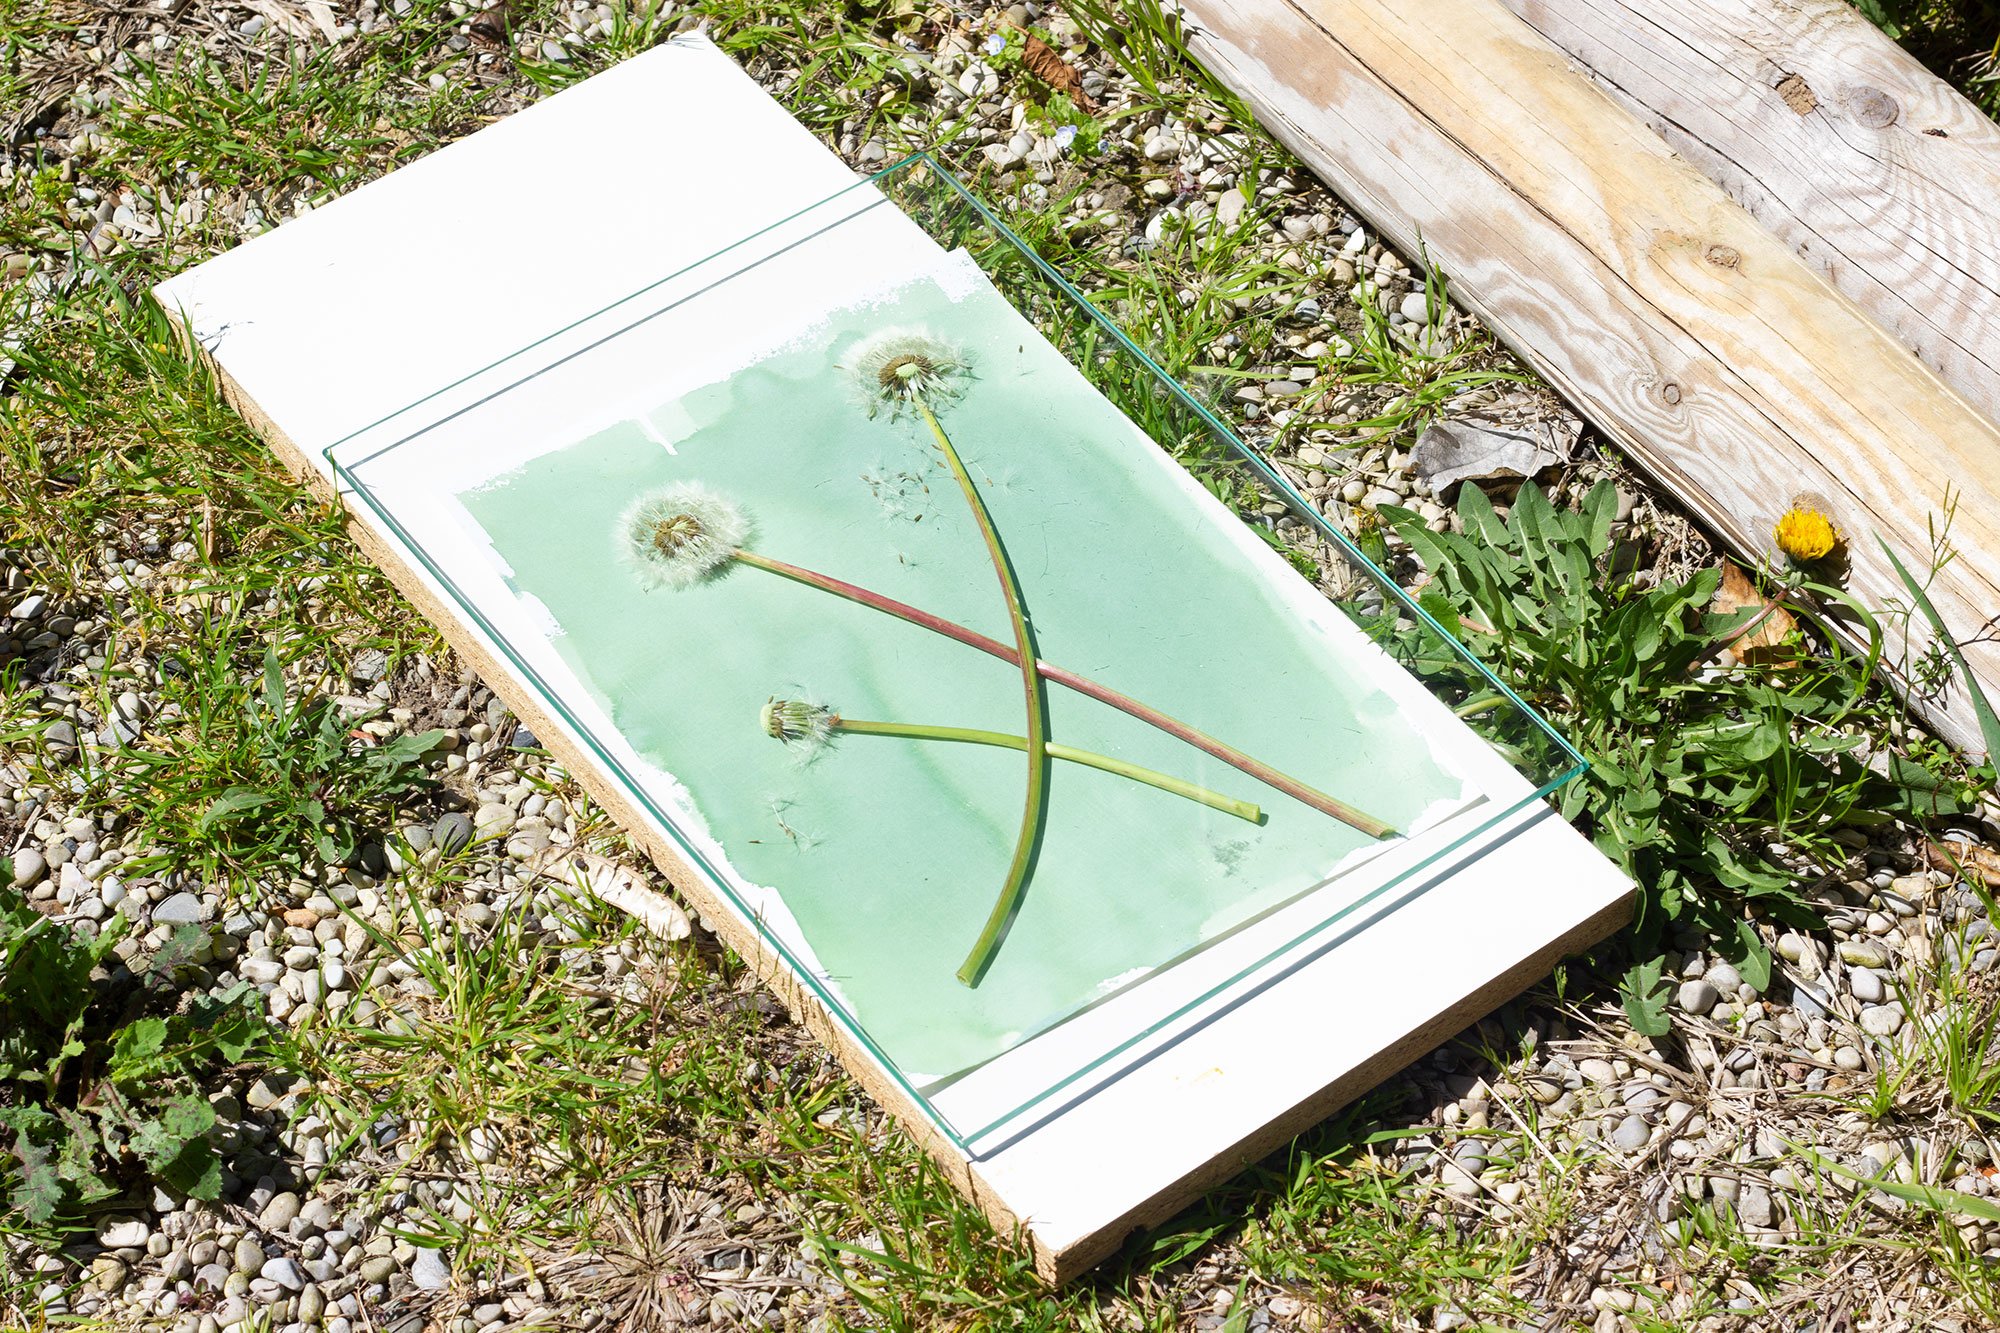
Place a sheet in direct sunlight and immediately place the objects that you intend to “photograph” on its surface, covering everything with a sheet of glass.
Exposure is the most critical phase of the whole process. Sunlight is variable and unpredictable: season, time of day and position with respect to the sun influence the length of exposure, which can be anything from 3-4 minutes to 15-20, depending on the type of paper. It’s therefore best to do an initial test in which you expose an image and then cover more and more of it every 2 minutes.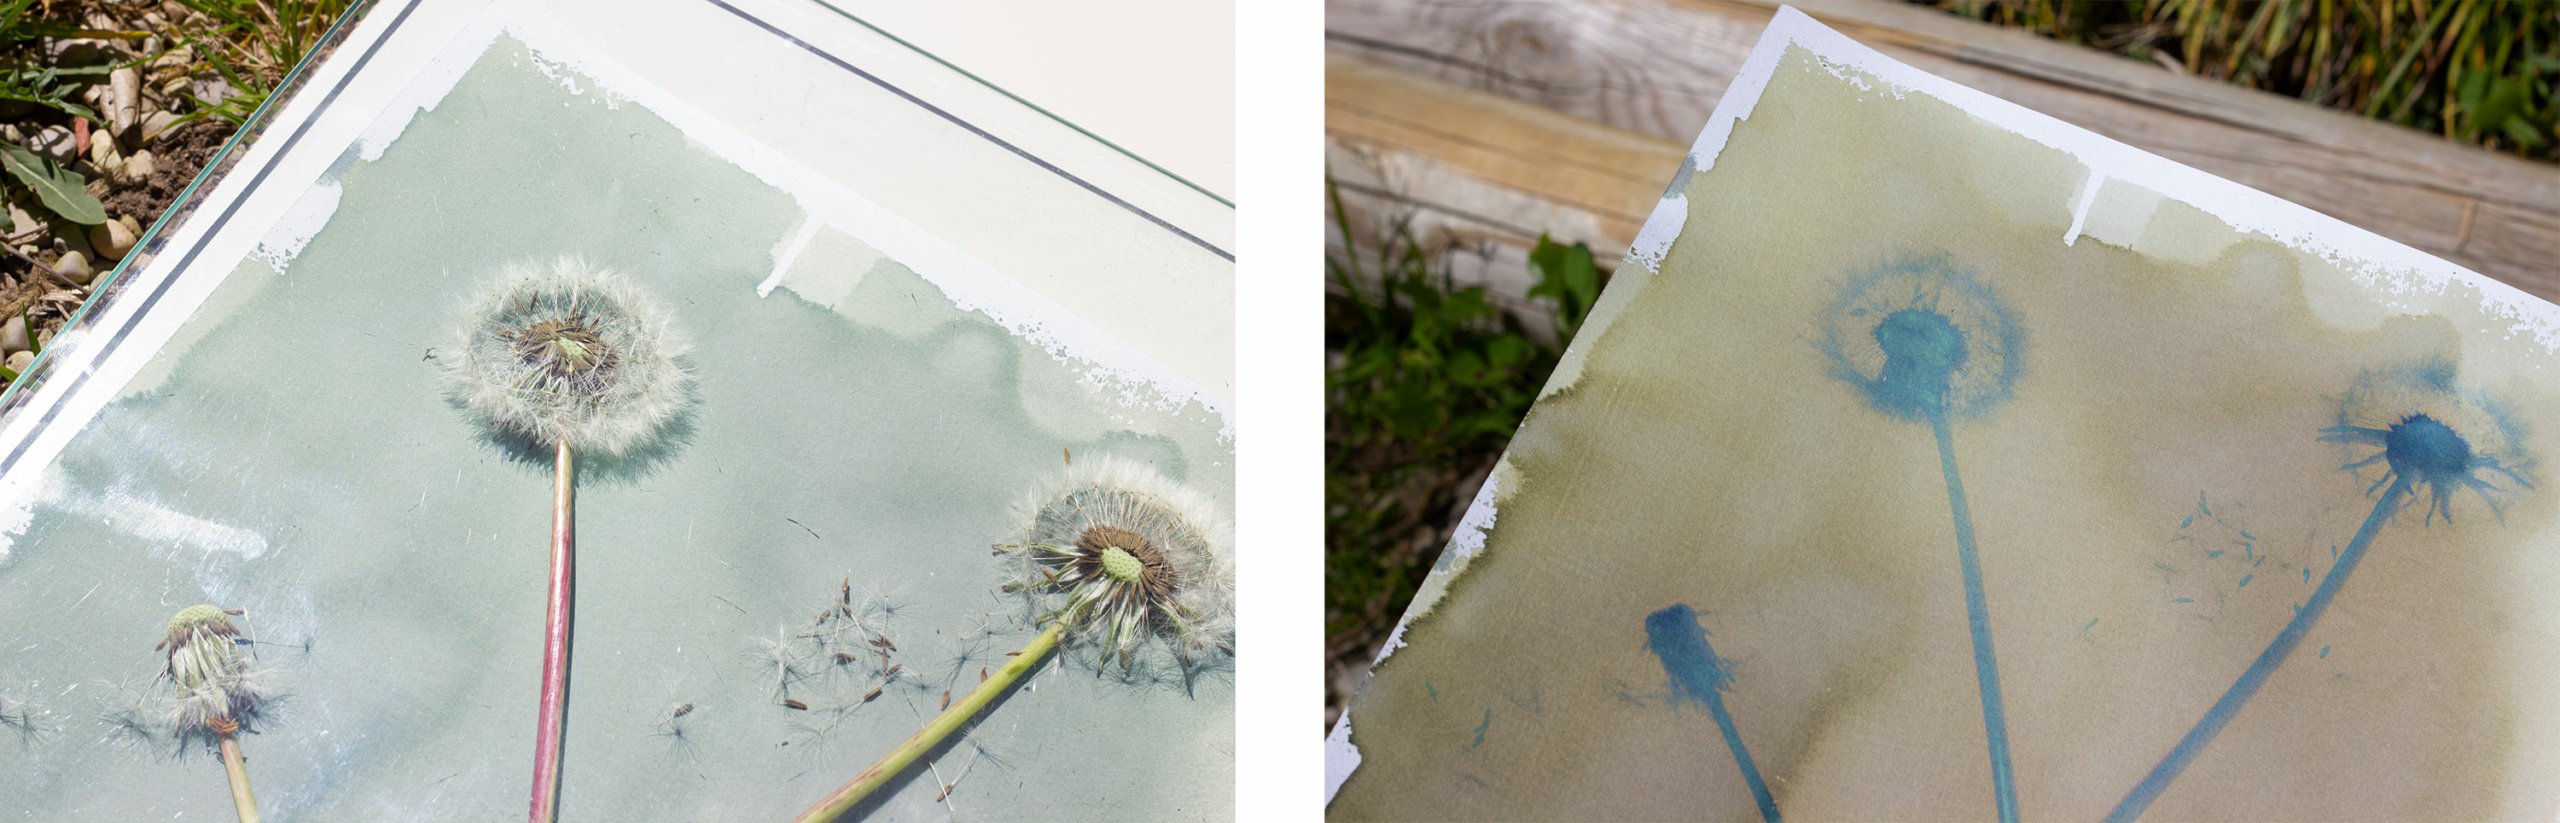
In sunlight, the colour of the print will immediately start to darken, but you need to wait until it starts to turn a dull brown colour before the print is ready.
5.Developing and drying
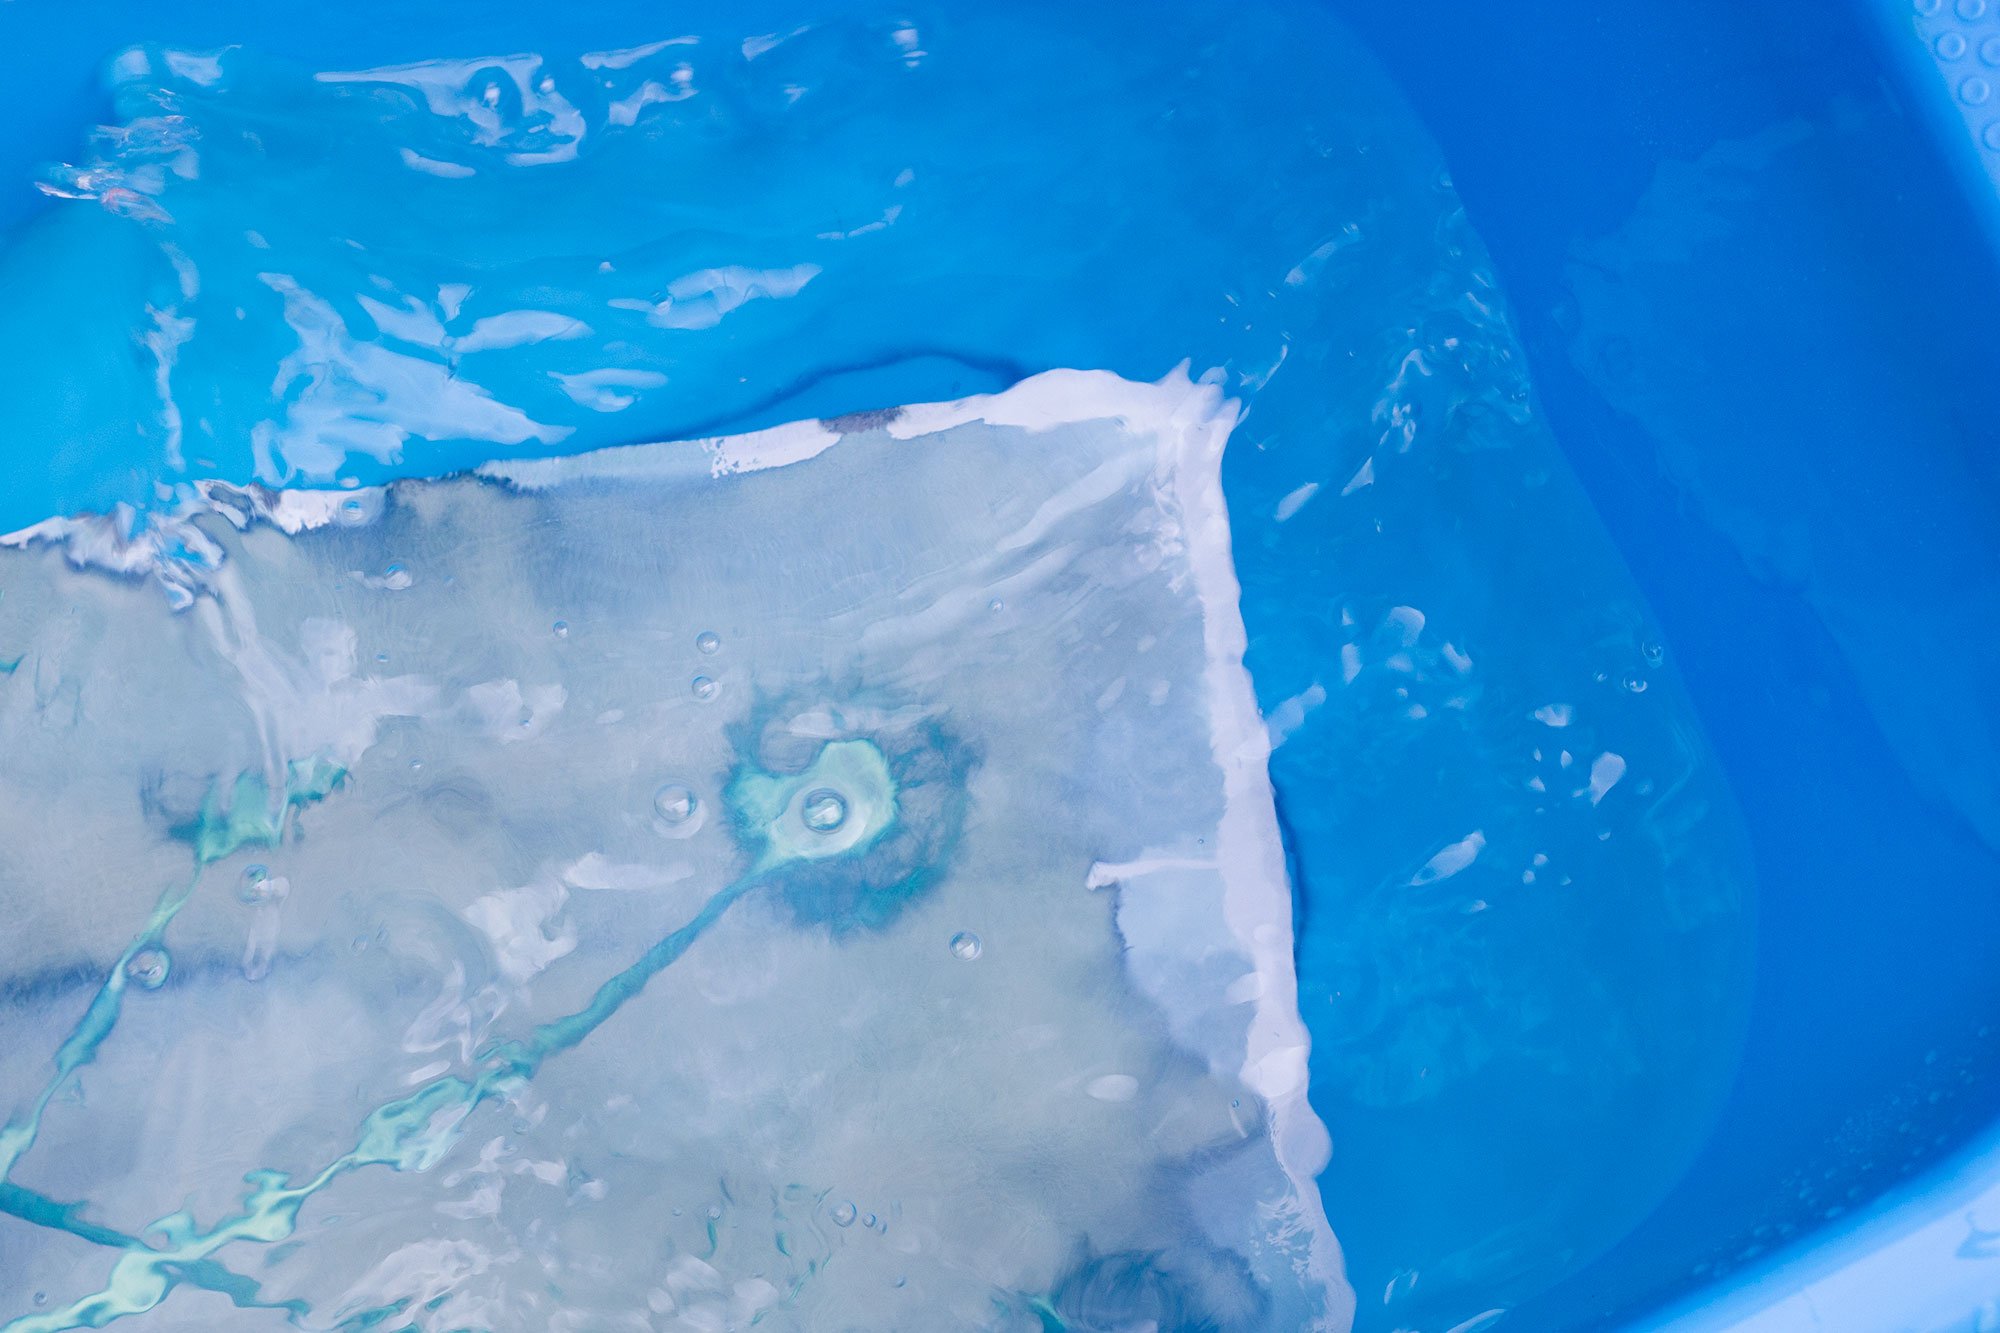
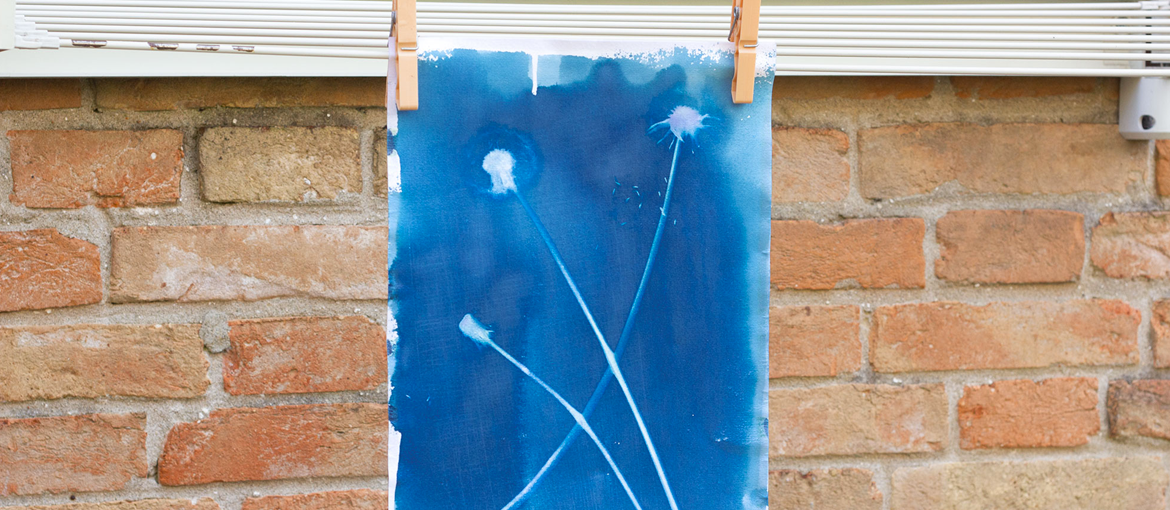
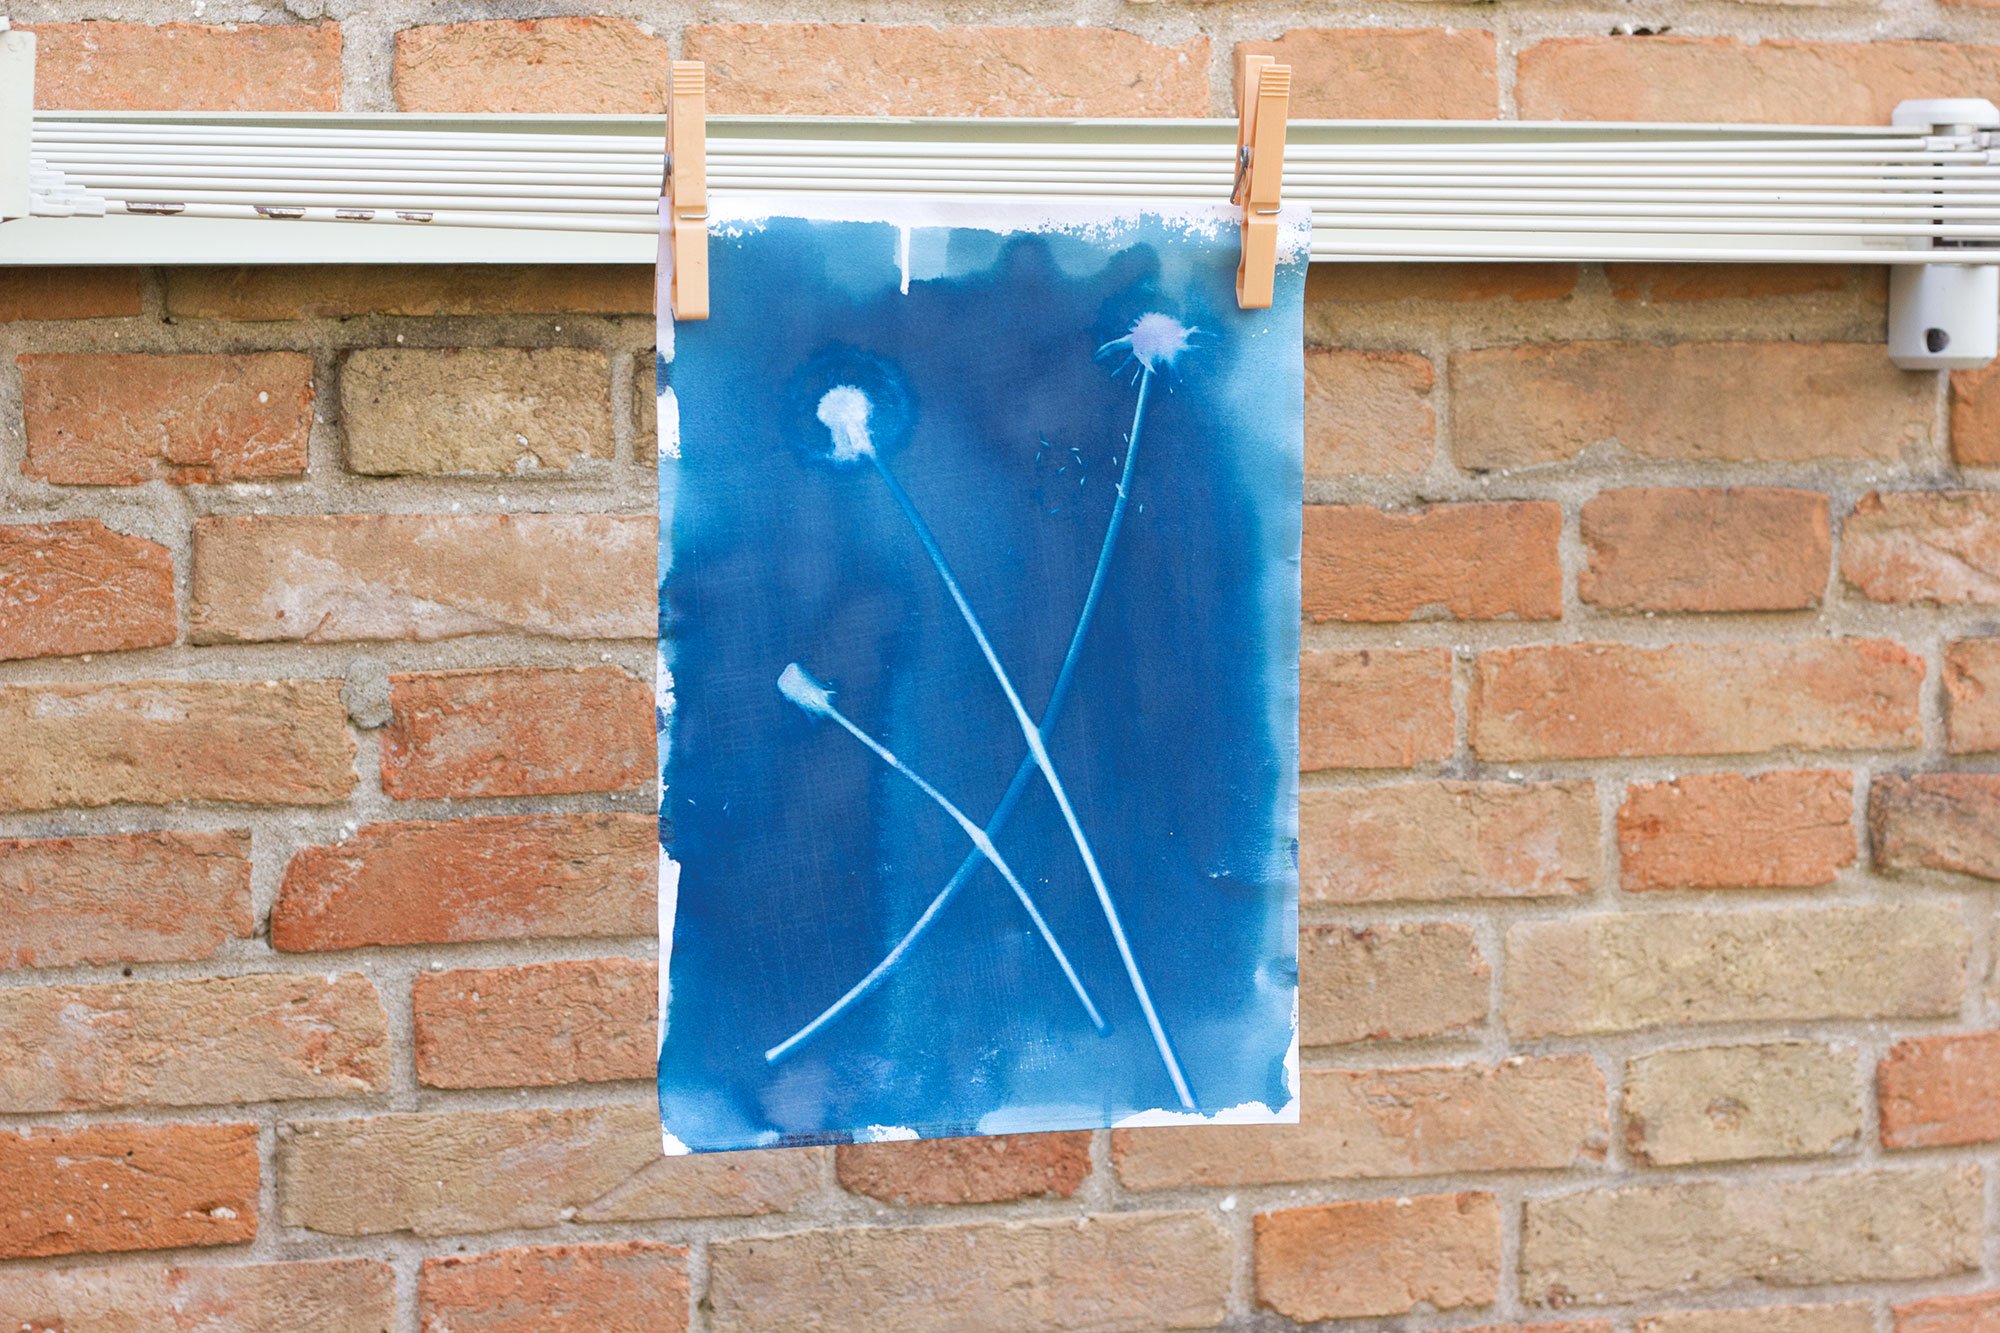
Once you’ve finished exposing the image, place the print in a washing-up bowl and rinse it with running water until the yellow sheen has been washed away to leave an intense blue hue. Next, hang the print to dry in the shade for about an hour.
Once dry, the image will be set on the cyanotype. It’s best to store prints out of direct sunlight to prevent fading, but if they do fade, simply leave them in the dark for a few days and they’ll regain their original tone.
6.Disposing of leftover chemicals
Leftover chemicals can be washed down the drain in small amounts with lots of water to dilute them. Do not dispose of the chemicals in the bin.
Cyanotype can be used for printing all sorts of objects. Plants and flowers are perfect because they have areas with different opacities, which means that they leave slightly different shades of colour; feathers, glass and plastic objects, fabrics and embroidery also create excellent results. It’s worth experimenting with as many different objects as possible to see the effects they create. You can also experiment with different types of substrate, like fabric.
The distinctive blue tone of cyanotypes and their delicate outlines give these prints a unique quality. But the best thing about this printing technique is that it lets you experiment in the production process.
Historical and Cultural Significance of Cyanotype
Early Beginnings and Scientific Contributions
The cyanotype process, invented by Sir John Herschel in 1842, quickly found its first prominent use in the documentation of plant life. Anna Atkins, a botanist and photographer, is often credited as the first person to publish a book illustrated with photographic images. Her work, “Photographs of British Algae: Cyanotype Impressions,” demonstrated the potential of cyanotype for scientific documentation, capturing detailed images of various plant specimens. This early use cemented cyanotype’s role in the intersection of art and science.
Architectural and Engineering Applications
Throughout the late 19th and early 20th centuries, cyanotype was widely adopted by architects and engineers for producing blueprints. This practical application stemmed from the process’s ability to produce accurate, stable, and cost-effective copies of technical drawings. The term “blueprint” itself originates from the cyan-blue color of these reproductions. This widespread use helped standardize construction and manufacturing practices, contributing significantly to industrial and architectural advancements.
Artistic Resurgence and Modern Influence
After falling out of favor in the mid-20th century, cyanotype has seen a resurgence among contemporary artists. Modern practitioners appreciate the unique aesthetic and historical connotations of the medium. Artists like Christian Marclay and Kate Cordsen have used cyanotype to explore themes of memory, time, and nature, blending traditional techniques with modern sensibilities. This revival has brought cyanotype back into the spotlight, emphasizing its versatility and timeless appeal.
Educational and Experimental Uses
Today, cyanotype is frequently used in educational settings to teach the basics of photographic processes and chemistry. Its relatively safe and simple procedure makes it an excellent introductory method for students. Additionally, many artists and hobbyists experiment with cyanotype, pushing the boundaries of the medium through innovative applications like combining it with other photographic processes or digital techniques. This experimentation continues to expand the creative possibilities of cyanotype.
Cultural Impact and Community Projects
Cyanotype has also been embraced in community art projects and public installations, often used to engage people in collective creative endeavors. Workshops and collaborative projects using cyanotype can be found around the world, fostering community spirit and encouraging artistic expression. These projects not only celebrate the historical significance of cyanotype but also explore its contemporary relevance, making it a living, evolving art form.
By examining the historical and cultural significance of cyanotype, we can appreciate how this unique photographic process has evolved and remained relevant across different contexts, from scientific documentation to modern art.