
Table of Contents
The professional printing world employs numerous, increasingly sophisticated techniques to meet consumers’ every need: offset and digital printing, screen printing, self-adhesive vinyl printing and countless other practices.
However, producing prints can also be a way to experiment, pass the time and create unique items that, despite lacking the precision and predictability of professional printing, nonetheless have many interesting qualities of their own.
In this article we will describe two very different techniques, linocut and solvent transfer printing, which can both be done easily, quickly and inexpensively at home.
Linocut
Linocut is a type of relief printing which, as the name suggests, makes use of a thin block of linoleum (lino) or Adigraf. The technique follows the same principles as woodcut, but because linoleum is soft and easy to work with, it is accessible to more people, including students and amateurs.
What you need
- A sheet of lino
- Chisels or gouges
- Pencil and carbon paper (optional)
- Roller
- Kitchen cloth or wooden spoon and greaseproof paper (optional)
- Relief printing ink
- Glass sheet
- Paper

Linocut: the process
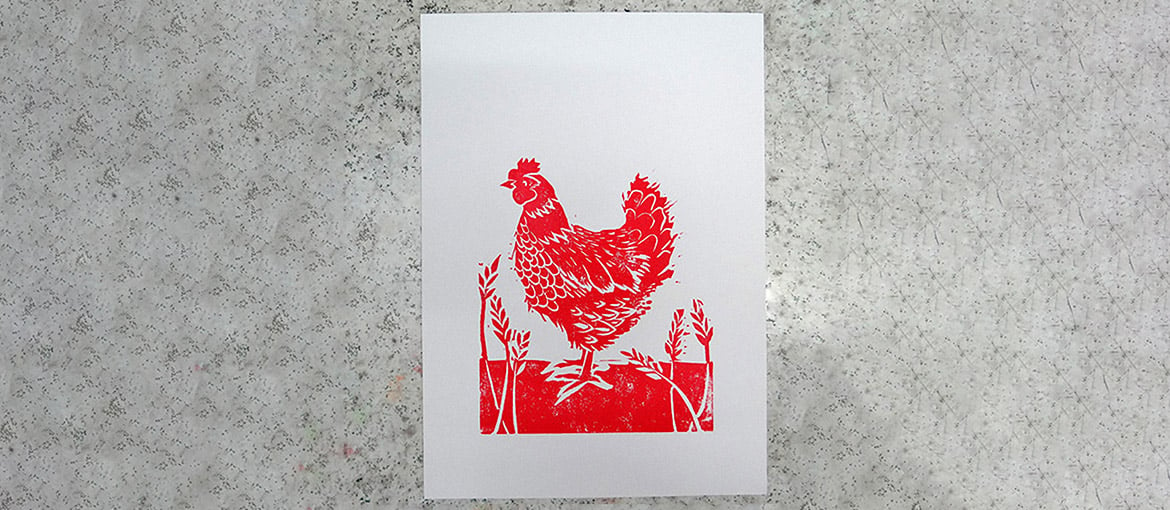
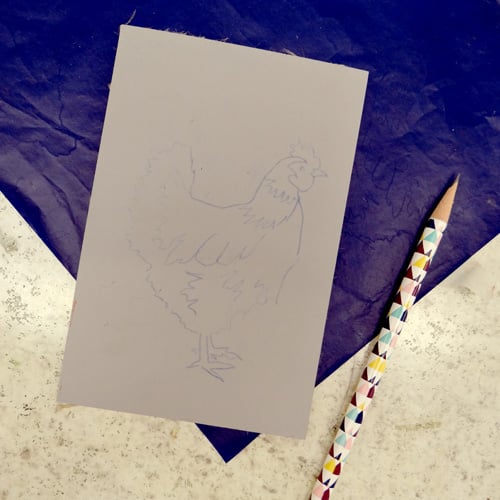
1.Drawing
Draw directly onto the lino with a pencil, or trace a paper drawing using a sheet of carbon paper. Keep in mind that the image will be mirrored when it is transferred at the end of the process.
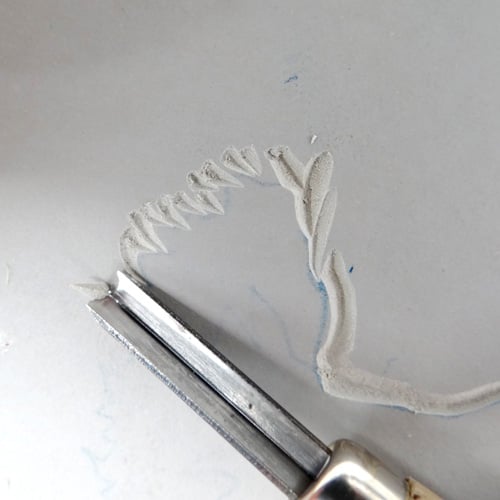
2.Edges
To avoid risk of injury, always keep your free hand behind the gouge, in case the end slips. Use a V-shaped gouge to cut the linoleum around the edges of the design to ensure the edges are clear and well-defined when they are printed. Anything carved will not be printed.
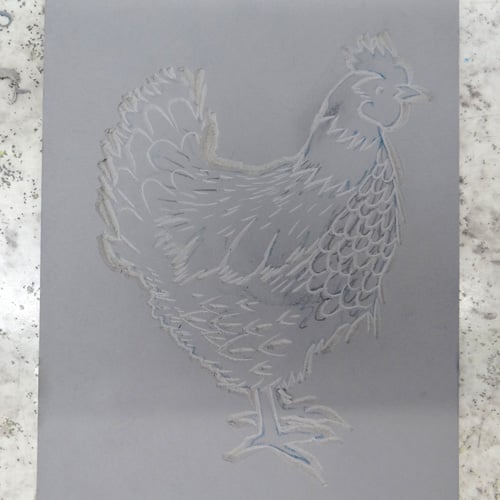
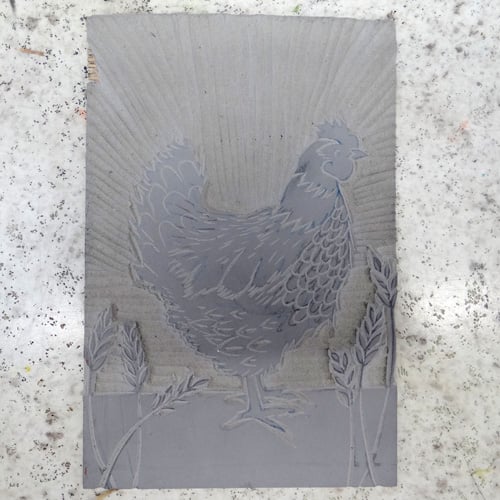
3.Background
If you want the background of the image to be white, you need to remove the entire background from the lino sheet. A wide, U-shaped gouge is the ideal tool for removing large amounts of lino in a short space of time. You don’t need to dig too deep; it is better to stay near the surface, so you don’t expose the fabric on the back.
4.Pre-printing
For a high level of accuracy, use a registration sheet to ensure the print is centred and straight on the paper.
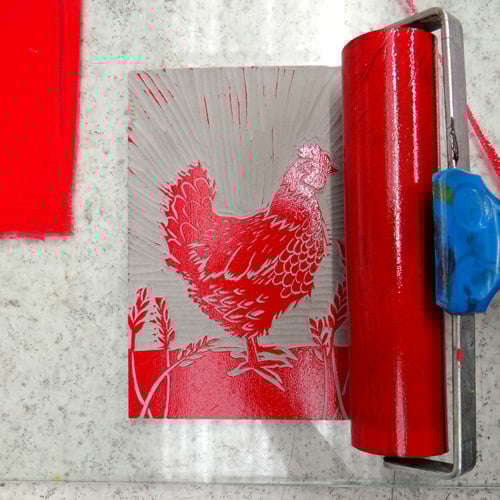
Now spread the ink on the glass sheet using the roller, working both vertically and horizontally, until the ink is more malleable and spreads evenly without any lines or stripes

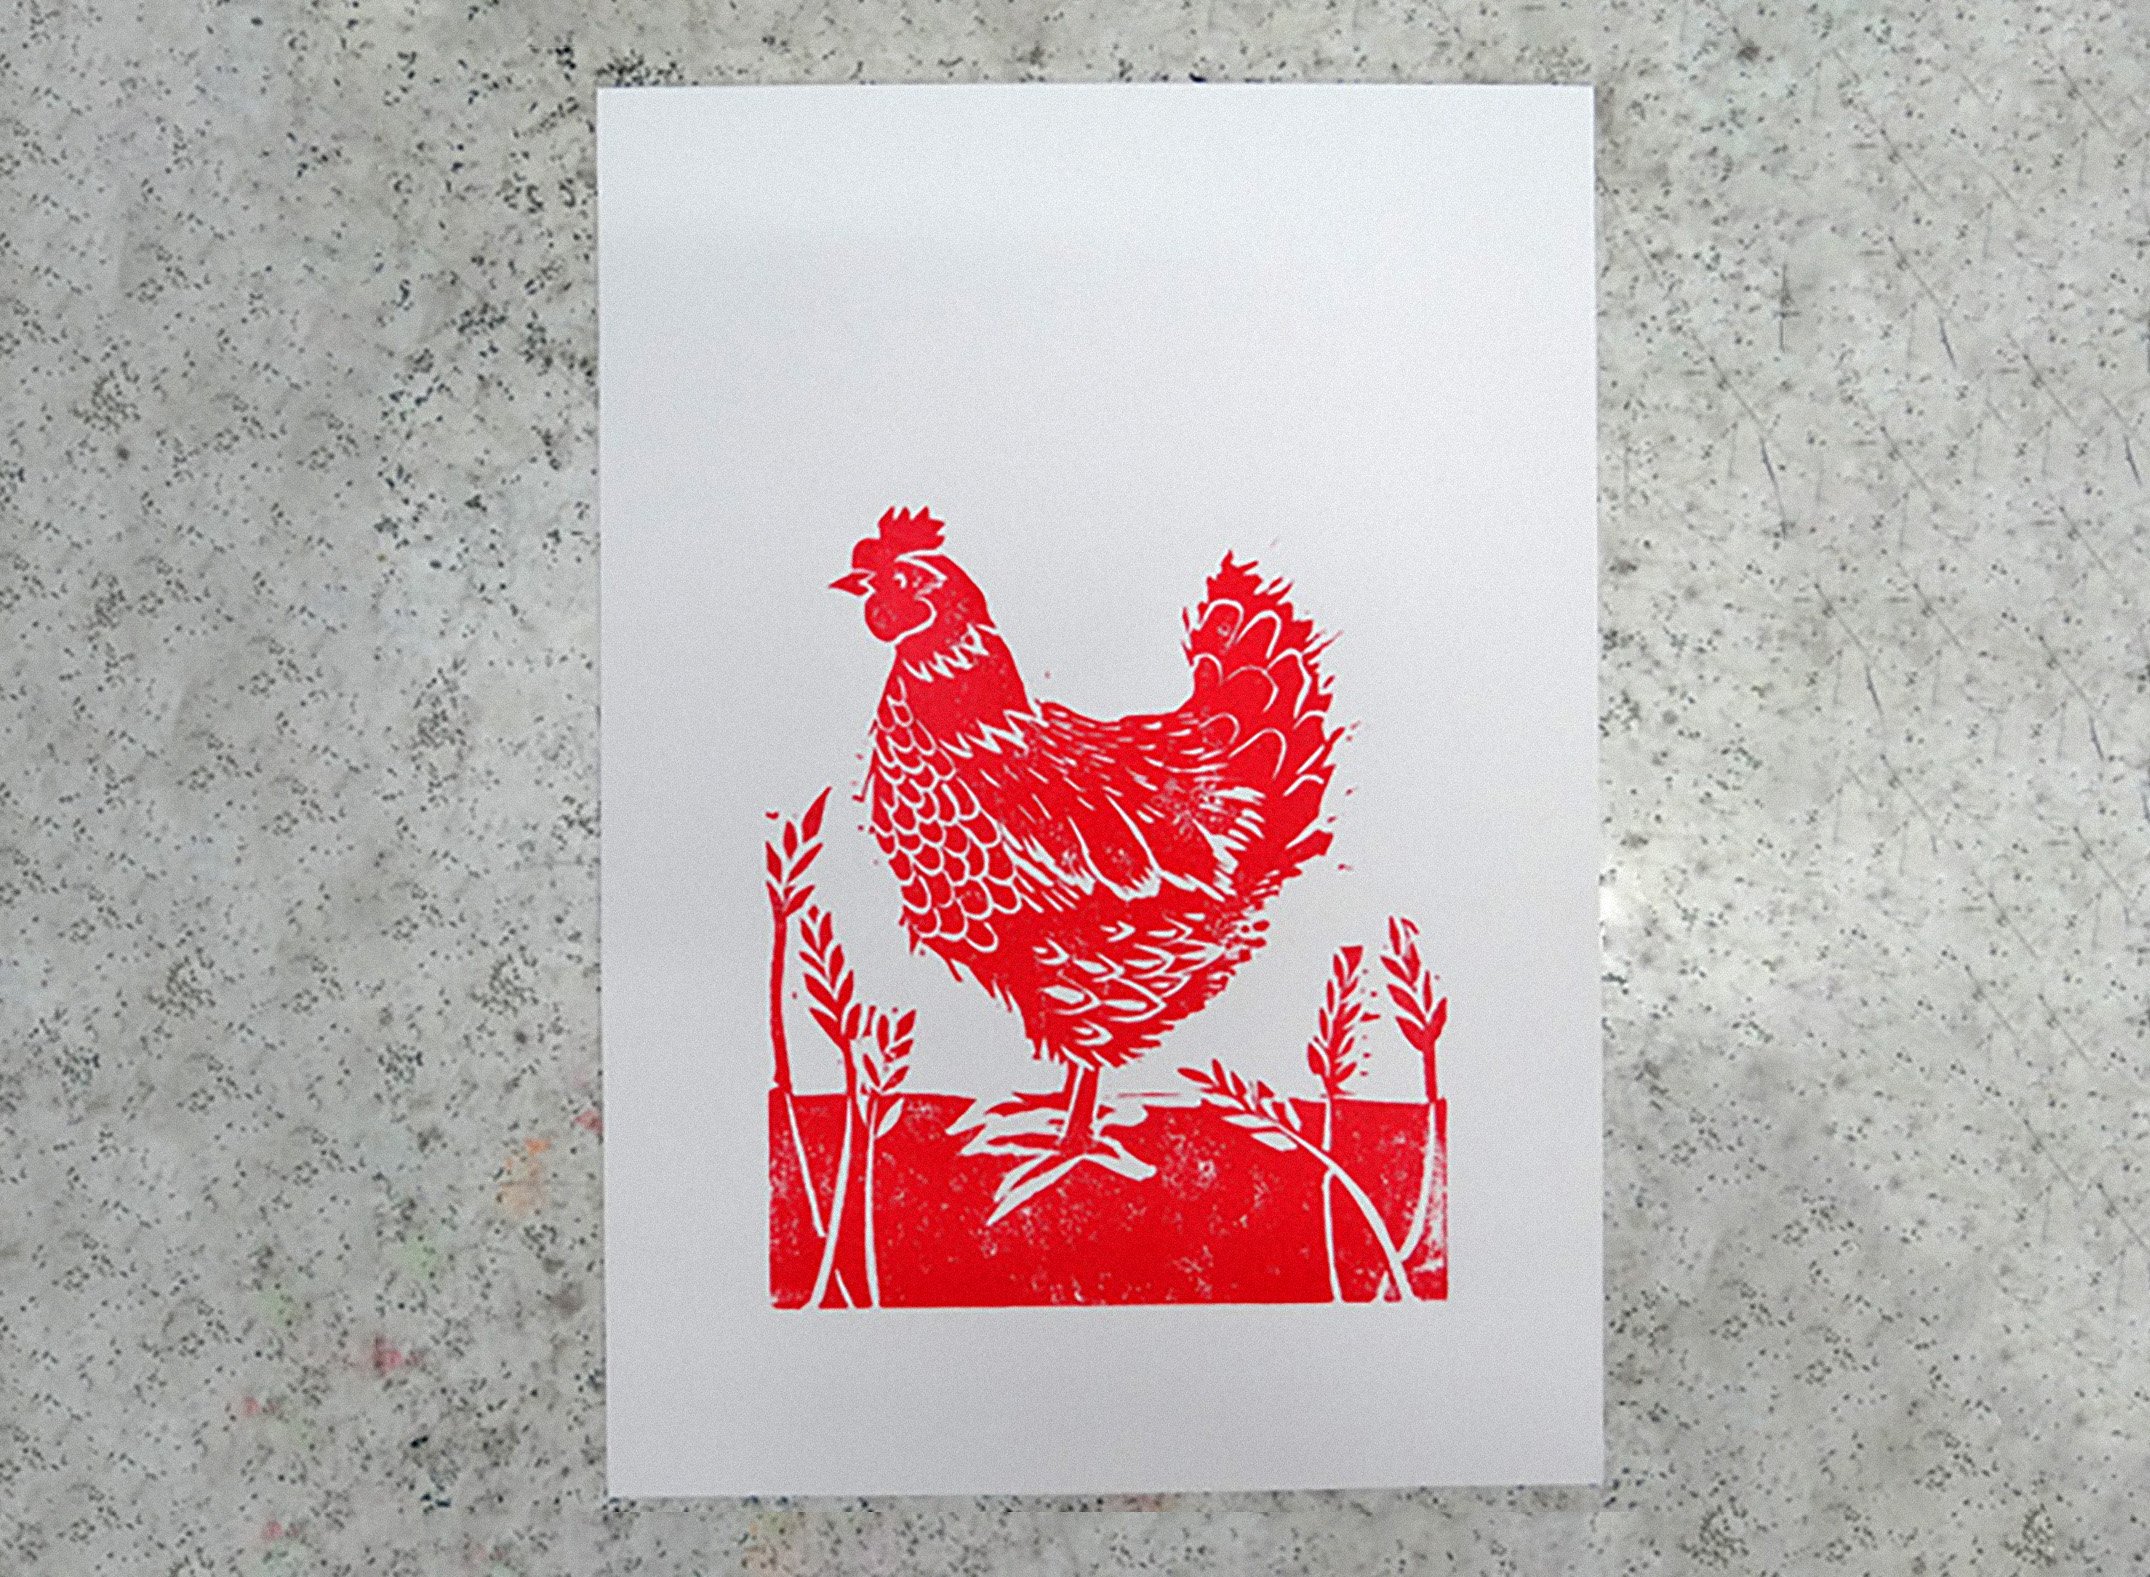
5.Print
Roll the ink onto the block, ensuring that all raised areas are coated in ink. Place the printing paper on top of the block and cover with the greaseproof paper. Rub the surface for a few minutes with a wooden spoon, pot holder or cloth, until the image has been transferred.
6.Leaning
The lino block can be cleaned and reused multiple times. To clean it, use a damp cloth to remove any excess ink: do not put it under water, as it may go stiff or bend. You can also use the cloth to get the worst of the ink off the roller and glass sheet, before washing them in water.
Solvent transfer printing
This little-known printing technique allows you to transfer images from a sheet of paper to (almost) any other type of surface. You can use various types of solvents: paint thinner is one of the most effective, but the technique also works with some specific types of acetone and trichloroethylene. Whichever solvent you use, the process remains the same.
What you need
- A laser-printed image on a sheet of paper
- A surface to print on (paper, wood, stone, etc.)
- Paint thinner (or another thinner that contains trichloroethylene)
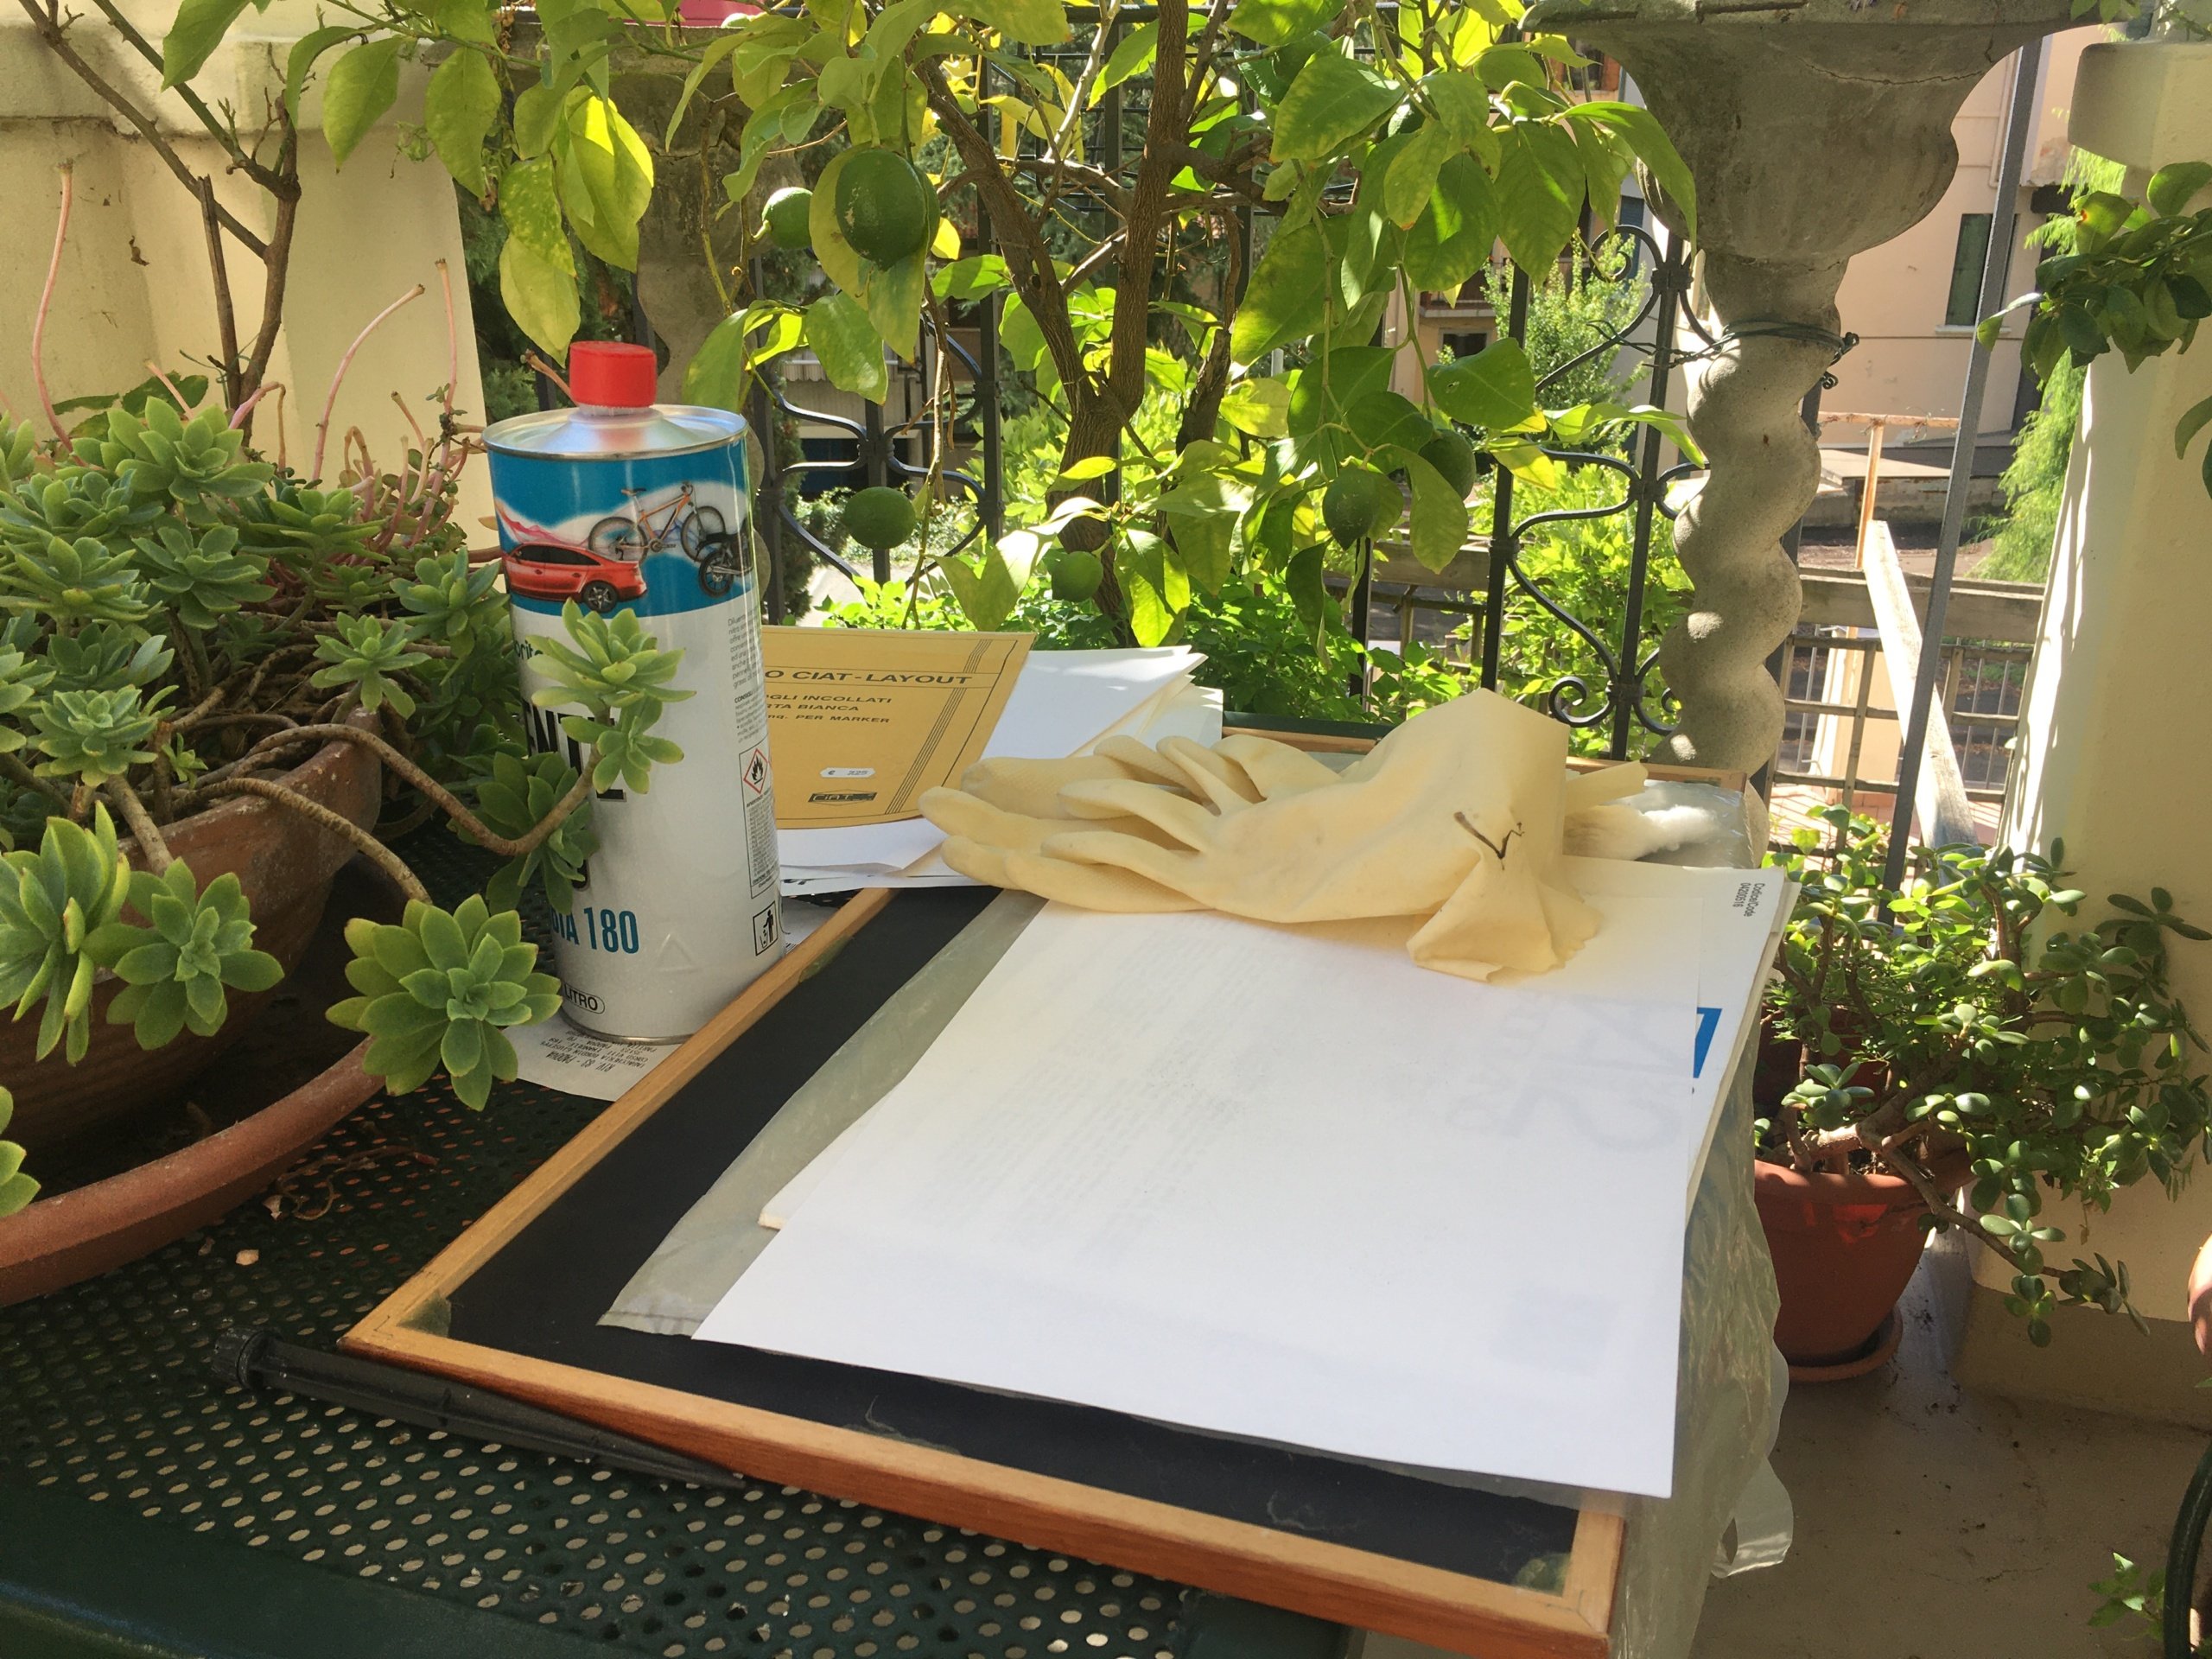
- Mask and gloves
- Cotton balls
Safety precautions
This process is best completed outdoors, or at least in a well-ventilated environment. Wear a mask and gloves to avoid direct contact with or inhalation of the solvent.
Solvent transfer printing : the process
1.Preparation
First you need to prepare the image: it should be printed in black and white using a laser printer, preferably on lightweight, smooth and uncoated paper. Your chosen image should be printed mirrored, so that it faces the right way once it has been transferred. You need to use a laser printer (not inkjet) and choose an image with a high level of contrast, otherwise the transfer will not work.
2.Transfer
Wearing a mask and gloves, place the image face down (with the printed part facing away from you) on top of the surface you want to print. Rub the printed area using a cotton pad or ball soaked in solvent until the image is transferred. Using larger quantities of thinner will create a print closer to the original image, while using less will produce more ‘experimental’ results.
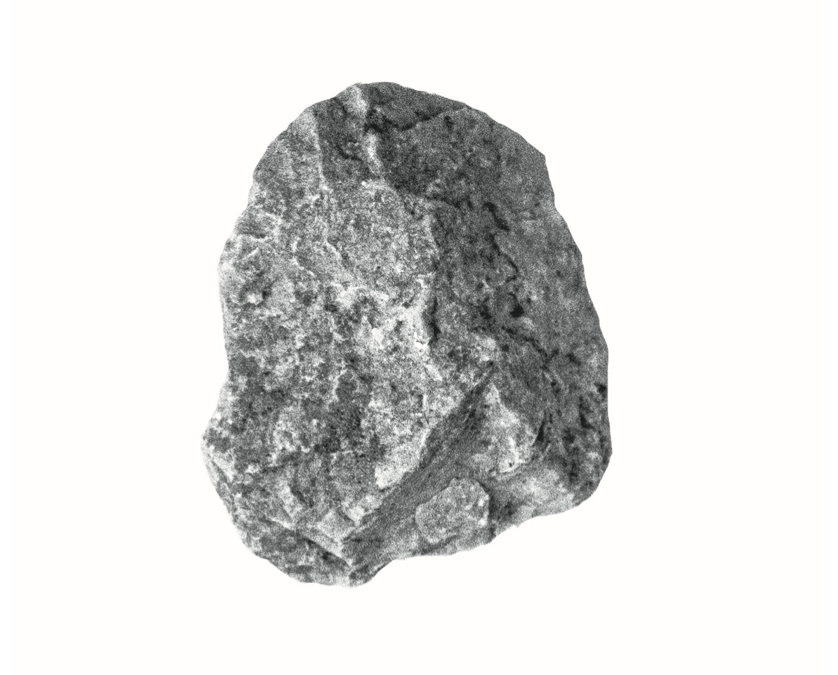

These two techniques clearly work in a very different way, and require different skills. The first is more artistic and demands greater dexterity, while the second, which is more technical and experimental, involves a lot of trial and error and can be particularly successful on wood or stone. In both cases, there is plenty of scope for exploring and adapting the techniques to suit your project.