

Close your eyes and try to imagine: your business’ most important trade fair is about to begin. In just a few hours, hundreds of people will fill the various stalls in the pavilions. Everything has to be perfect: you’ve spent the night putting together your booth, and tweaking it to ensure you capture as much attention as possible. But there’s just one thing still to do: the fateful moment of assembling your roller banner has arrived. You’re nervous. You can’t miss a single step; the trade fair is important and you mustn’t make a mistake. Pixartprinting is on hand to tell you to stay calm; assembling a Roll-Up Classic is quick and easy!
Your advertising displays will be ready to dazzle visitors in just a few minutes. But how do you do it? Pixartprinting has sent you everything you need: your printed artwork and the bag containing the pole, the horizontal bar that holds the print and the base of the display. For a perfect roller banner assembly, lay everything neatly on the floor. We know that out of chaos stars are born, but your time is running out, so it’s best not to risk it.
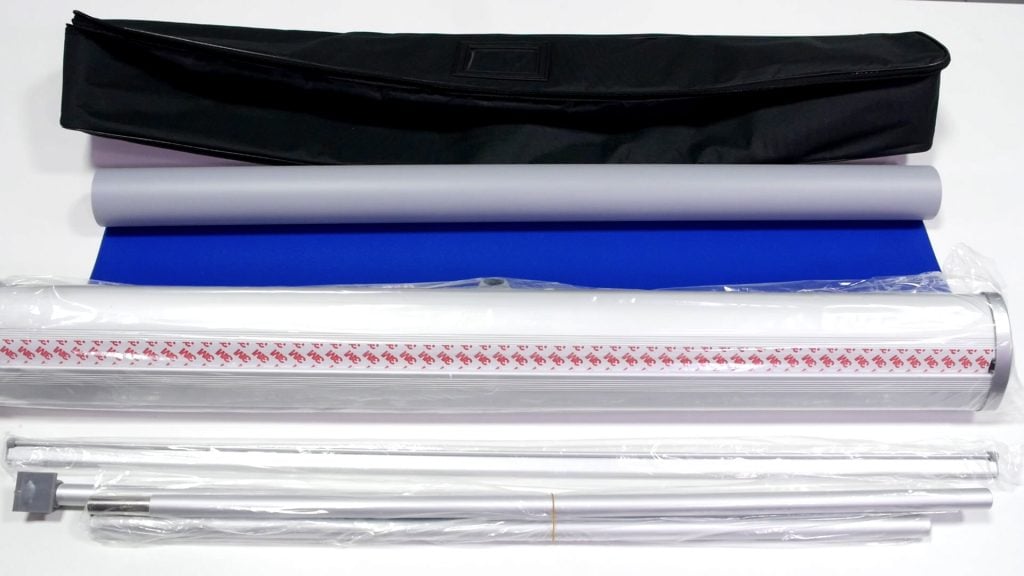
Now follow these five simple steps:
- As with everything, it’s best to start with the basics. Unroll your artwork, printed on Eco-flat material. Take the horizontal bar and remove the two fastenings at the ends. Open it and carefully insert your print. Now press the horizontal bar down and fasten with the caps at the sides.
- Once the artwork is in place, roll it up. It’s time to sort out the bottom part of your print.
- Turn over the aluminium base, which comes with a piece of sticky paper. Stick your artwork down carefully, taking care to line the two sheets up using the double-sided tape.
- Next, remove the key that holds the sheet in place and roll up your artwork inside the base.
- Finally, assemble the pole that holds the print in place and position it on your booth.
Your advertising displays will be ready for the show in less time than it takes to decide what to cook for dinner that evening.
But it pays to be careful – here are a few tricks to ensure the assembly goes smoothly:
- Make sure the horizontal bar you attach to your artwork is the right way round. Before closing it, check that your print is inserted correctly, so it doesn’t become detached later.
- Line your print up perfectly with the black line just below the double-sided tape; it will be difficult to remove the banner to repeat the operation if it ends up misaligned.
- Hold your print tight before removing the key at the base of the display. The key blocks the internal spring that allows you to roll up the print. If you let it go, the artwork may roll up quickly, which could damage either the print or the base.
If you follow these simple steps along with our video tutorial on assembling your Roll-Up Classic, you’ll be a roller banner master in no time!
Now everything is ready and your booth is complete: choose the right corner for your roller banner and let it speak for itself.
Trade fairs are just one of many occasions you could flaunt your advertising banners: for example, they are also suitable for shops, public events or private parties, pop-up stores or any time you want to promote your business.
Don’t miss the next tutorials to become an expert at replacing the print in your roller banner, or to find out what to do if the roll-up spring breaks.