
That food festival you really wanted to take your new business project along to has just opened in the city. You tried your best, but demand was high and you didn’t manage to get a place. Ah well, there’s always next year, you think. Then, suddenly, a few hours before it starts, you receive a phone call. Someone has dropped out, and the organisation has called you. You simply can’t say no!
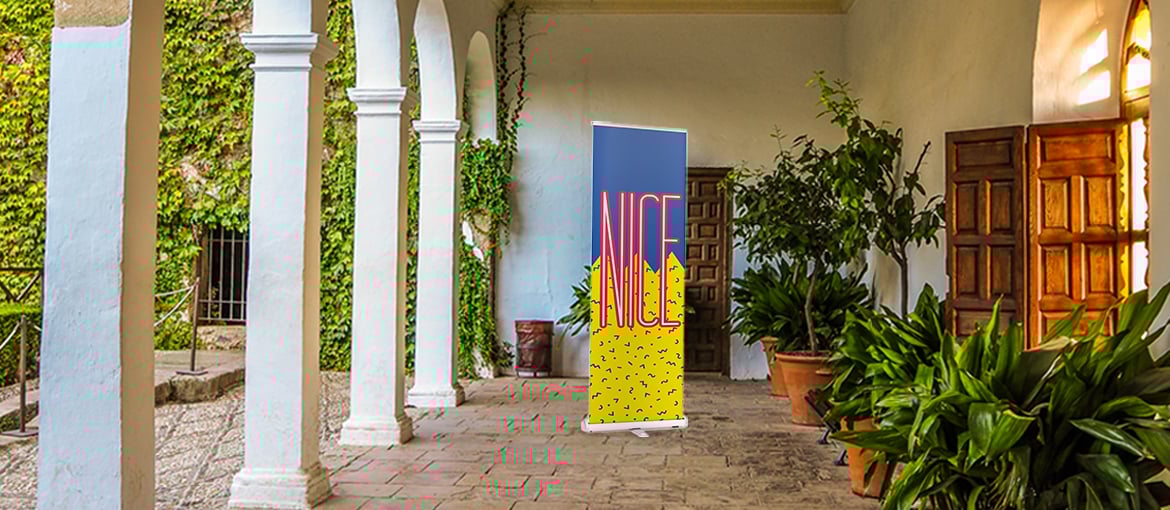
You hastily gather together all your promotional materials, get to the event venue and put up your stand. The competition is fierce; as well as the smell of your cooking, you need something else to attract the crowd’s attention. A Deluxe Customised Roller Banner is the solution: at 2 metres high, it will get your message across without you having to raise your voice once.
You think you have the situation under control, but instead you end up wandering around the festival stalls, asking everyone “How do you assemble a roller banner?!” Don’t worry, assembling a custom roller banner is quick and easy: follow our instructions one step at a time, and your trade fair displays will be ready to deal with the competition all day long.
If you’re ready, let’s get started:
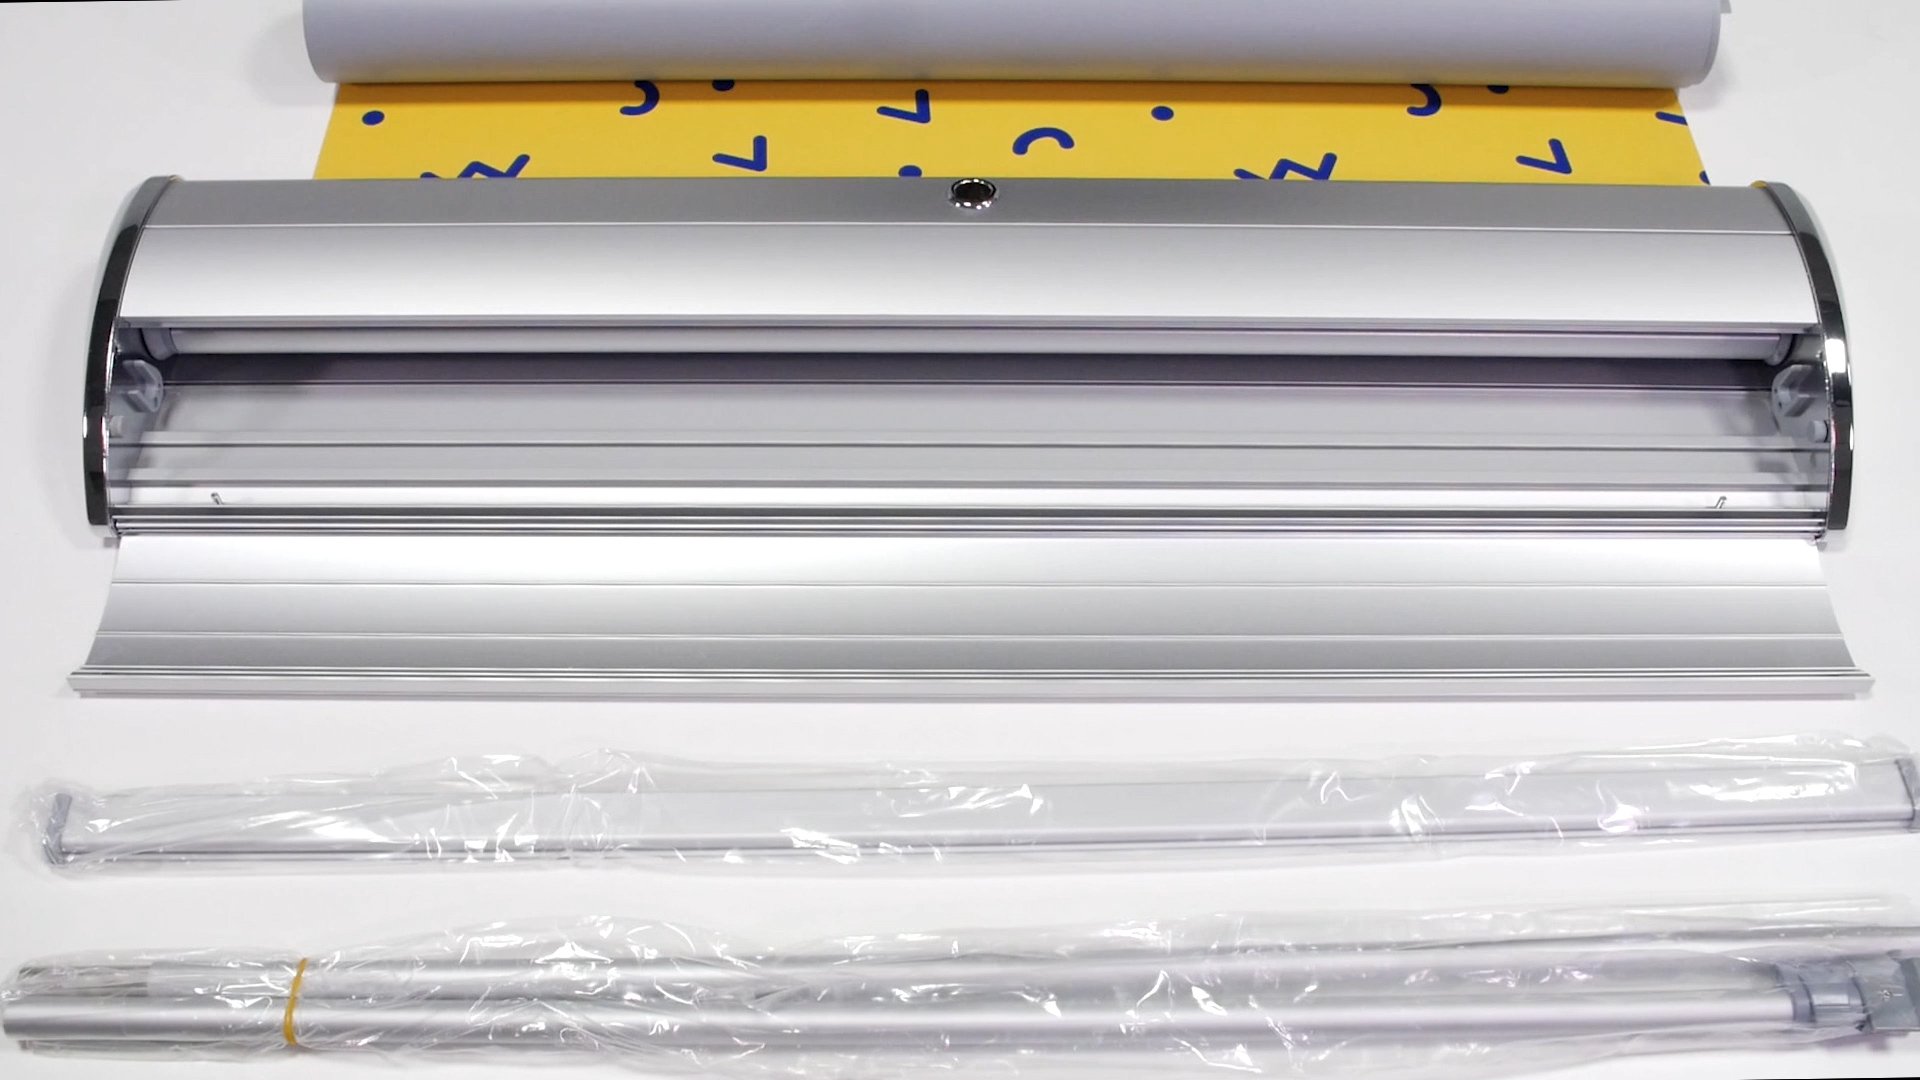
- Take all the parts of your customised roller banner out of the bag and place them on the floor, ensuring that nothing is missing: you should have your artwork, the metal base of the display, the horizontal bar that holds the print and the extendable pole that supports it.
- Remove the fastenings from the sides of the horizontal bar, open it and insert your print carefully into the groove. Close the horizontal bar with force, making sure that the artwork is positioned correctly, and replace the caps on the ends.
- Your print is now fixed in place. Now roll it up starting from the top, where the horizontal bar is. Once you have your roll, turn it over and insert it into the base.
- You will find two screws inside the base. Remove these and then the side pieces of the structure.
- Slide the bottom of your print into the metal tab, which also has a special groove to hold it in place. Close it properly to ensure the print does not come loose.
- The next step is to remove the key that locks the internal spring and slowly roll the material up, keeping a hold on it to prevent it moving too quickly and causing damage. The printed side should be visible.
- Now wind up the spring, or wheel, on the side of the base. When this is done, close the structure.
- That’s it: all you need now is the support pole: put it together and hang your artwork up.
We’re not promising beams of light will emanate from your roller banner, but it will grab people’s attention, offering a strong visual presence that will catch the eye of passers-by. The long-lasting, striking display will remain fastened securely to the ground.
To ensure a perfect result, here are a few hints we recommend you follow:
- Make sure your artwork is the right way round before fixing it to the horizontal bar.
- The horizontal bar that holds your print is a little longer than the artwork itself, so make sure that your artwork is positioned centrally.
- Close the upper bar carefully: don’t run the risk of your print becoming detached right in the middle of the most important event of the year! Do the same at the bottom, within the aluminium base. When you start rolling the artwork up inside the base, keep pressing the insertion tab. This will ensure that the print is held securely.
- When removing the key that locks the spring, hold the internal cylinder containing the artwork and guide it to avoid it being released quickly and ruining your product.
- Finally, if the spring is difficult to wind up, do not force it, or you risk affecting its functionality.
We’ve now explained every last detail; you really can’t go wrong. We know you’re following the instructions to assemble Roll Up Deluxe, along with those for the Roll Up Classic. So, by now you should know the inside outs of trade show displays and next time you’ll be the ones to answer the question “How do you assemble these roll ups?”.
Good luck with your event!