
Table of Contents
Canva is a really useful tool for creating social media graphics. If you don’t use mainstream design software it has a relatively small learning curve. If you’re an experienced designer, it’s also a way to create templates that your client or other non-designers can edit themselves. But, there is work to be done first before you start using Canva.
Think about how you want your brand to look
Before you start designing a graphic for social media you need to think about the existing brand. If you’re starting from scratch this is not an issue, but if there is already existing design work you need to decide on a few brand rules. Look at what has been done previously, note the fonts, colours and styles and shapes used and think how you might work them into your designs. How rigid you make those rules are entirely up to you and your client.
If there’s no existing design work you need to either write your own design brief, or ask your client what they are looking for. Think about the impression you are trying to get across, is it an upmarket product or service or is it a trendy quirky one?
Search for inspiration
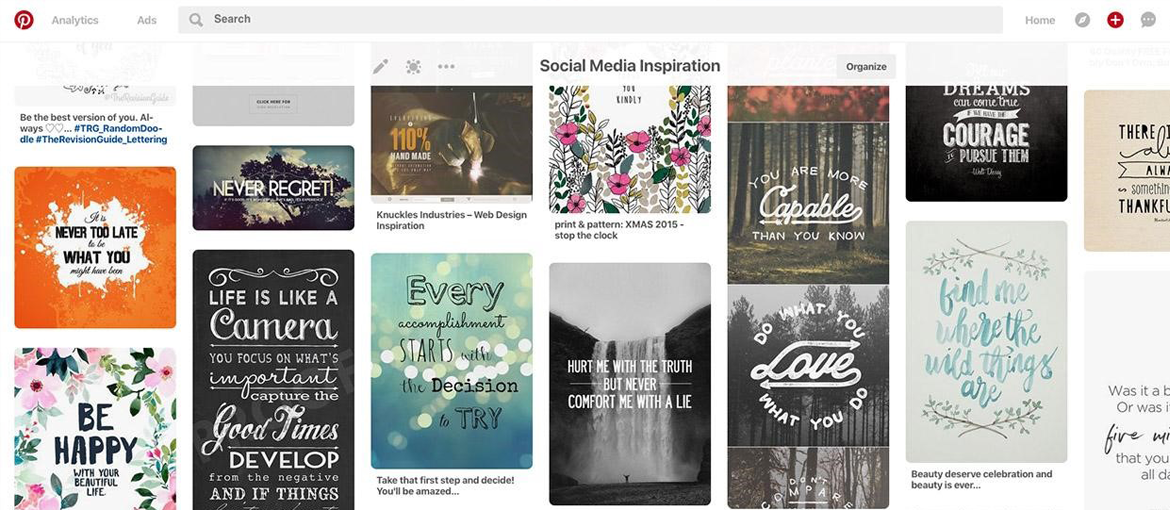
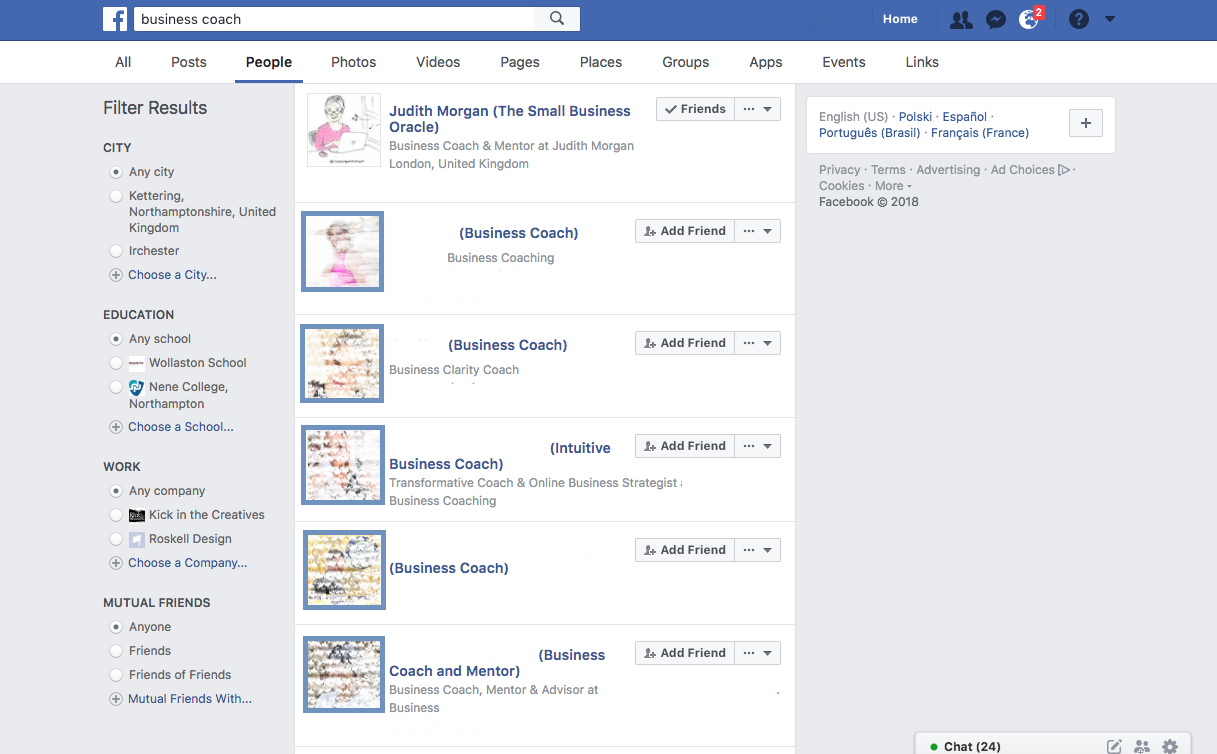
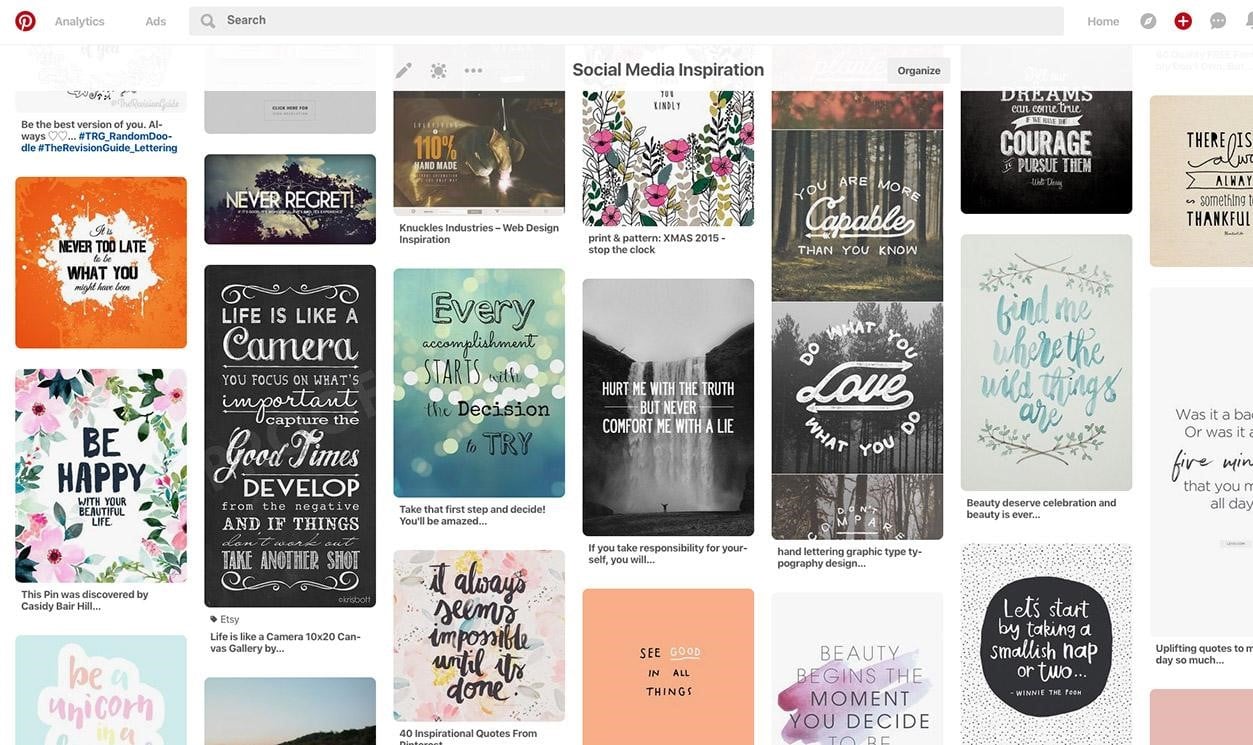
As you’re creating a social media graphic, one of the best places to search for inspiration is on social media itself. So, if you were creating a Facebook Graphic for a Business Coach, you might search on Facebook and then click on a few of the people to see what they are doing. Or you could search within “photos” to get an overall feel for the niche. Then look at other similar niches too, for example, Speakers. Collect together all your imagery in a mood board on Pinterest.
Work out what you like about the images and how you might create a similar “feel” within your design, while being different enough to stand out.
Sketch out some possible ideas
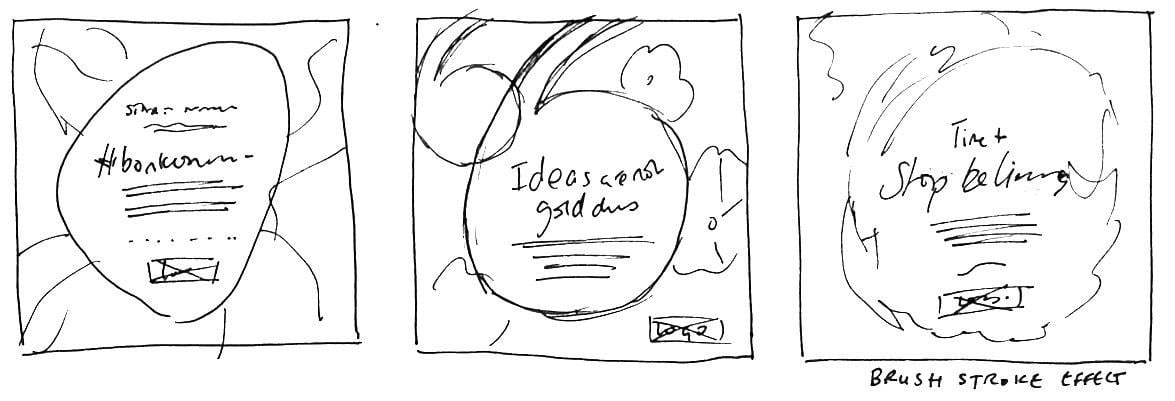
Quickly sketch out some thumbnails of how you might lay out your design. Thumbnails are just very small drawings which allow you to get a quick idea if a layout will work or not. Let’s assume that you were going to create a Facebook Graphic with a quote, logo and web address. Draw out the text in different positions and at varying sizes, you can indicate the logo very simply with a box or scribble it in. Think about the type of imagery you might use, this could be as simple as a border, to a photo in the background, it could be cartoony or abstract. Below are some examples of thumbnail sketches for designs I created for Business Coach Judith Morgan which I am sharing with her permission.
Choosing Images
There are loads of fantastic places you can download images, either completely for free or for a few pounds. A couple of my favourites are Unsplash and Pixabay, but if you want something really quirky take a look at Gratisography. Bear in mind that if you want to use text over the top of an image, you need to be very careful with your choice. It needs to be either dark or light enough that text can be easily read. Alternatively, you will need to consider another method of placement such as using a coloured panel or some sort of shape underneath your text.
Taking your design into Canva
Choose your favourite sketches to work up in Canva. Canva has a series of ready-made sizes or you can choose custom dimensions. So you might, for instance, choose the social media square as a good starting point.
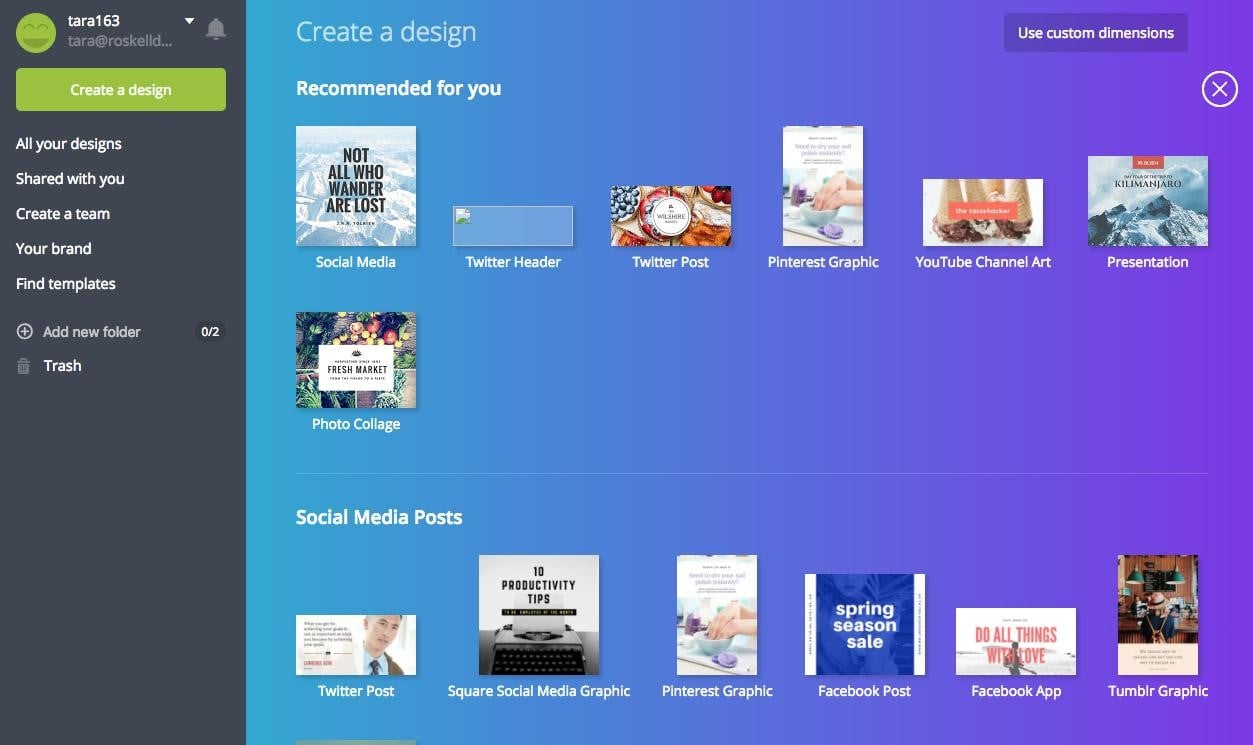
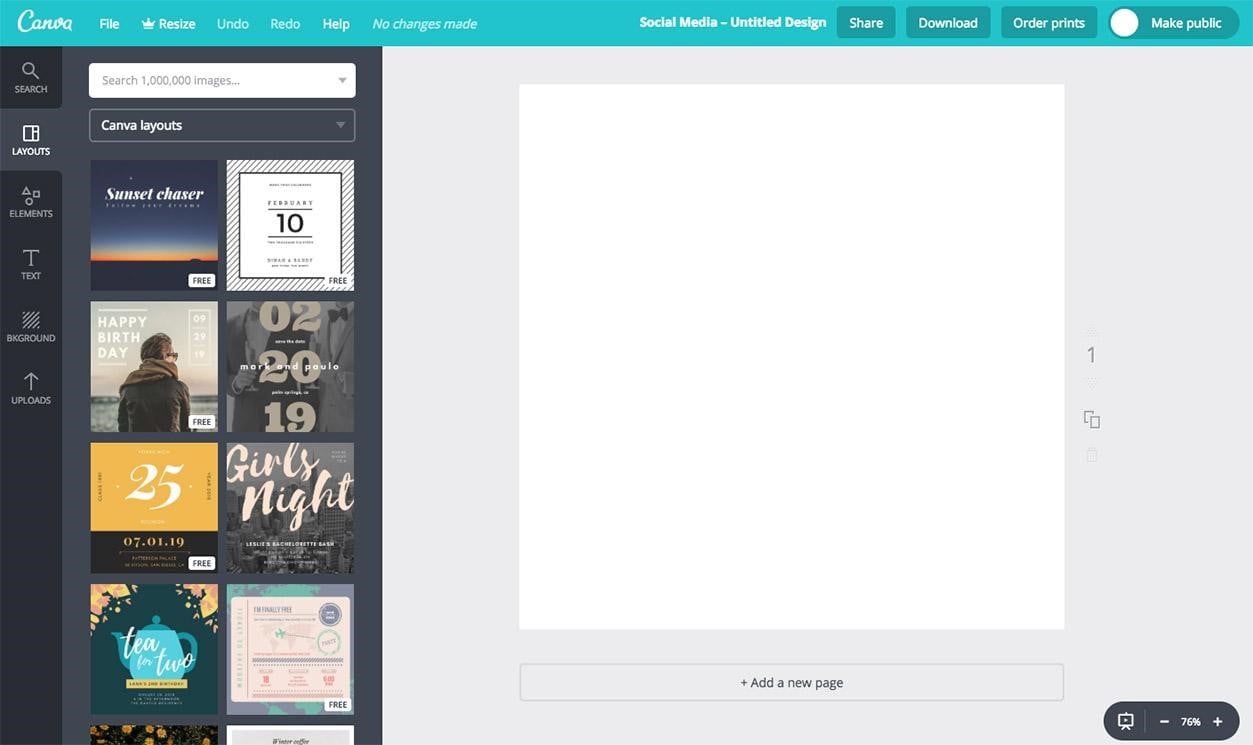
Once you’ve chosen the size, a panel opens where you can begin your design. On the left, you will see that there are ready-made templates that you can use as a starting point. However, in this case, I am going to assume you are using one of your sketched designs to work from.
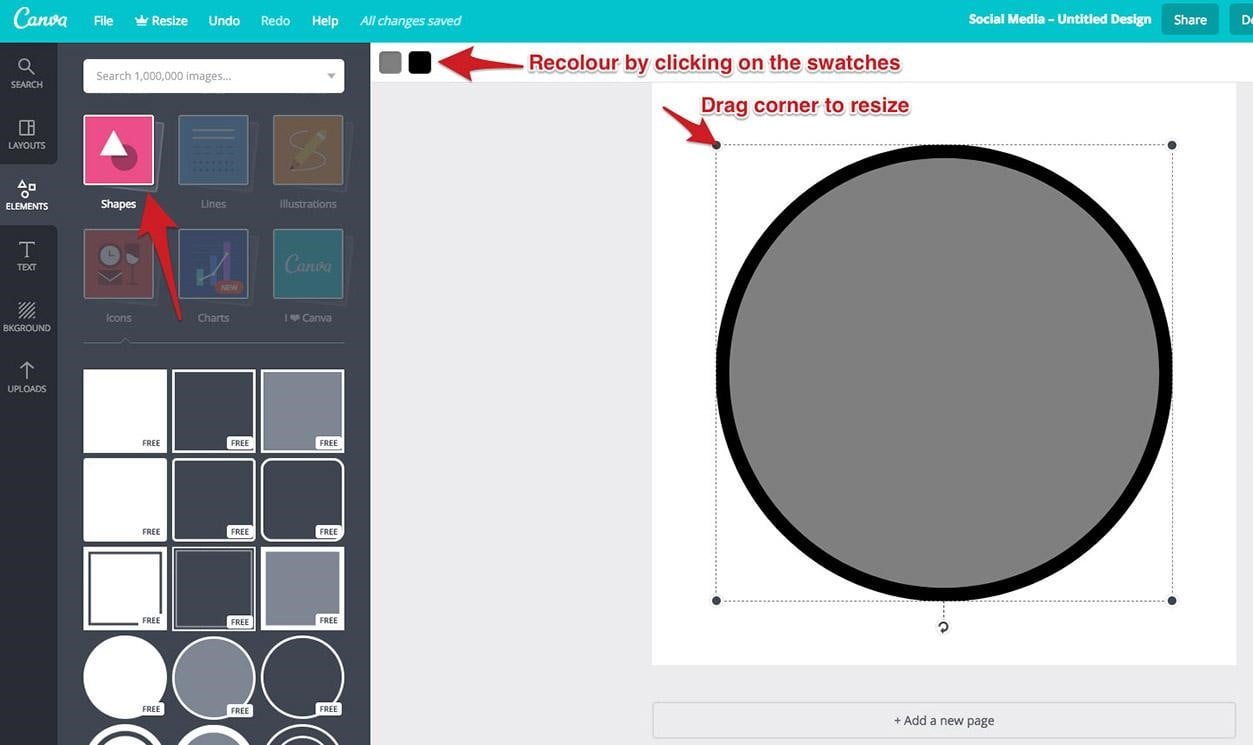
I’m going to take the middle image from the thumbnail sketches I showed previously and give you a rough guide of how you can create it. Canva has a range of premade shapes, so check there first to see if there is something similar to what you have sketch. To add an existing shape, click on “Elements” in the left panel, then “Shapes”. You can add any shape to your design by just clicking on it. Then resize it by dragging the corner, you can also drag to reposition. Click on the swatches if you want to change the colour.
Using Canva’s shapes or importing your own
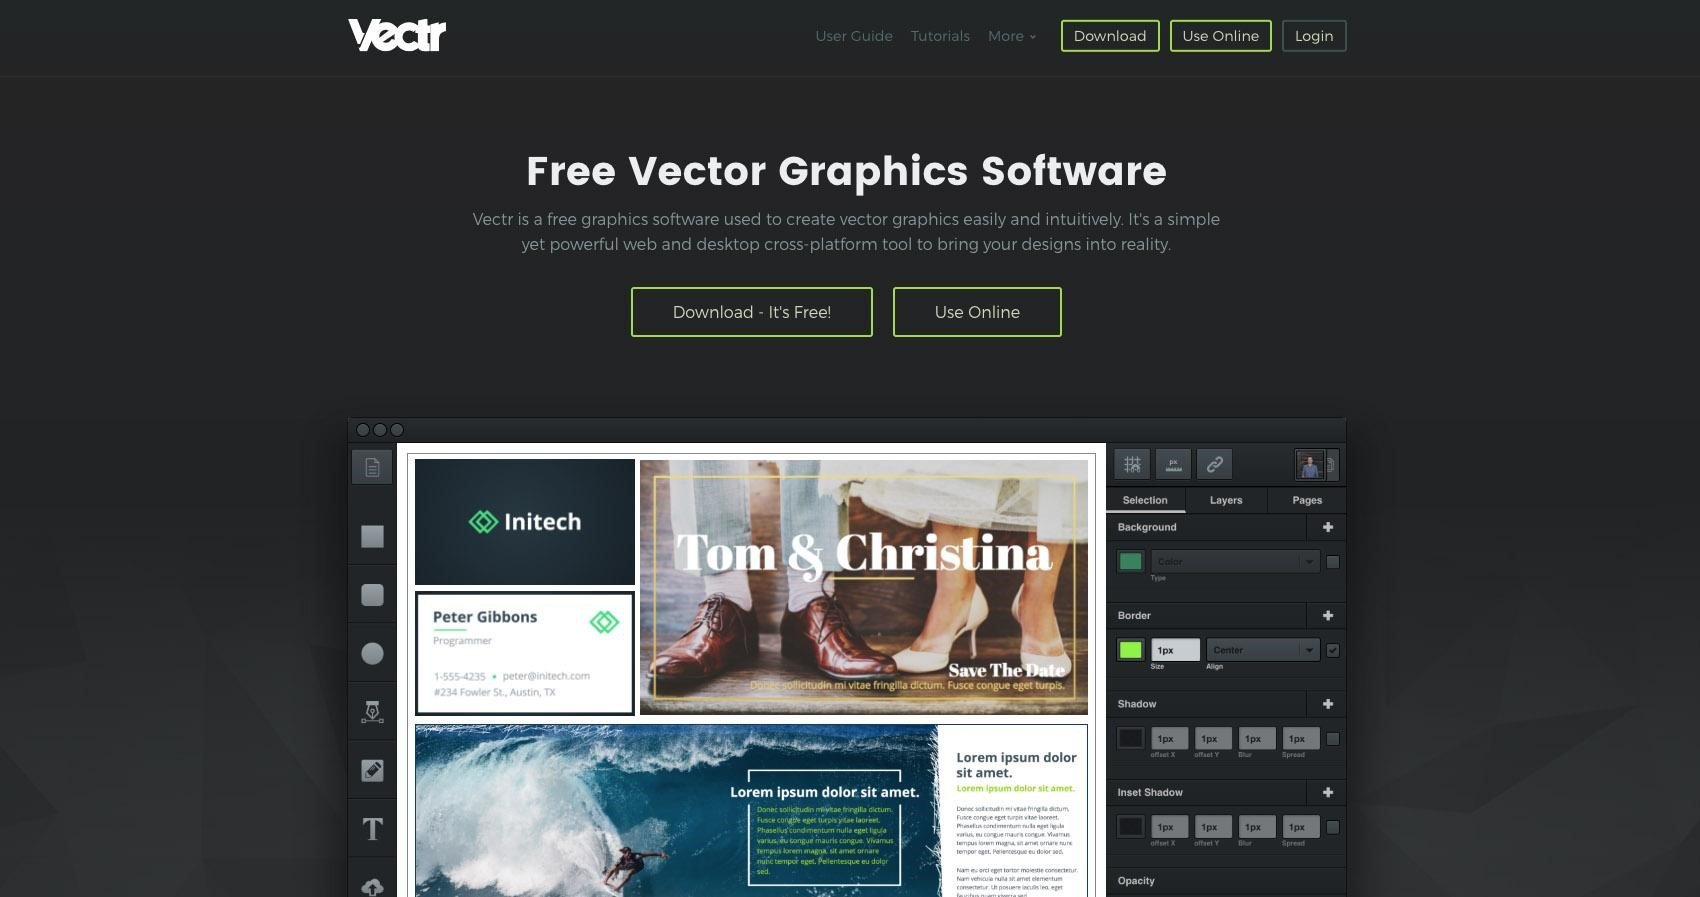
In the case of my sketched design there isn’t an existing shape to use. If your design is similar there are a few options. If you have a vector program like Adobe Illustrator you could create your own shape, there are also plenty of vector apps on the ipad you can do this with too. If you don’t have either of those options take a look at Vectr an online vector graphics software. Another possibility is to use royalty free shapes from places like Pixabay. Search for vector objects and then set the filter to transparent. However you decide to create your shape you will need to make sure it is saved as a transparent png which is suitable for importing into Canva.
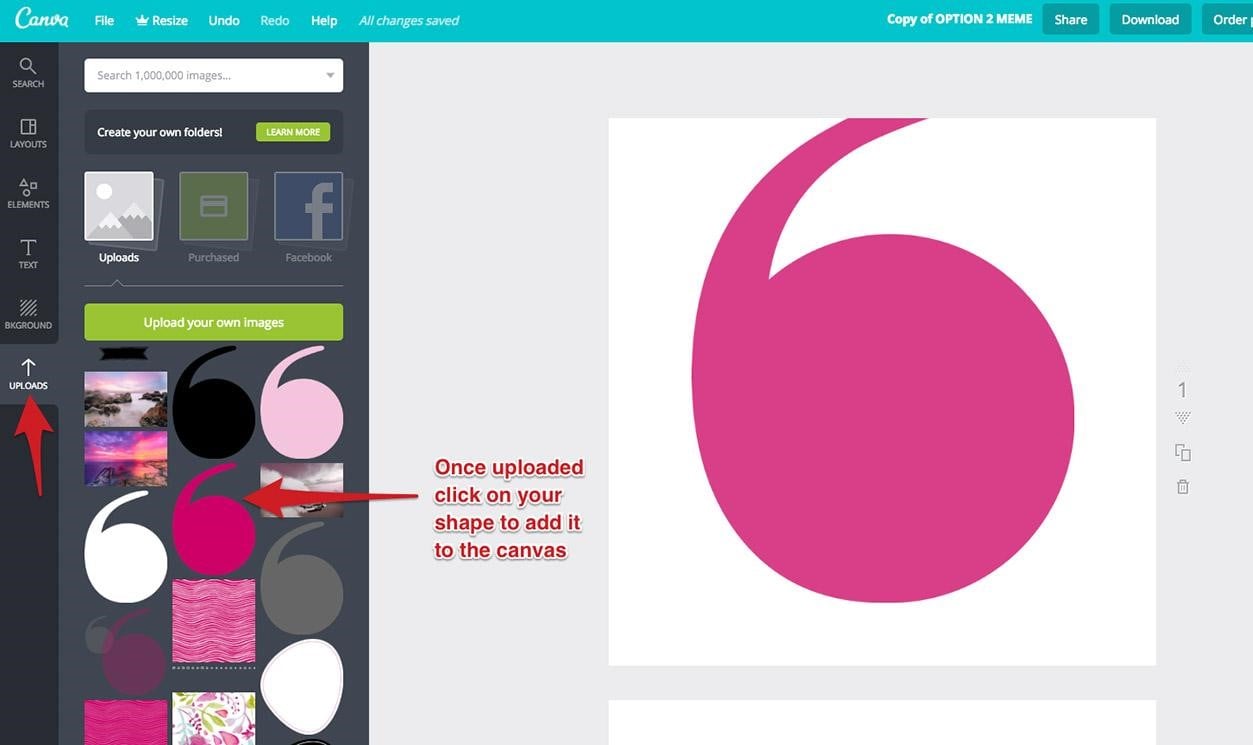
To import your own shape into Canva, click on “Upload”, then locate your transparent png file on your computer and let Canva do the rest. Once it’s uploaded, click on it to add it to your canvas and resize and move as required. Add any additional shapes to the page, in my case I then added another speechmark.
Adding a Background
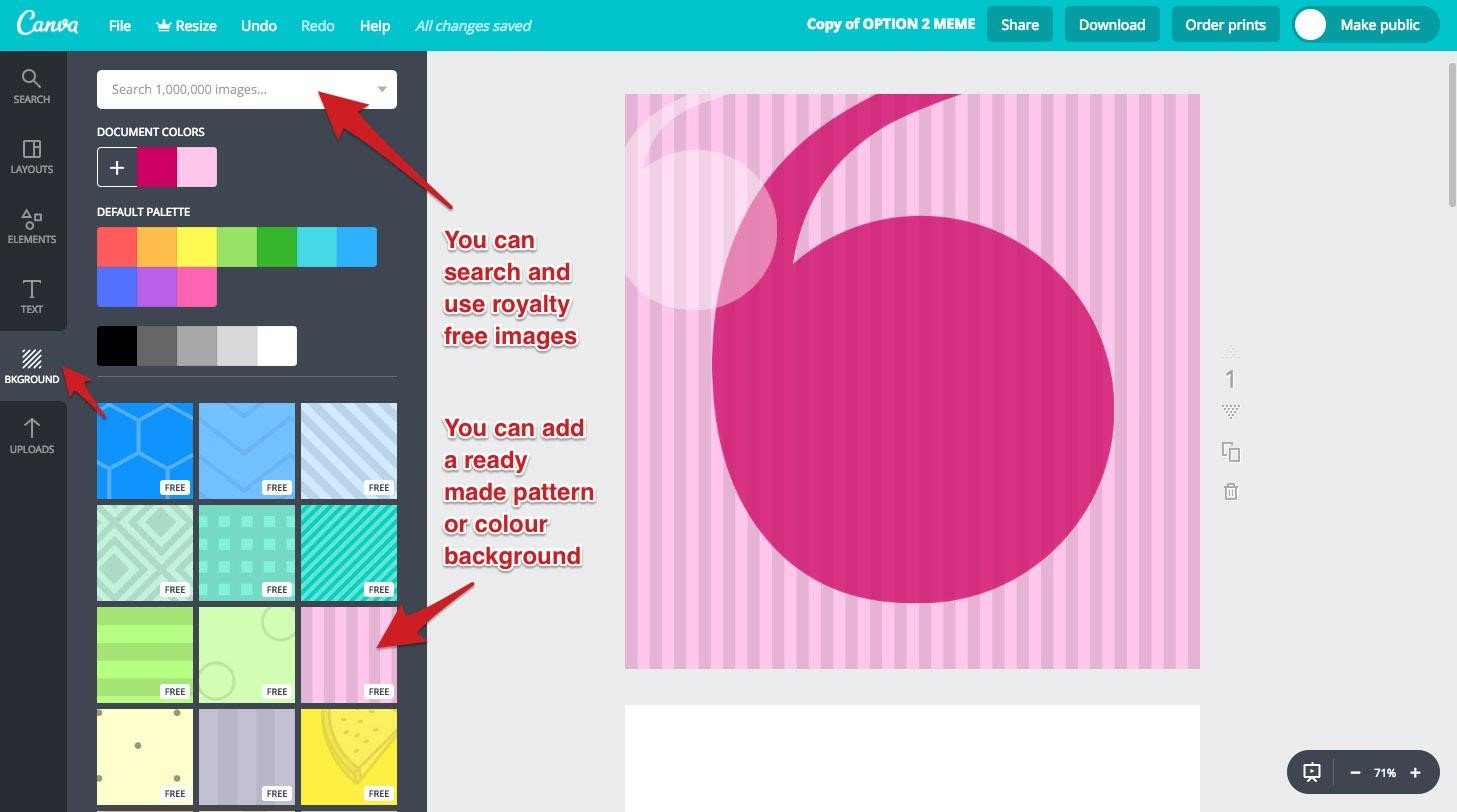
There are a few ways to add a background in Canva. You might want to check their pre-created ones first to see if there is anything similar to your sketched design. Click on “Background” in the left tab and you will be shown various colour and pattern options. You can also search directly in Canva for royalty free images.
Upload your own image for a background
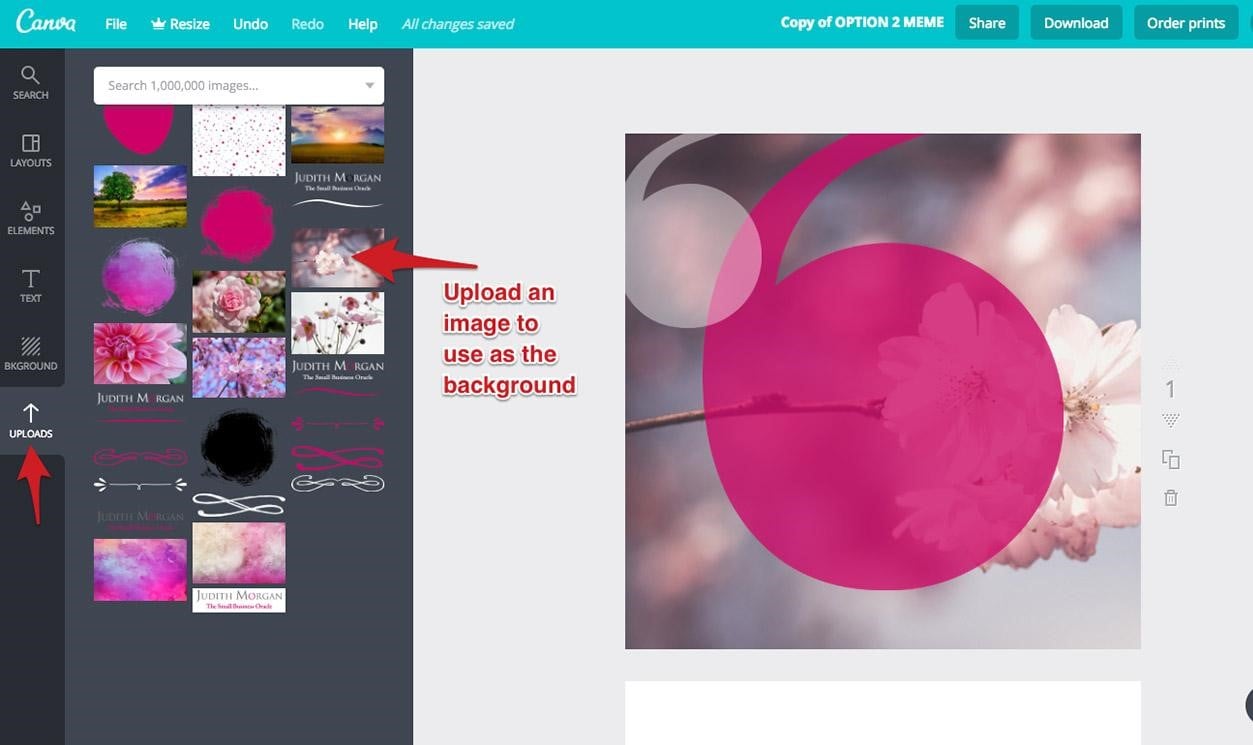
If you prefer to use an image you already have, you can upload as before by clicking on upload. As soon as you place an image larger than the canvas size it will automatically put itself behind the other elements on the page.
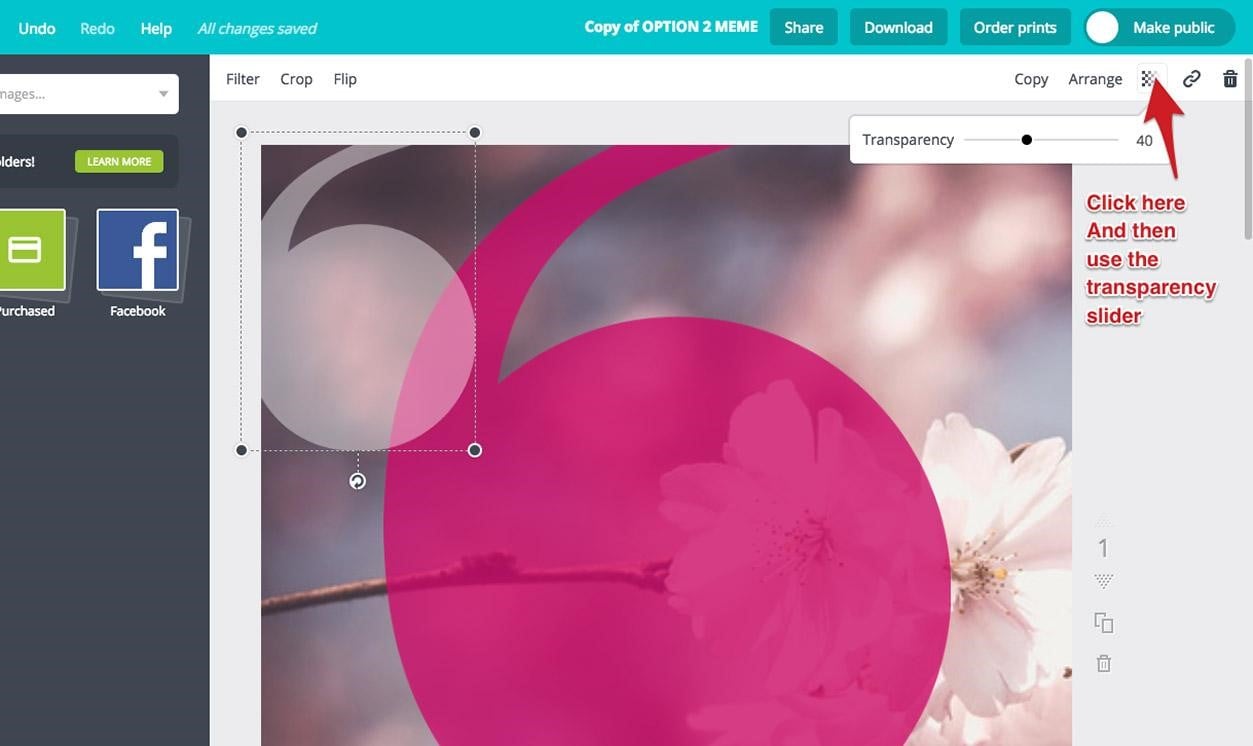
You can also change the opacity of any element as you can see I’ve done with the speech marks below.
Upload and position any other graphics, such as a logo
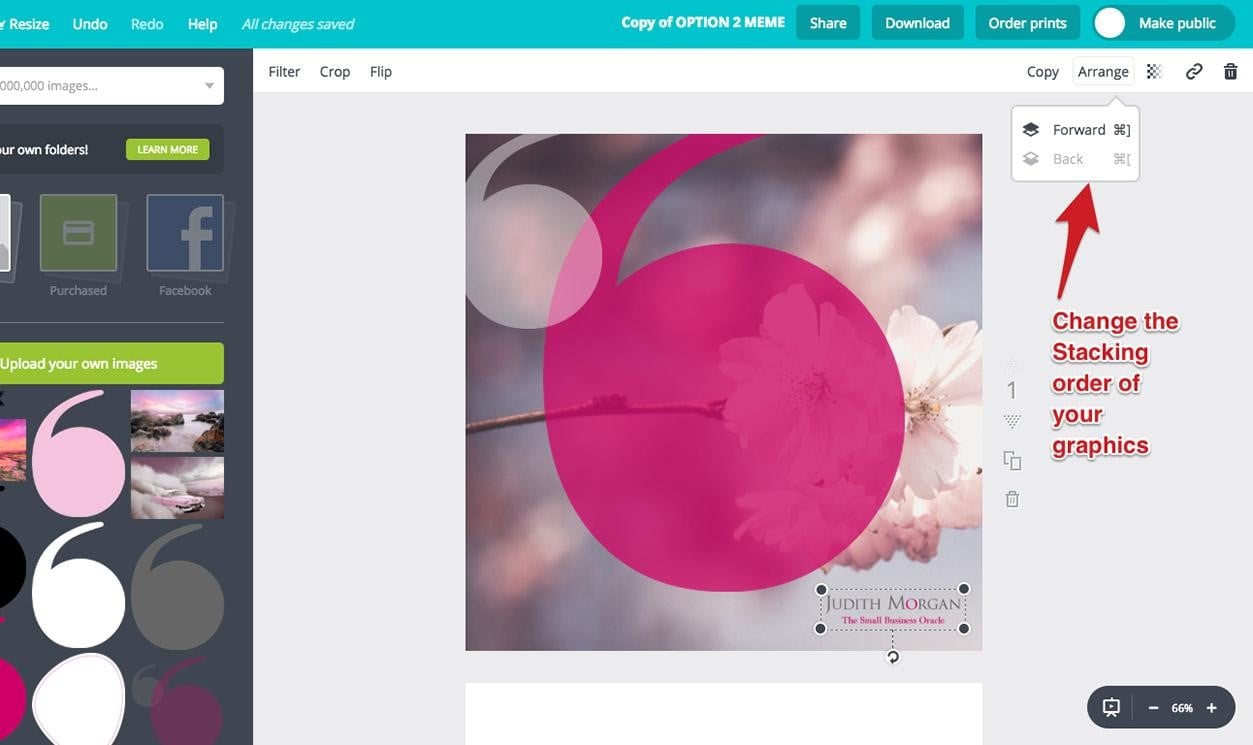
You may want to upload a logo to the page too. You can do this in exactly the same way. If you find your graphics are layered in the wrong order, for example if the logo is below another image use the “Arrange” and Forward button.
Add text to your design
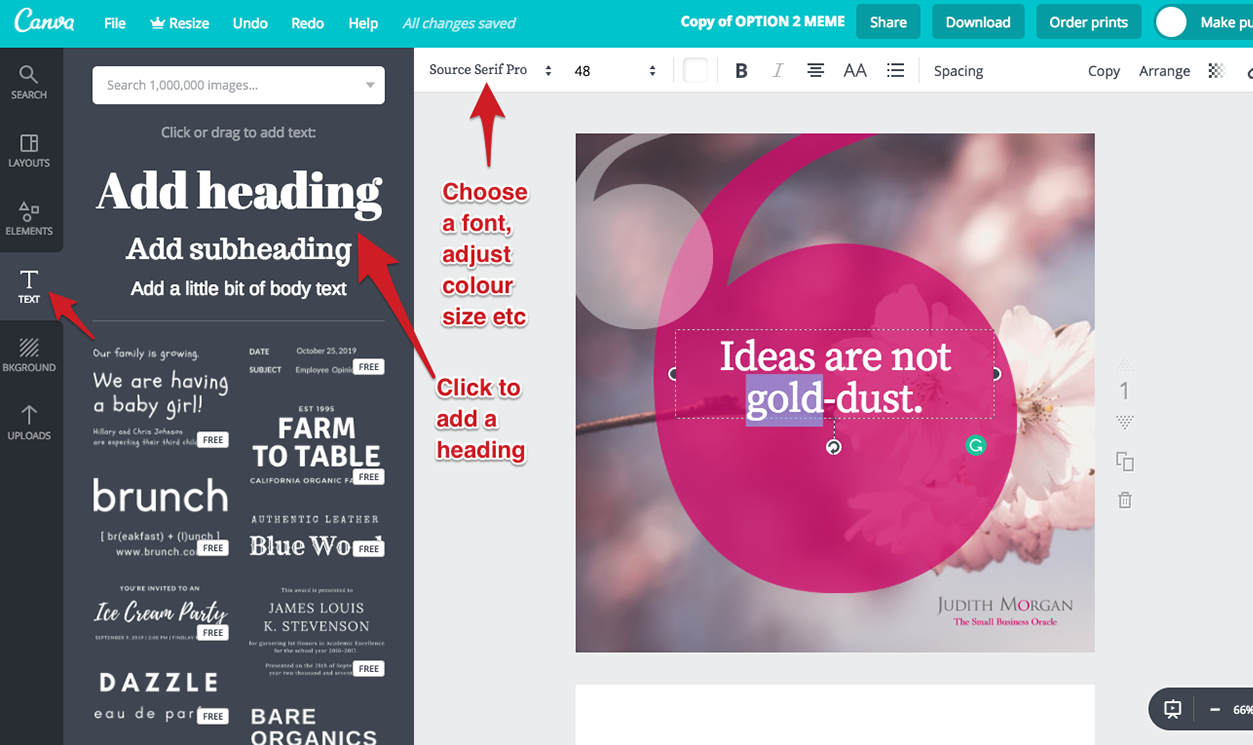
The next step is to add your text. Add your heading by clicking “Text” in the tab on the left and then “Add heading”. This will add some placeholder text to the page which you can move and edit. Canva has quite a few built in fonts, but if you need something specific you will need to upgrade to upload your own fonts. You can change the size, colour, weight and spacing of your font too.
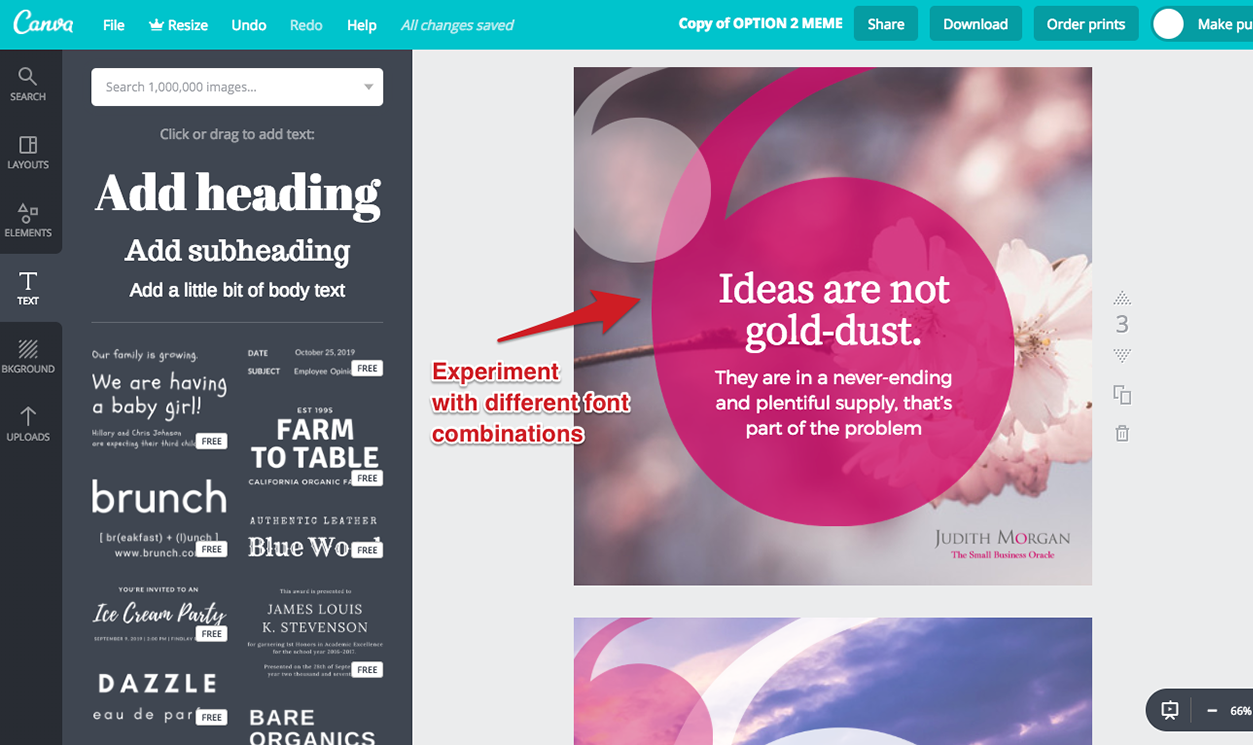
In Canva, all the text within one text box have to be the same size. So to add some more body text, create another text box and then click “add a little bit of body text”. I would recommend sticking with either one or two fonts for your Social Media Graphic. If you are going to choose 2 different fonts make sure they are significantly different, like one serif and one sans serif font. Experiment with font combinations until you find something that works.
Work up your other designs
Work up your other sketched designs, so you can see which works the best.
Create design variations
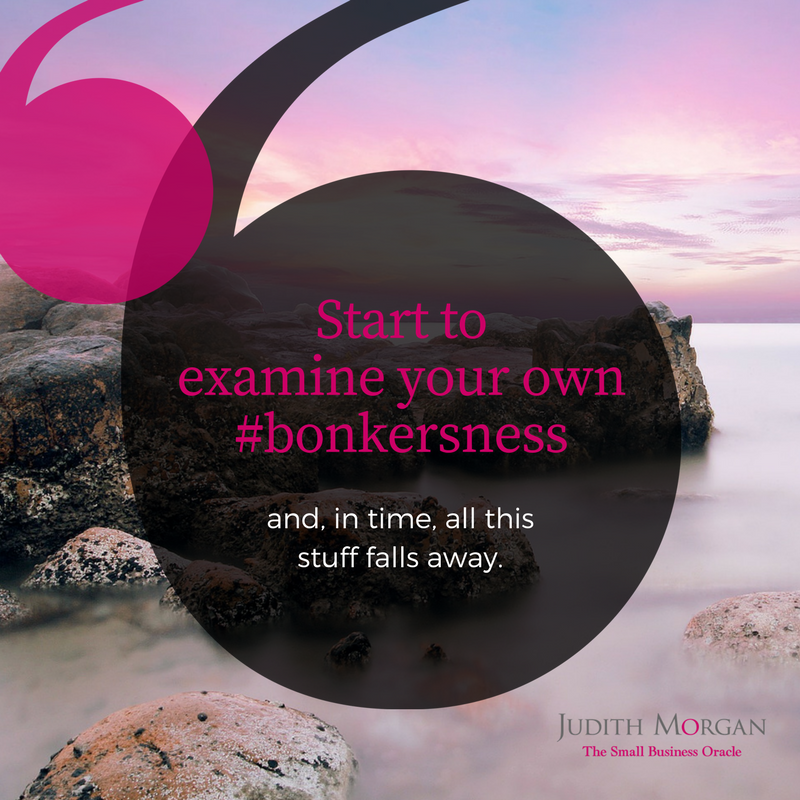
Once you/your client has chosen the best design, create some variations. This will mean your designs will all look like they are part of the same brand, but will create more interest and variety. For example, you could change the background and the colours of shapes within a colour pallette.


Export or share your graphics
Once you are happy with your designs, you can either download them or share them with your client. Sharing means they will be able to edit the designs too, so I suggest making a copy first.
Once your designs are downloaded you can share wherever you like on social media.