
Table of Contents
There is increasing awareness about environmental sustainability among consumers and businesses. And this awareness is also growing when it comes to paper and printing. That’s why we thought that a closer look at the recycling process might be interesting to those who are environmentally conscious and try to make green choices.
Today, we’re going to tell you how paper is recycled and, for those who like to get their hands dirty, explain how to make home-made recycled paper. It’s a process that can be useful for odd jobs or special projects, if you have a moment to spare. And who wouldn’t want the satisfaction of writing on paper they’d made themselves?
How is paper recycled?
When you consider that almost all cellulose fibre can be recovered and turned into new paper, you realise just how important it is to correctly sort paper for recycling. In fact, without it, the great recycling machine won’t run. In the next section, we explain exactly how the system works.
The paper recycling process involves a number of different steps, the most important of which are:
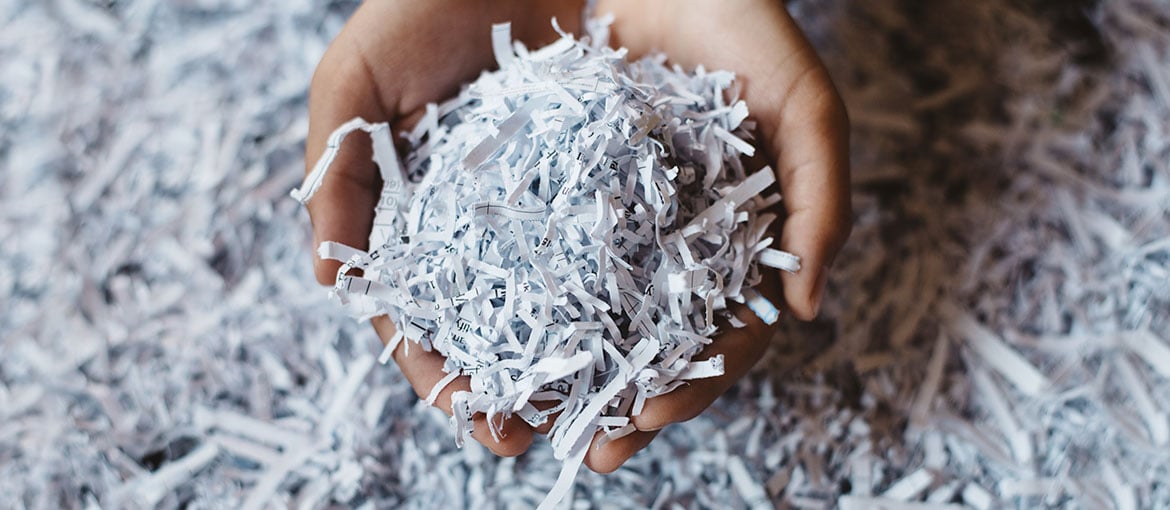
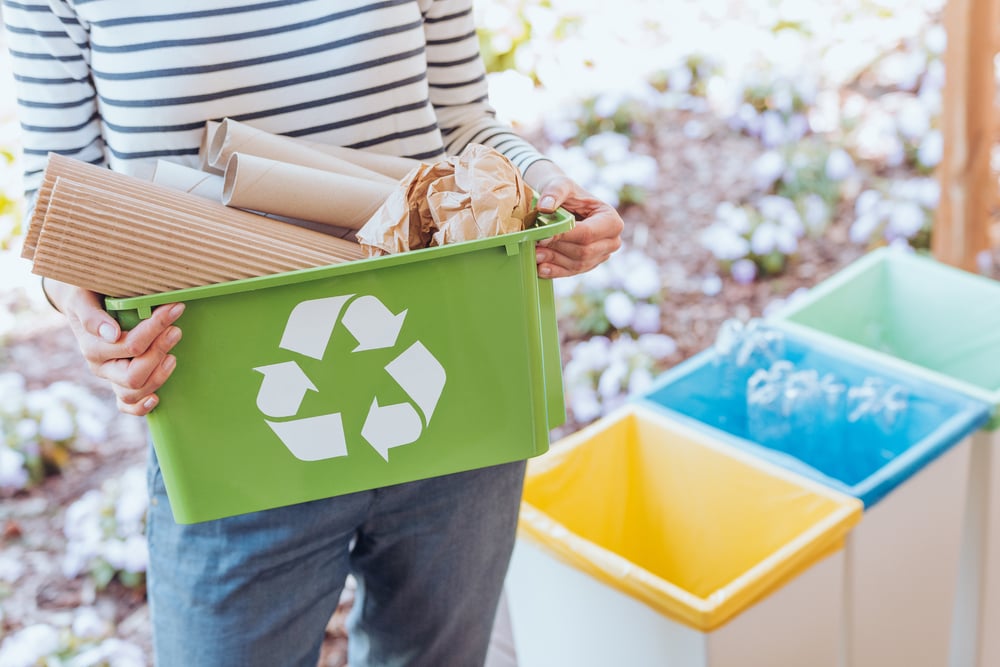
- Waste collection. Everything starts here with the careful disposal of rubbish. Which types of paper can be recycled? Newspapers, magazines, printed paper, notebooks, flyers, old envelopes, paper bags, tissues and napkins (only if clean), card, cardboard… Everything, so long as it hasn’t been treated with varnishes or plastic coatings, or come into contact with greasy substances.
- Waste sorting. First check: the material collected is examined and the recyclable fibre is separated from everything else.
- Pressing and shredding. Paper that has passed the first sorting check is pressed and shredded.
- De-inking. Chemicals are used to remove ink residues.
- The de-inked paper is soaked in hot water to create a pulp.
- Second check: more contaminants are removed from the pulp.
- The contact points between the cellulose fibres are reinforced to improve the paper’s strength and elasticity.
- The paper is then passed through a Fourdrinier machine which rolls the paper into sheets of different thicknesses and formats.
And that’s how a load of used paper is made into new sheets ready for…
What can you make out of recycled paper?
Eco–friendly business cards, postcards and invitation cards, flyers, folded flyers, posters and tags: we print all sorts of products on recycled paper. When you consider that some of these items, like flyers and invitation cards, quickly end up in the bin, it becomes immediately clear how important it is to reduce waste. Our customers who print on recycled paper do so because they have a green philosophy and want to share this with the world.
Over time, the production process has been perfected to the point where, in terms of appearance and performance, recycled paper is almost indistinguishable from paper that isn’t. Which is why it can be used for many different purposes. Take a look at just how many products carry the recycled paper symbol – we bet there are some you’ll never have guessed!
Now it’s time to turn our attention to home-made recycled paper.
How to produce your own recycled paper
Don’t be scared by the number of steps that you see above: the process for creating DIY paper is simple and doesn’t need professional equipment. You’ve probably already got everything you need at home:
- Paper to recycle.
- Casserole dish or washing-up bowl.
- A piece of mesh or mosquito net.
Here’s what to do:
- Gather all the used paper that you can find at home – bear in mind that the colour of the sheets that you’ll produce will depend on that of the paper you use to make it.
- Cut it up into pieces. The smaller they are, the better the results.
- Put the pieces of paper into a saucepan of boiling water and leave it for a few hours, stirring from time to time.
- After soaking, put the mixture in the blender, add a bit of water and blend until you get a pulp with a mushy consistency.
- Create a screen for filtering the paper and getting rid of the water. How? Take a flat piece of tightly woven mesh or mosquito net, and create a screen by placing pieces of wood around the edges – the size of the screen will determine the size of the piece of paper produced.
- Place the paper pulp into a container with a wide bottom, such as a baking tray or washing up bowl. Immerge the screen in the container, ensuring that it is completely covered. Lift it out. You should now have a thin layer of wet paper on the screen. Let the water drain off.
- Turn out the layer of paper onto a pillowcase. Stretch another pillowcase over it and press it with a sponge to absorb the water. Remove the pillowcase and leave the sheet to dry. This may take a few hours.
- Once dry, peel it off the fabric: your sheet of paper is ready!
Check out this video tutorial that takes you through each step and also shows you how to embellish your paper with petals and dried flowers.
How did it go? You never forget your first sheet, even if it’s not the best you produce. 😉