Table of Contents
How to create the perfect Instagram bio
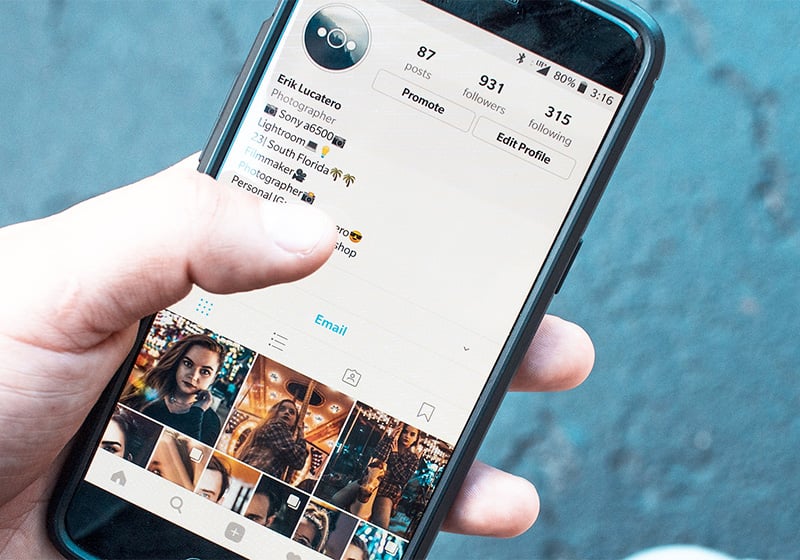
Creating the perfect Instagram bio that catches the target audience’s eye should be a priority for every brand and influencer. Writing the best possible Instagram biography will bring more visitors to you profile, who can be turned into followers and may then go on to become loyal fans or customers.
So the Instagram bio is not just about a few sentences to put at the top of your personal or business profile: it’s the first content that people see when they land on a profile, so optimising this content is essential for making a great first impression.
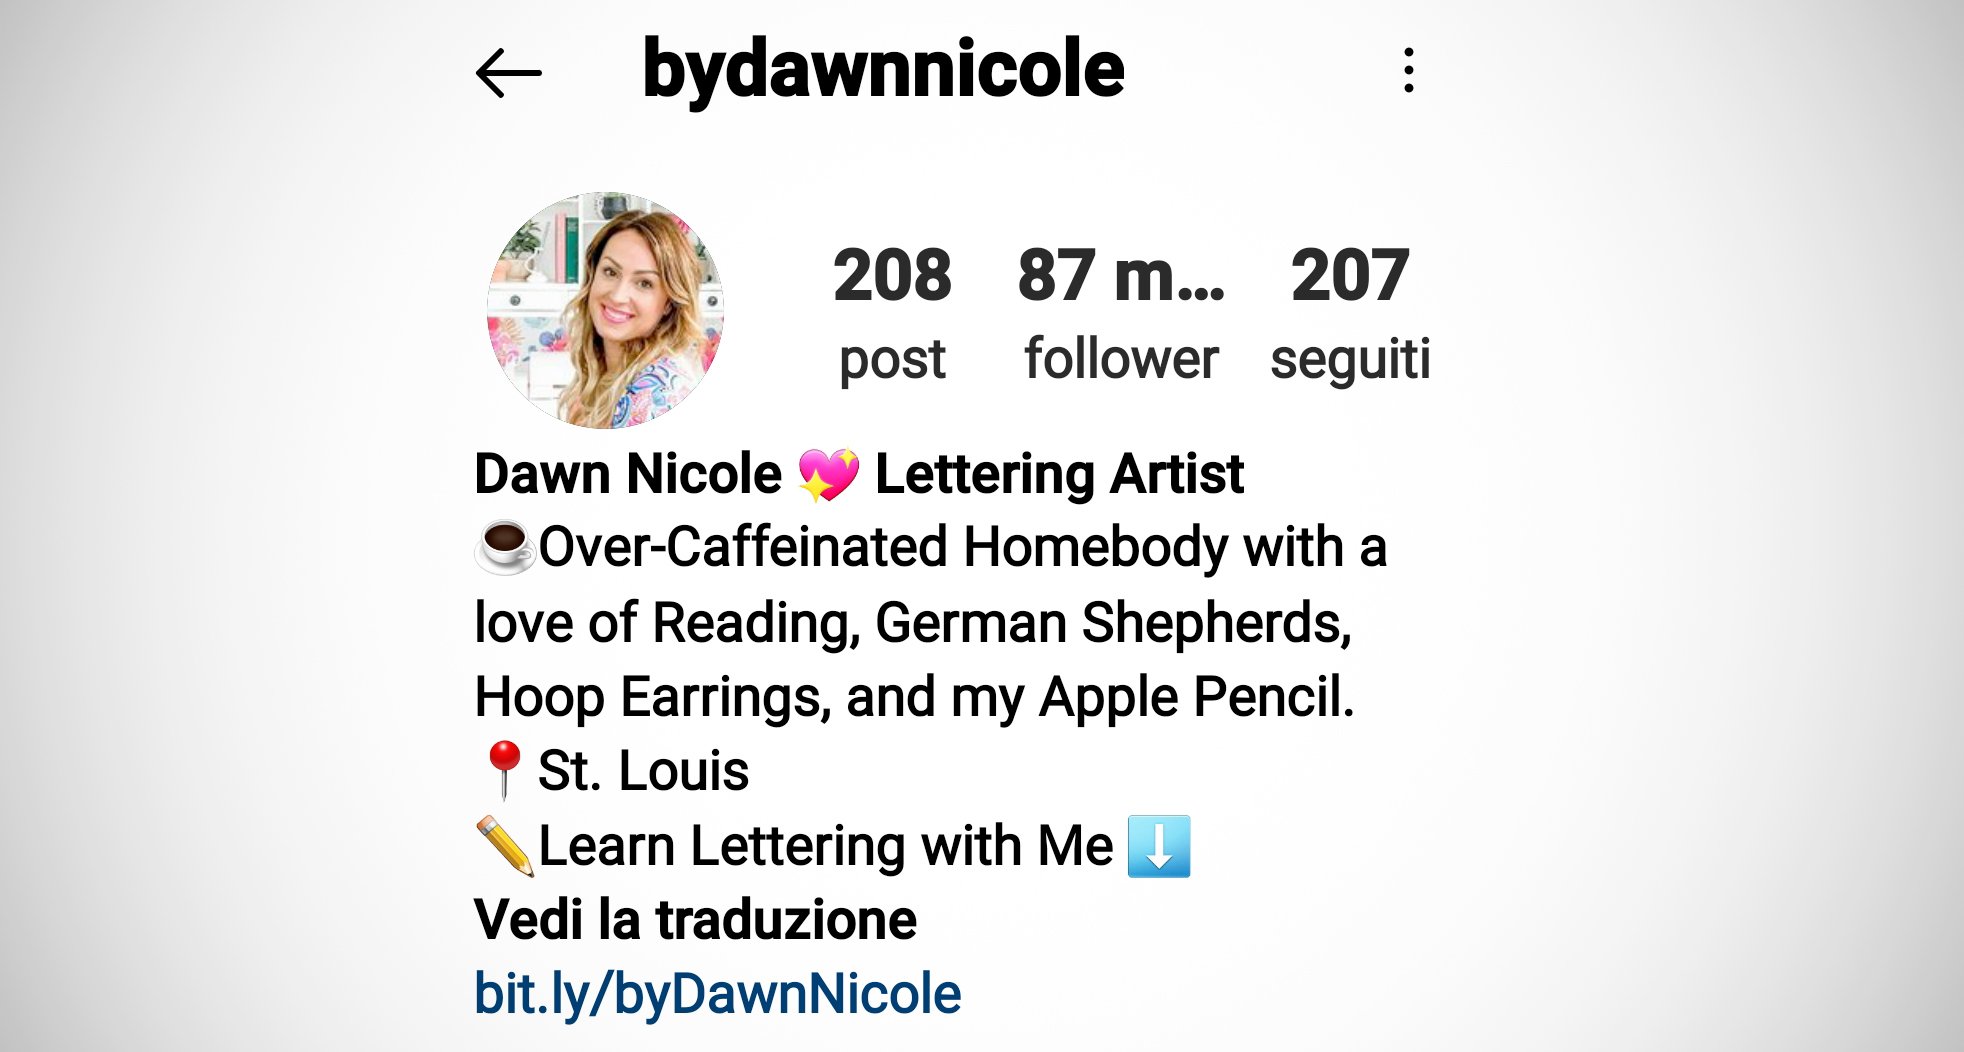
Writing one is not as easy as it seems, because there is a character limit. In this guide, we’ll show you how to write a perfect Instagram biography to help you generate more visitors, followers and sales.
How to edit your Instagram bio
Before we start looking at tips for creating an engaging Instagram biography, you need to know how to create and edit one in the first place.
Simply open the smartphone app and go to your profile. From the main screen, tap the profile image at the bottom right of the screen, then tap Edit Profile and tap the space following Bio.
A new screen will open where you can add text, links or emojis to your Instagram bio. When you’ve finished, tap Done at the top right of the screen to save all the changes.
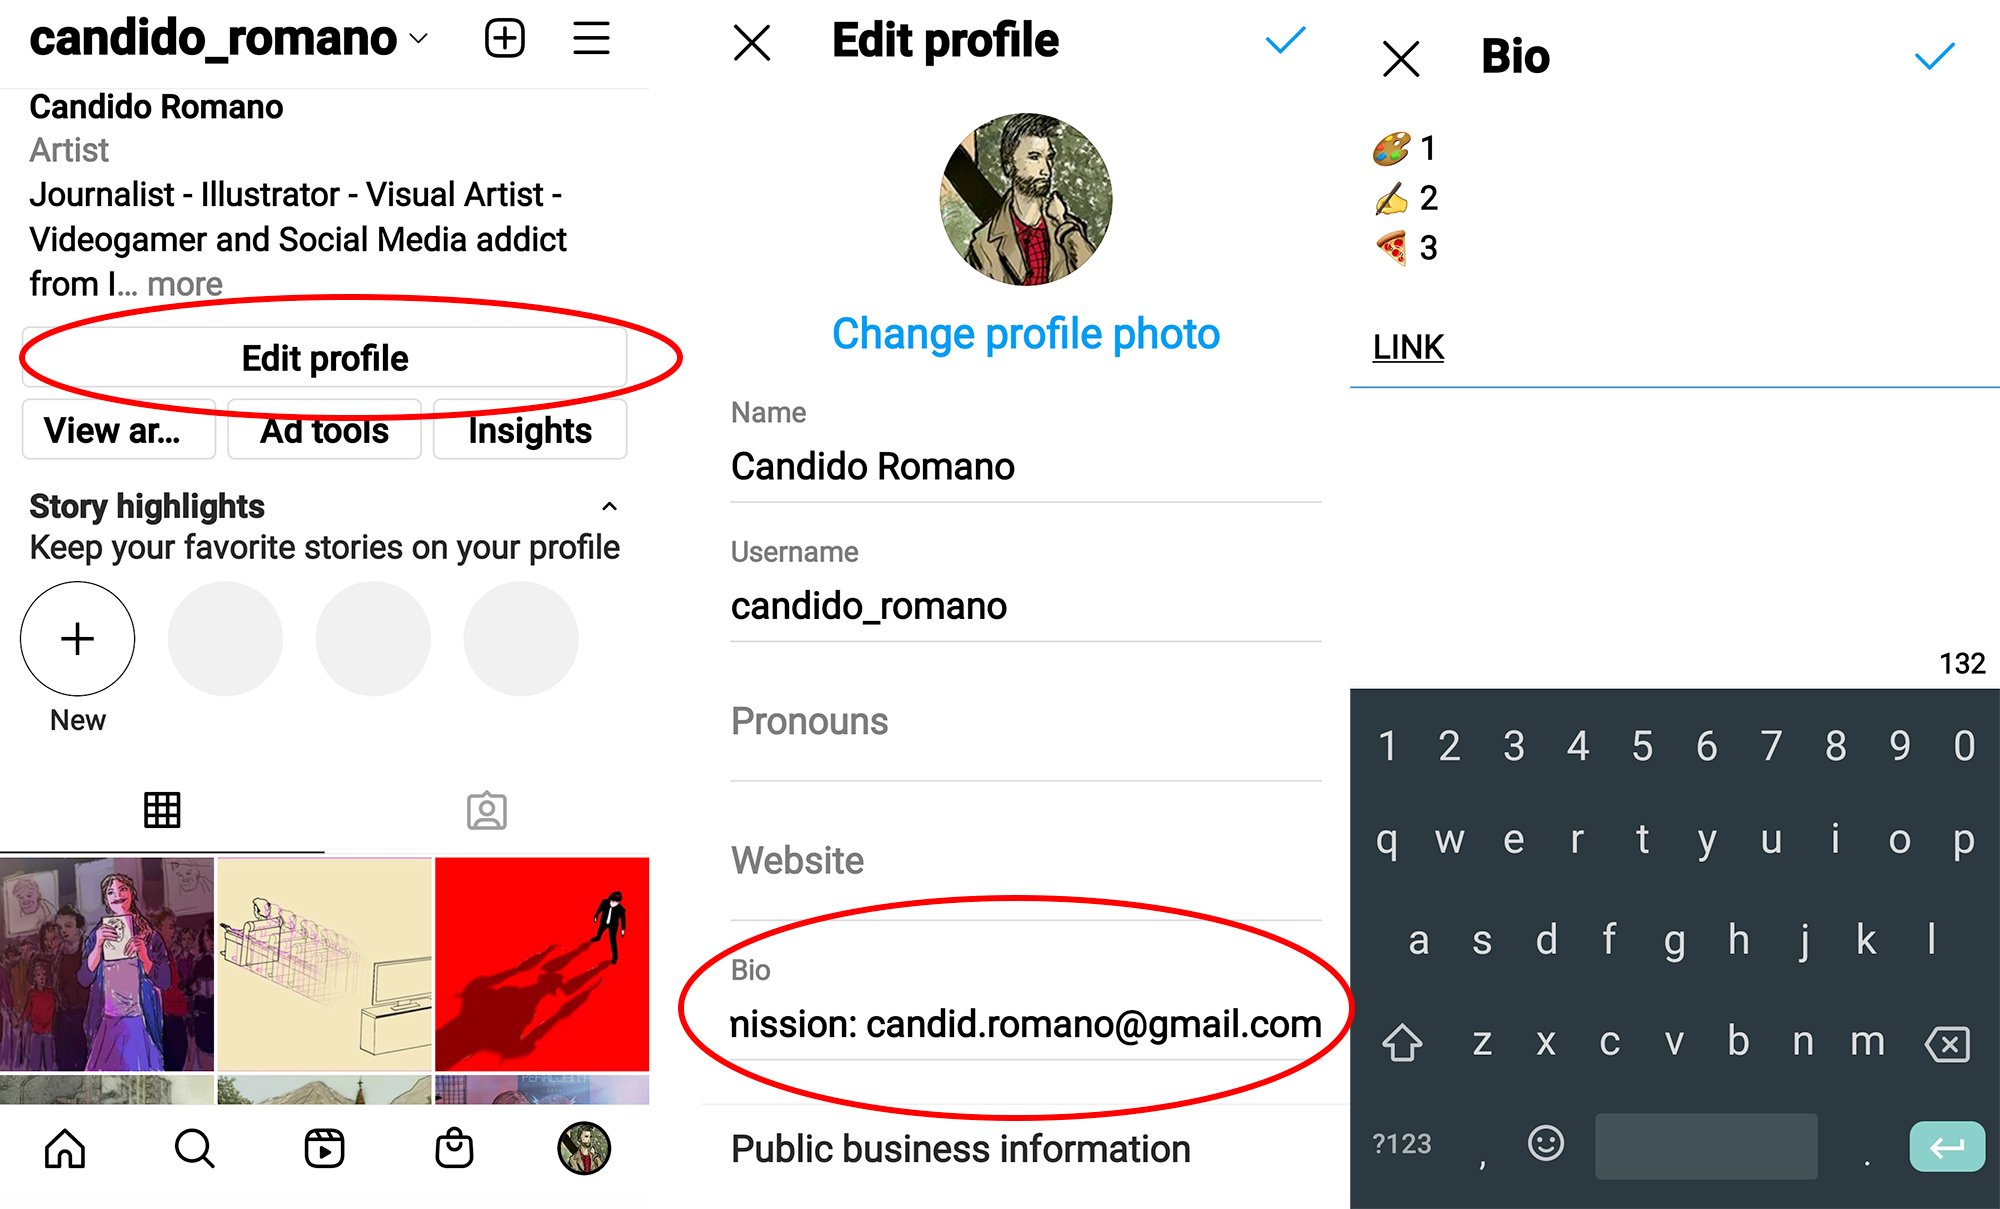
Although it’s quicker and easier from a smartphone, you can also edit your Instagram biography from a web browser on a PC or laptop. To do so, simply go to your profile and then click Edit Profile.
How many characters can be used in an Instagram bio
Before you start creating an original Instagram bio, you need to be aware of the platform’s character limits for bios:
- The character limit for Instagram bios is 150
- You can add just one link to an external site
- The Name field can be personalised with a maximum of 30 characters
Once you know these limits, you can start thinking about what to put in your bio.
What to put in your Instagram bio
The first question to ask yourself is: what are the goals that I want to achieve through the Instagram bio? These can be goals like increasing brand awareness, promoting links to your online store, or letting visitors to your profile know which line of business you or your company are in.
An Instagram bio should therefore include:
- The sector in which you or your business works: this is a way of immediately showing followers what you can do for them.
- A way for users to contact the company. For example, an email address or phone number.
- A USP (Unique Selling Proposition), in other words, a sentence that conveys the brand’s uniqueness.
- Location, if you are selling products or services locally
- A link to a website, online store or other virtual space that is important for the brand.
How to create a compelling Instagram bio
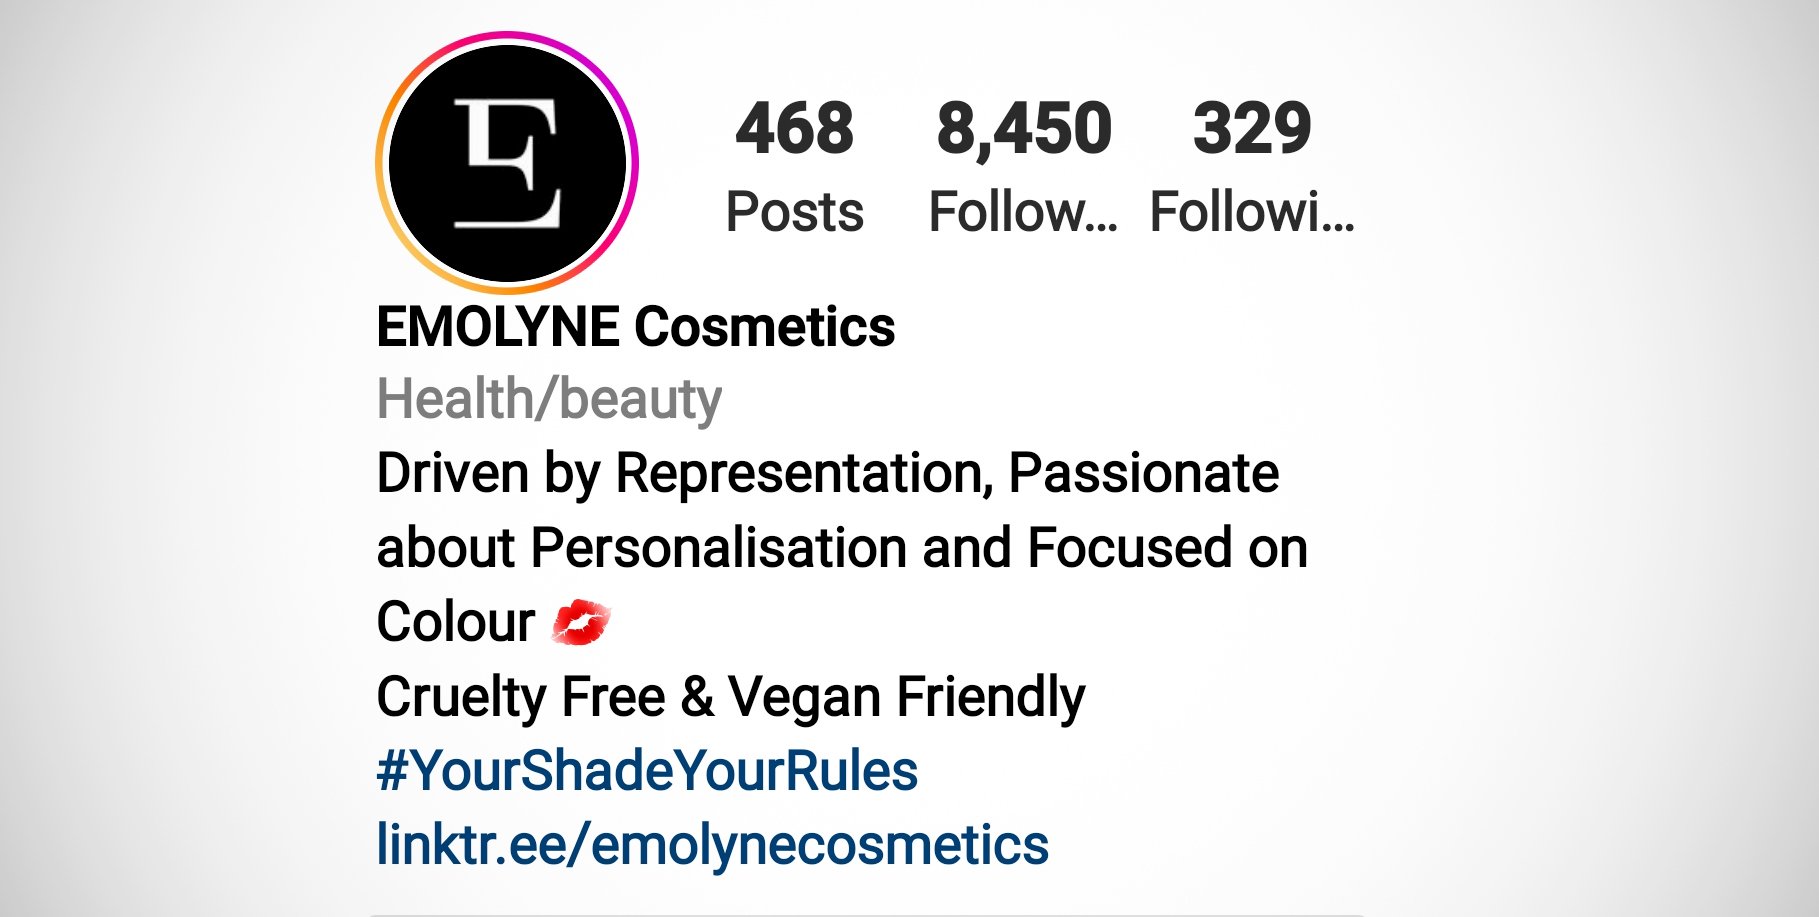
The Instagram bio introduces a brand or professional to visitors. It’s the first thing that potential followers or clients see, so it must encapsulate the brand in just a few lines.
That’s why it’s crucial to create an engaging Instagram bio to immediately show visitors what a brand or professional is offering, and to whom.
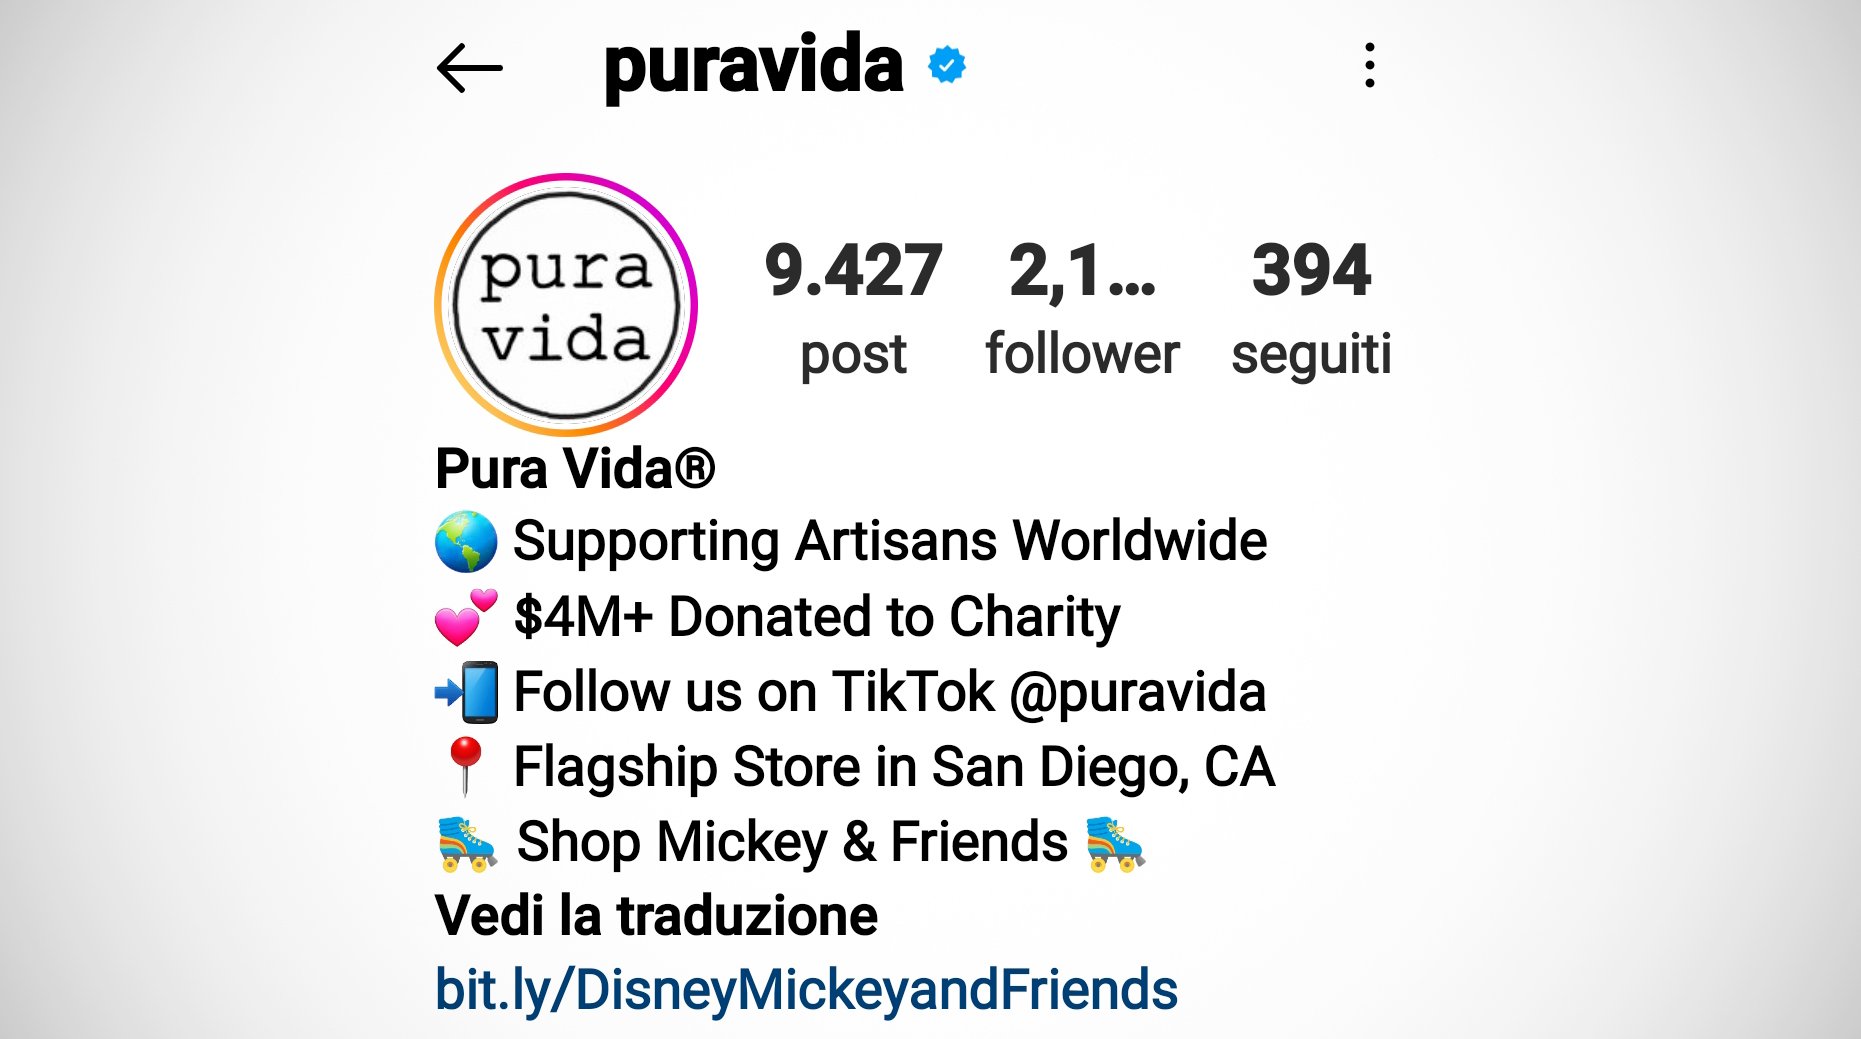
Users have very short attention spans, so it’s important to go for simplicity. For example, the Pura Vida brand, which brings together a global community of over 800 artisans who hand craft jewellery, has a clear, well-structured and simple biography.
This means that there is a certain order you need to follow to present your profession or company as clearly and persuasively as possible.
How to add your profession to your name
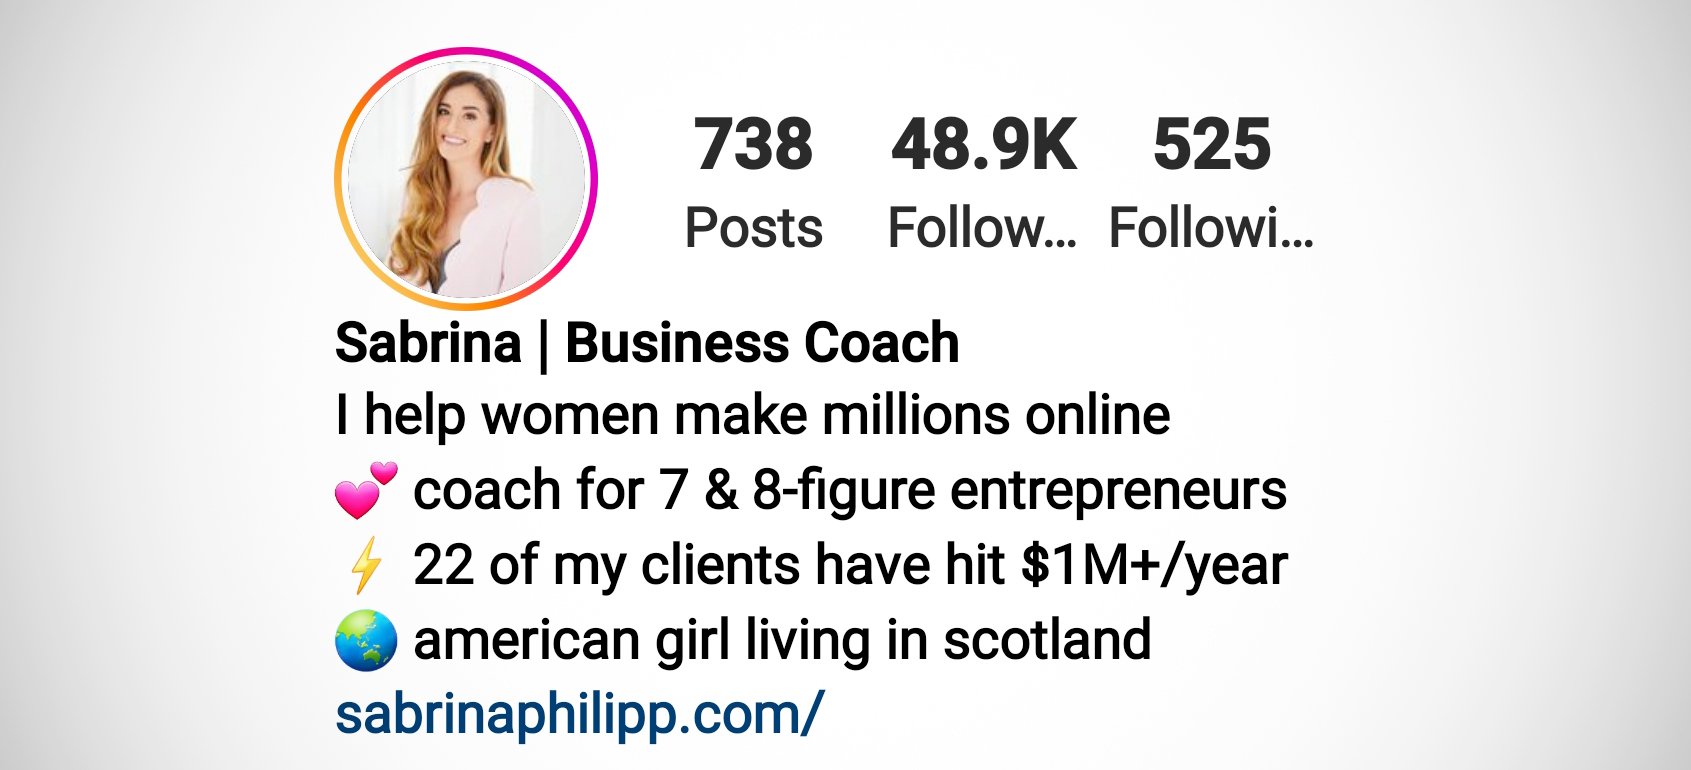
The thing to add is your name or that of your brand. This is the first thing we tell people when we meet them in real life. To make it easier for users to find, add the exact name of your company. If you have a personal brand, it’s a good idea to add your profession after your name.
To add your profession or line of business after your name, you need to edit your profile name, not your Instagram bio.
Once you’ve tapped Edit Profile, instead of tapping Instagram bio, tap and edit Name. A new page will open where you can enter your name and profession, as well as a keyword that identifies the niche in which you operate (more about this in the next section).
Adding the right keywords
In both the Name and Bio fields on Instagram, it’s vital to use keywords that identify your line of work, profession or market niche.
In particular, adding your profession after your name really helps in SEO positioning on Instagram, making it easier for you to be found. When people search on Instagram, the words in the name field are analysed to find matches. So, if you want to be well positioned in search results on Instagram, in the Name section it’s vital to use keywords relevant to your niche. For example “John Smith – Copywriter”.
Keywords can of course be added to the Bio section too: to find the most relevant keywords for your industry, you can use tools like Google Trends or Ubersuggest.
Changing the font of your Instagram bio
You might have noticed some original Instagram bios out there with very different fonts. Typefaces are a great way of standing out from the crowd by giving an extra touch of personalisation to your bio, even if it’s just writing your name in italics.
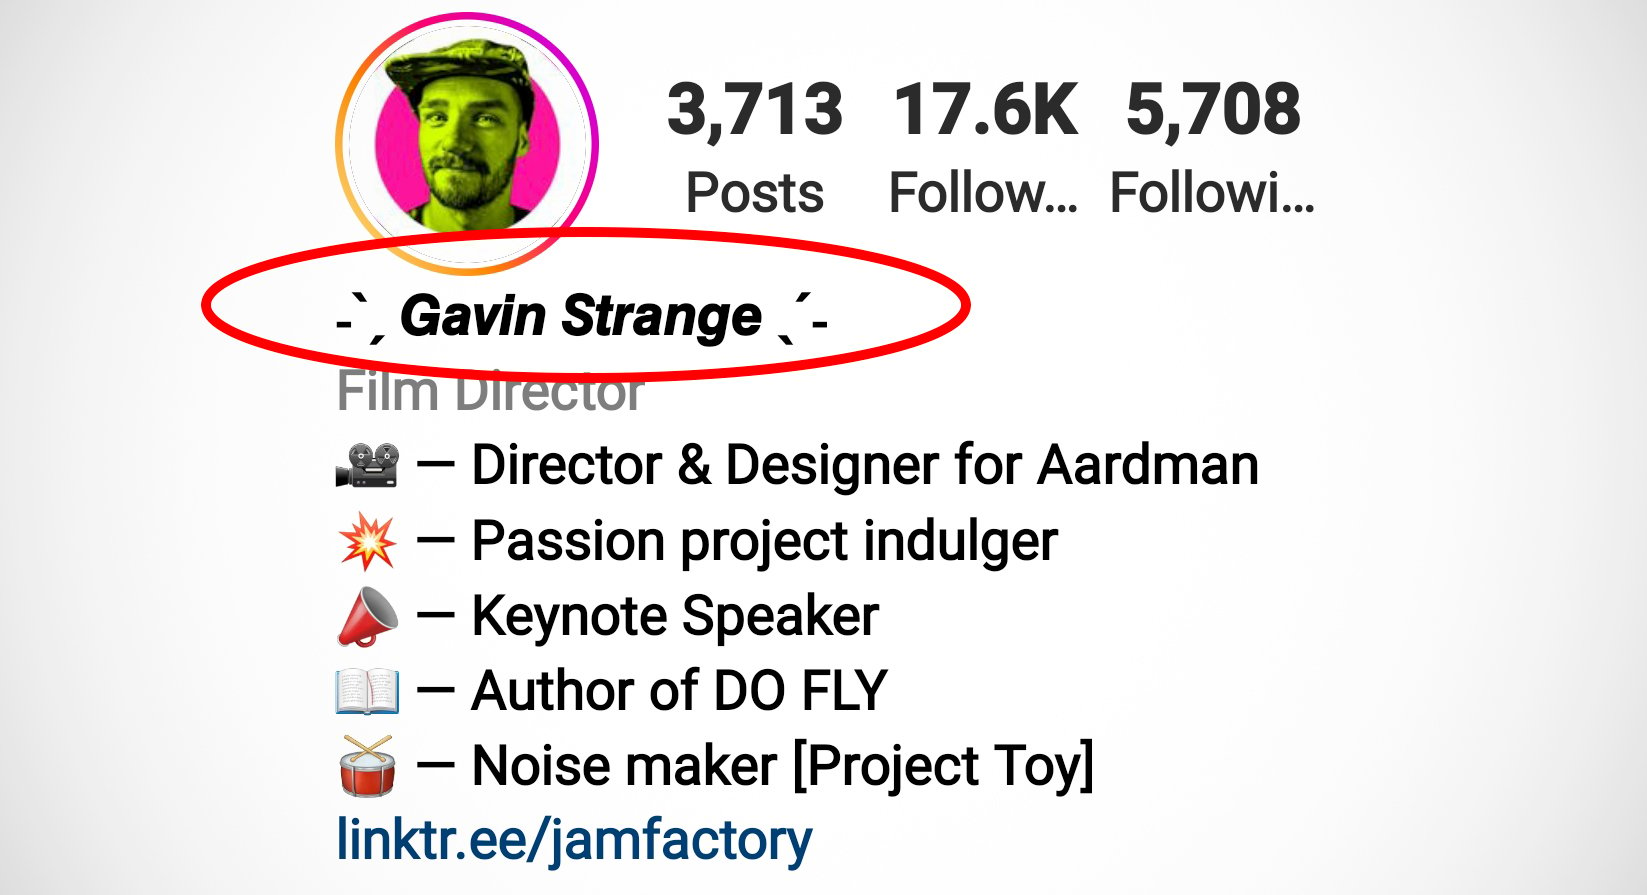
And it’s easy to do: you just need to use the right tools, like LingoJam. Just go to the site, write something in the text box on the left, and the text box on the right will display what you’ve written in different fonts.
Adding emojis to convey emotions
Emojis are very much the trend when it comes to Instagram bios and, if used creatively, can catch the eye of visitors who land on a profile. That said, they need to be used sparingly and be in keeping with the brand’s values.
They shouldn’t be used randomly just to fill out a bio or make it seem more attractive. Before using emojis, make sure that you know the meaning of each one. For an overview of all the emojis out there, consult the Emojipedia, which also tells you what each of them means.
Emojis are useful to for breaking up sentences, or putting at the start of sentences to create a sort of bulleted list that is easier to read.

Adding brand-related hashtags
Adding a personalised hashtag for a brand is another effective strategy that can be used in an Instagram bio. As well as creating a community around a brand, it can also serve as a container for bringing together all the content produced using a given hashtag.
Creating a specific hashtag for a brand enables followers to use it too and therefore widen the reach of posts. When structuring a bio, it’s advisable to use personalised hashtags at the bottom, after any contract information.
Adding a call to action
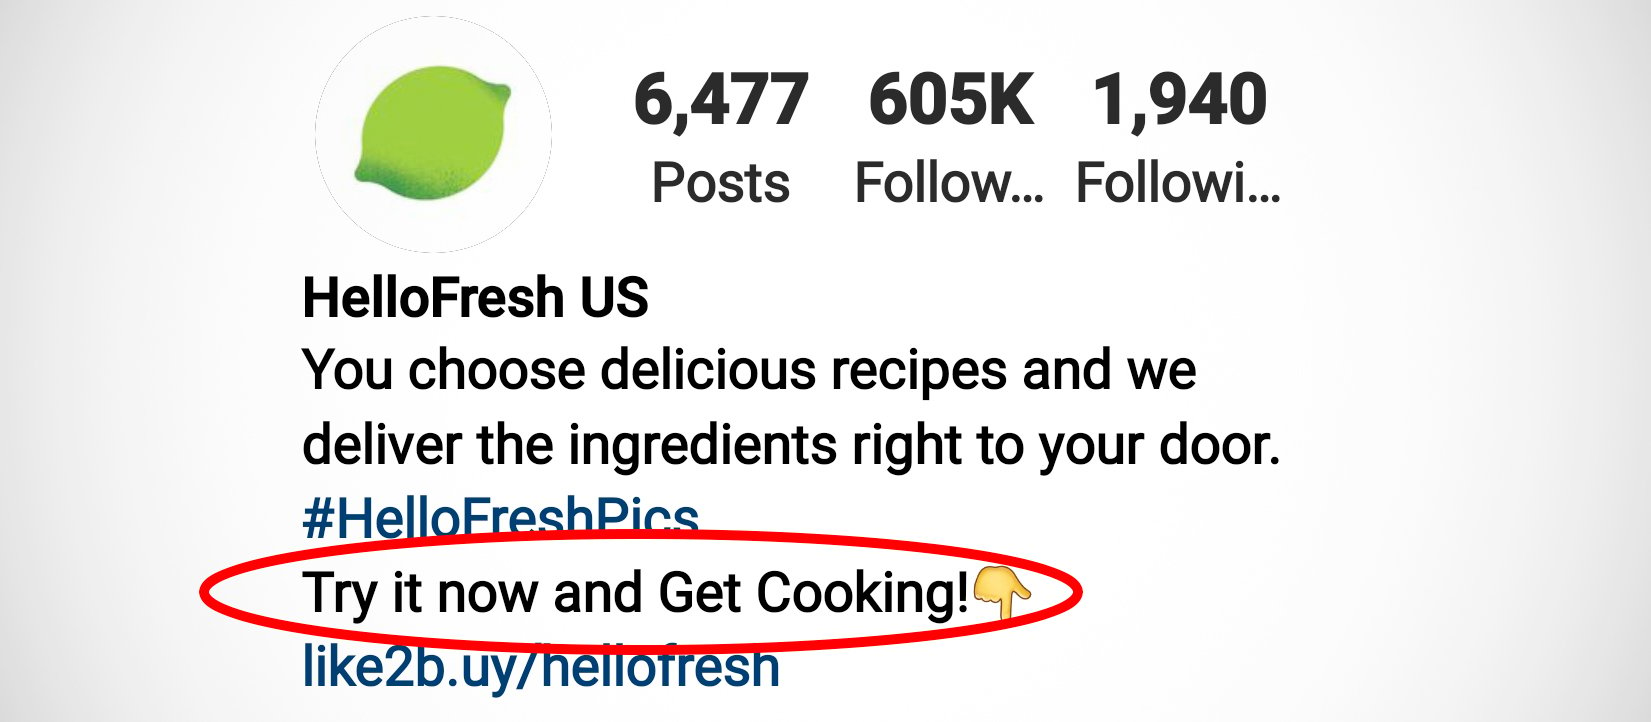
The Instagram bio is the perfect place to add a call to action: this allows you to tell your target audience what action they should take. The call to action should be clear and easy to understand. For example:
- A very direct CTA: “Click on the link to purchase our products”
- Clear contact information: “Contact us at this email address for a quote”
- Promotions: “Click here to get our exclusive discounts”
- Promoting giveaways or competitions: “Play our game to win…”
Adding links to your Instagram bio: tools and tips
A link in the bio is one of the most important aspects of an effective Instagram bio. It directs users to your website or online store, where they can view and purchase your products and services.
To add a link to your bio, go to your profile, select Edit Profile and then add the link where it says Website. But what type of link should you add? Clearly, this depends on your strategy and objectives. Here are some ideas:
- It could point to your website if you want to boost traffic to your blog
- It could, for example, lead to your Facebook page if you want to grow your followers on this platform by using Instagram as a springboard
- If your objective is to increase subscribers to your newsletter, add a link to the sign-up page
- You can also add links to offers in your bio
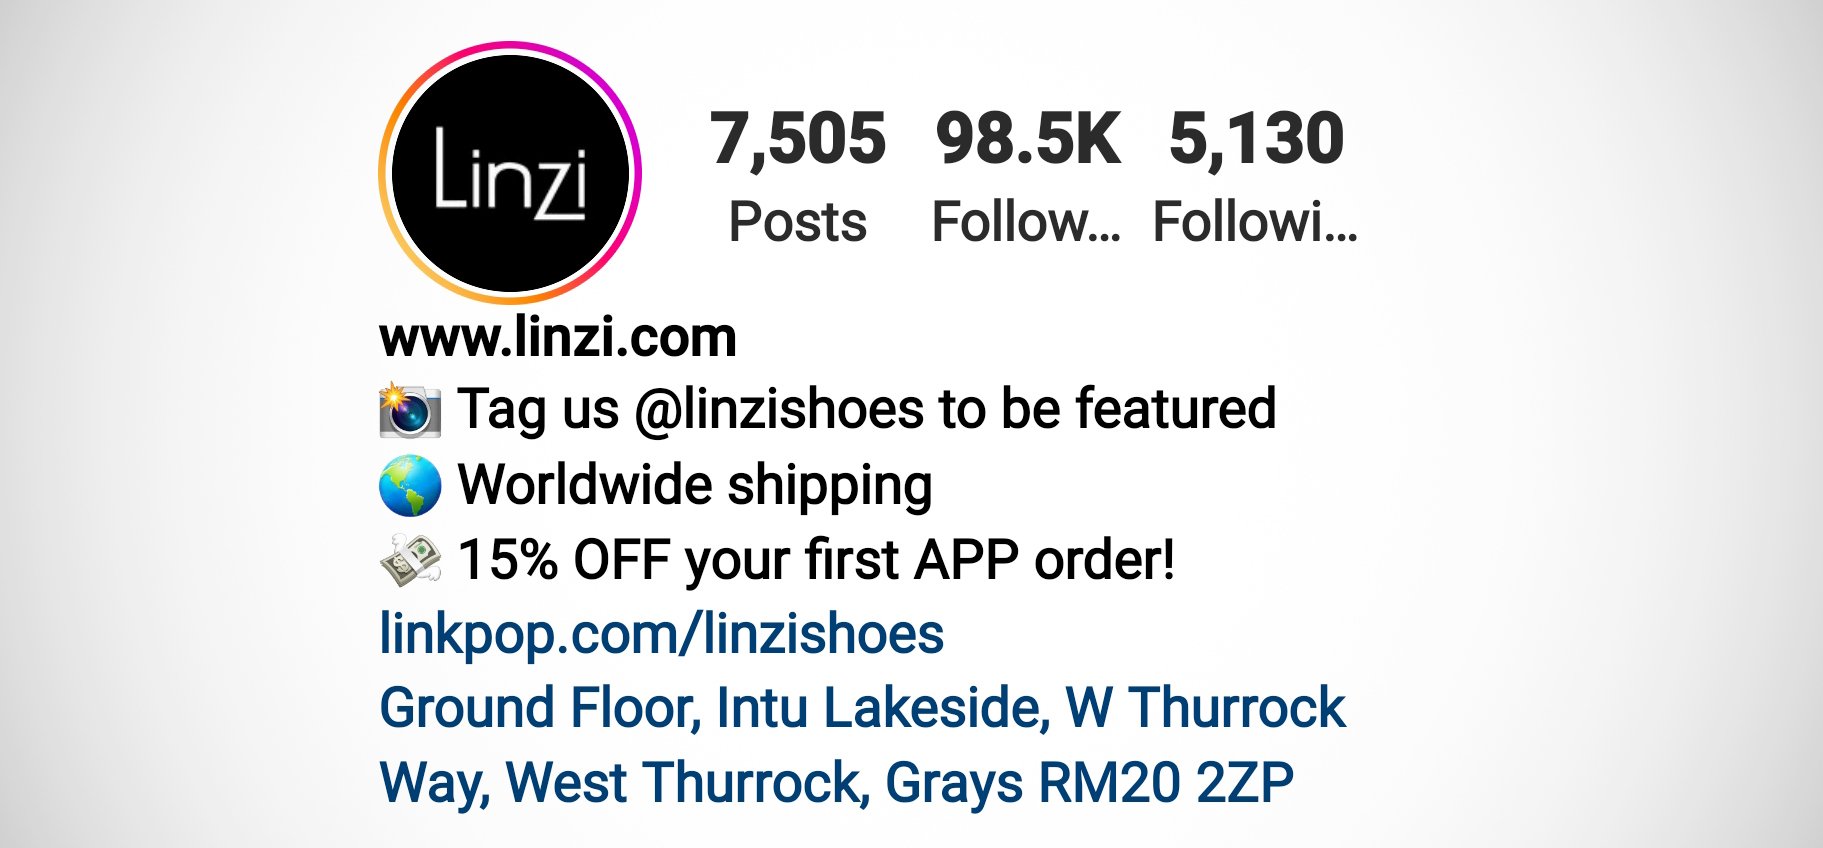
Instagram allows a single link to be added to a bio. However, there are tools that let you add more than one link to an Instagram bio.
How do they work? In practice, these tools roll several links into one, which is displayed on your Instagram bio. Among the best are:
- Linktree: this free tool is one of the most popular
- Campsite: more advanced than Linktree, it costs 7 dollars a month
- bio: highly advanced, this tool also lets you add videos and forms for signing up to newsletters
- Milkshake: another advanced tool, Milkshake enables you to create your own site containing links and multimedia content for promoting your brand.
That wraps up our guide to creating the perfect Instagram bio. This shouldn’t been seen as static, but rather as a space that evolves over time. As your company objectives change, so should your Instagram bio: update it from time to time by changing links, content and emojis.
Would you like to help us add to or improve the content of this article? Check our guidelines and send us your request via email at: seo@pixartprinting.com.

