Table of Contents
Labels are everywhere: in our offices, for example, they’re used for organising things and sending letters and parcels, while in supermarkets, they’re used to customise the look of bottles of wine, beer and other products.
Here we explain how to print labels from Excel or Word, and how to use professional tools like Adobe InDesign. We’ll also cover highly intuitive online programs for creating labels such as Canva, Adobe Spark or the new kid on the block: Vistacreate!
InDesign
Adobe InDesign is the undisputed king of page layout design software. Used all over the world by thousands of businesses and professionals, Adobe InDesign enables you to create graphic designs for print and digital media. But Adobe InDesign is not free: after a 30-day free trial, you have to take out either a monthly or annual subscription.
Adobe InDesign is piece of professional software: this means that it has all the tools needed for highly complex graphic design projects. The flip side is that it is easy to be overwhelmed by all the options offered by this software.
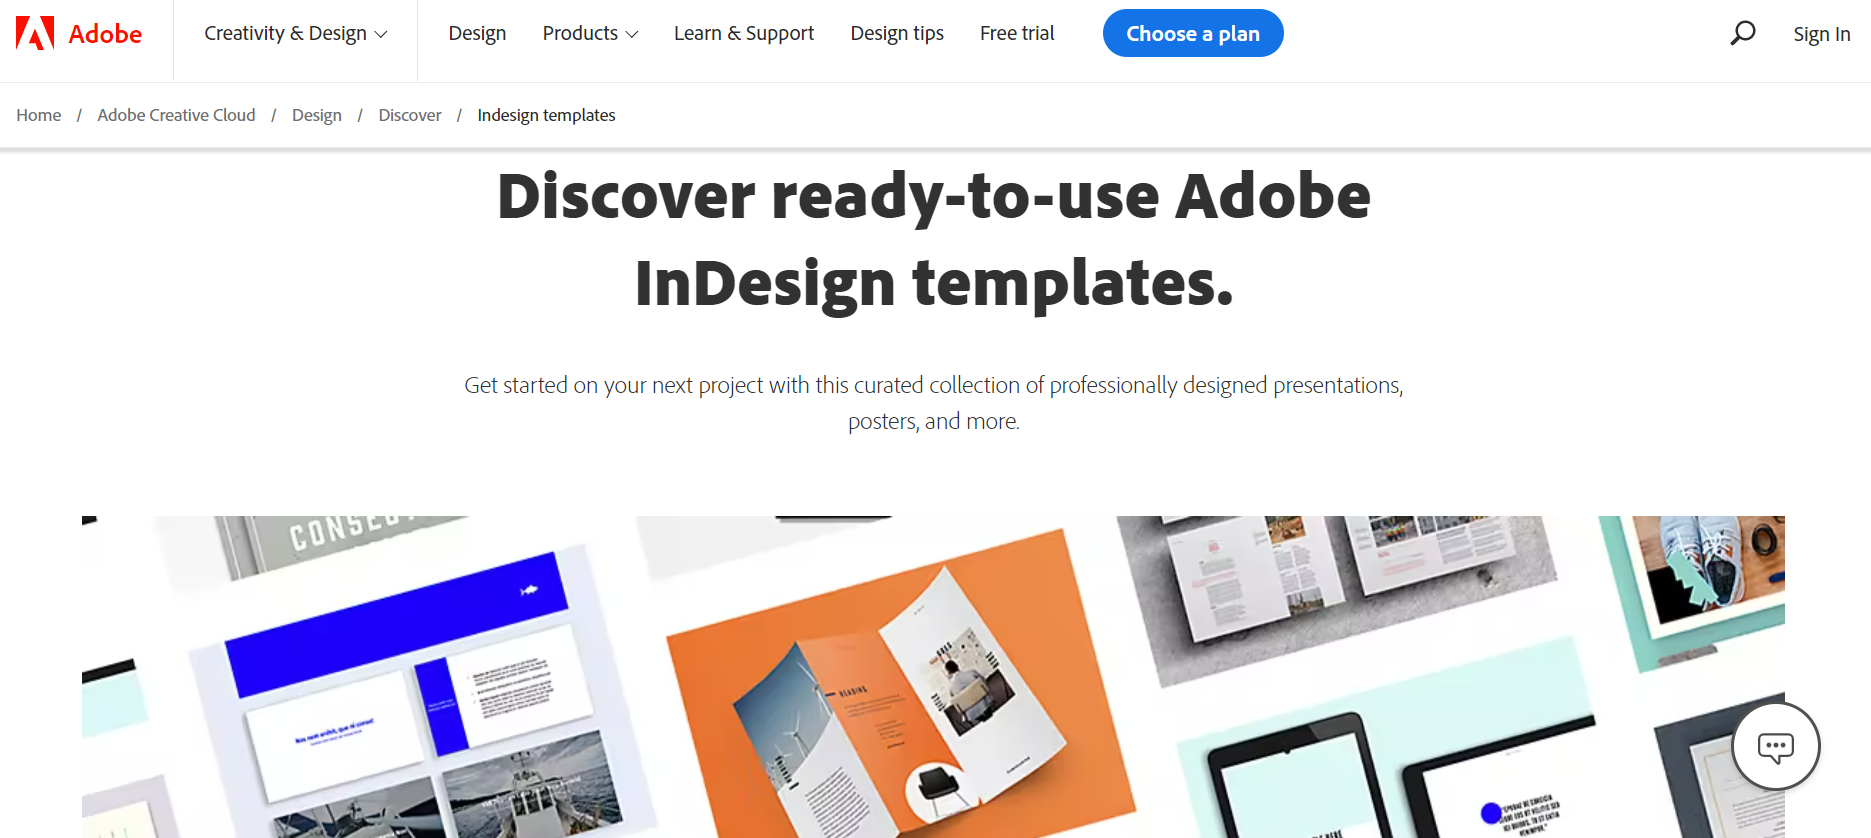
By using templates, however, you can simplify things. We recommend taking this route when creating your labels with Adobe InDesign. You’ll find lots of templates for labels online – both on the official Adobe Creative Cloud website and in other well-known repositories like Envato.
Choose the template that’s closest to the label you want to make. Once you’ve opened the template with InDesign, change the bits you don’t like: start with the dimensions, if necessary, and then replace and text and images.
Vistacreate: the new 100% online graphics platform
Vistacreate is one of the latest totally free and 100% online graphics tools. It allows you to create modern, on-trend designs in a matter of clicks. And, of course, among the many things you can produce with it are labels.
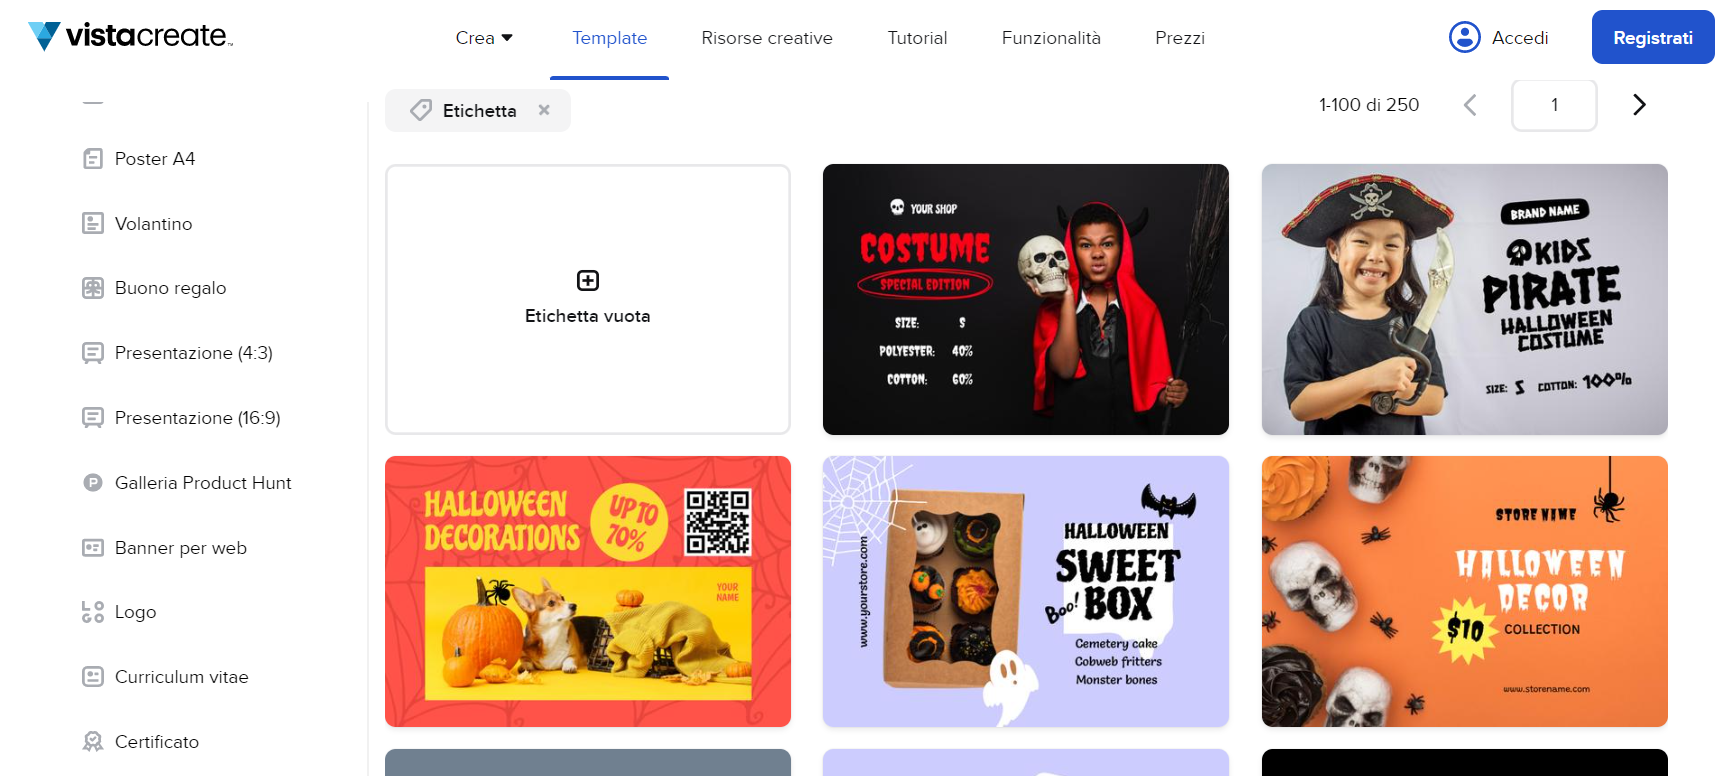
Once you’ve signed up for free, creating and customising a label is a piece of cake. For example, you can change a label’s background in one click by choosing from an archive of copyright-free images, illustrations and patterns. You can also adjust elements like the typeface, dimensions and colours. If you already have a well-defined corporate identity, you can upload it to the platform using the Brand Kit feature and use it to produce your labels.
The advantage of this label program – other than its immense library of free resources – undoubtedly lies in the ability to start with dozens of different templates: perfect for overcoming the dreaded “blank page” block.
Labels can be saved in various formats – PDF, PNG or JPG – ready for printing!
Printing labels from Excel
A very useful label software – and one which is probably already installed on your PC – is Microsoft Excel.
You can print labels from Excel, especially if you are dealing with information contained in big databases or tables. Compared to printing labels from Word, with Excel what you lose in terms of label customisation you gain in preparation and printing speed!
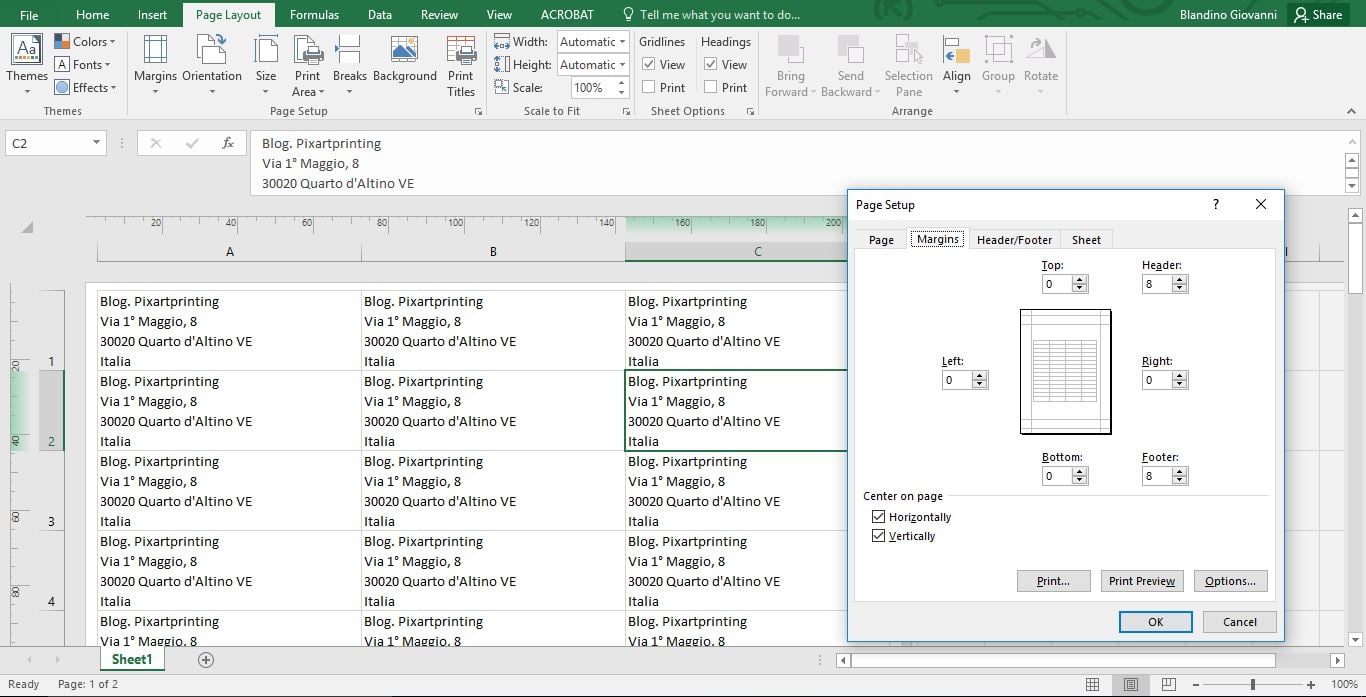
Now let’s see how to print labels from Excel. First, you need to arrange the label information in the spreadsheet into several columns so that it fits the sheet on which it will be printed. Imagine that you’re printing in a very common format – an A4 sheet with 24 labels each measuring 70 x 36 mm. In this case, you should divide the database that you’re printing into three columns.
Now let’s go to Page Layout to preview what we’re printing. Selecting all the cells, set the height and width of each cell: in this case it’s 36 mm and 70 mm respectively. Now set the margins to 0 in the Margins > Custom Margins section and, in the same window, tick the “Horizontally” and “Vertically” boxes under “Center on page”.
Now you can print your labels from Excel. We recommend that you first do a test print on a normal sheet of paper, place it over your label sheet and hold it up to the light to check whether the margins need adjusting further.
Printing labels from Word
Using Word as your label software gives you more customisation options: you can easily change your label’s background, colour and font size, and even add images.
What’s more, printing labels from Word means you can use hundreds of pre-set templates, either as they are or modified to your requirements. Let’s see how.
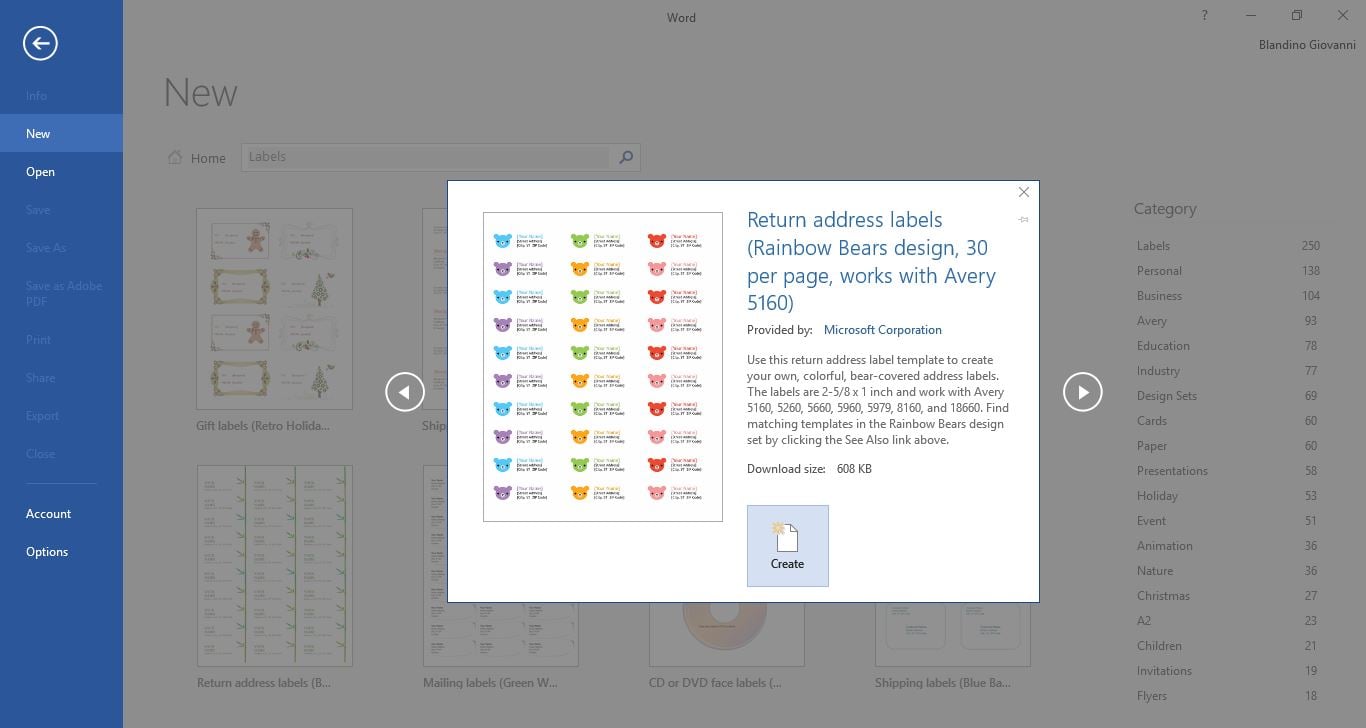
When you create a new Word document, beneath the search bar, you’ll see the category Labels (you can also type “labels” into the search bar). From the list, you can choose the type of label you want: shipping labels, CD labels, jar labels, gift labels, even political campaign bumper stickers.
At this stage, you can manually change the label content by inserting your text and then printing.
If, however, you have to use an external database that holds the information you want to print on the labels, you should use the Mail Merge tool. This lets you link an Excel database to the Word file containing the labels you want to print. Here’s how.
First, you need to prepare the Excel table. There are a few tricks to this: the most important is to divide the information you want to put on the labels into different columns (for example: name and surname, address, personalised message). In the first row, write a description of the information contained in that column.
Now create a new Word document, and in the Mailings section, select Start Mail Merge > Labels. Here you can select the type of sheet to print on or customise one. Once you’ve created the label sheet, select the Excel list with your information by clicking Select Recipients > Use an Existing List. Now, on the first label, you can add the fields that you want printed (e.g. Name and surname, address) using the “Insert Merge Field” button. You can also insert images, graphics and change the background colour. When the first label is ready, click on the Update Labels button. To see what your labels will look like, click on the “Preview Results” button.
Now you’re ready to print your labels by clicking the Finish & Merge button!
Canva: a software for printing labels exclusively online
Let’s move on to a highly intuitive online label software: Canva. This program for creating labels is free in its basic version and offers hundreds of great-looking templates.
Once you’ve picked a template you like, you can customise it in a highly intuitive manner by dragging and dropping elements, positioning photos and illustrations, changing the text and adding filters to your label. If you want to change the label’s dimensions, however, you’ll have to take out a premium subscription. The same goes for using the templates and photos that aren’t marked “free”.
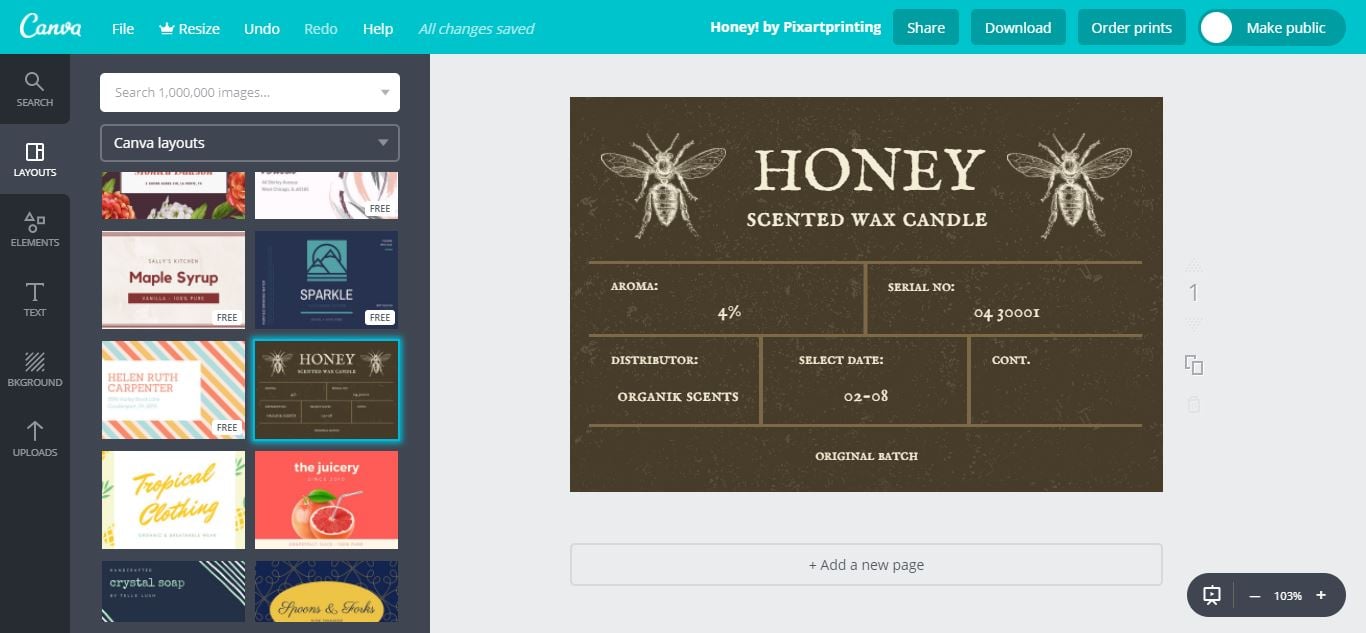
Another useful feature is the ability to collaborate with other users on the same project, if you’re working in a team. Finally, you can download the label in .png, .jpeg or .pdf format ready for printing.
Adobe Express: a simple and intuitive program for creating labels
Talking of highly intuitive programs for labels, you should also consider Adobe Express, previously known as Adobe Spark. This program is free and based on an online platform: just sign up – you can even use your social media accounts to do this – to access the free version.
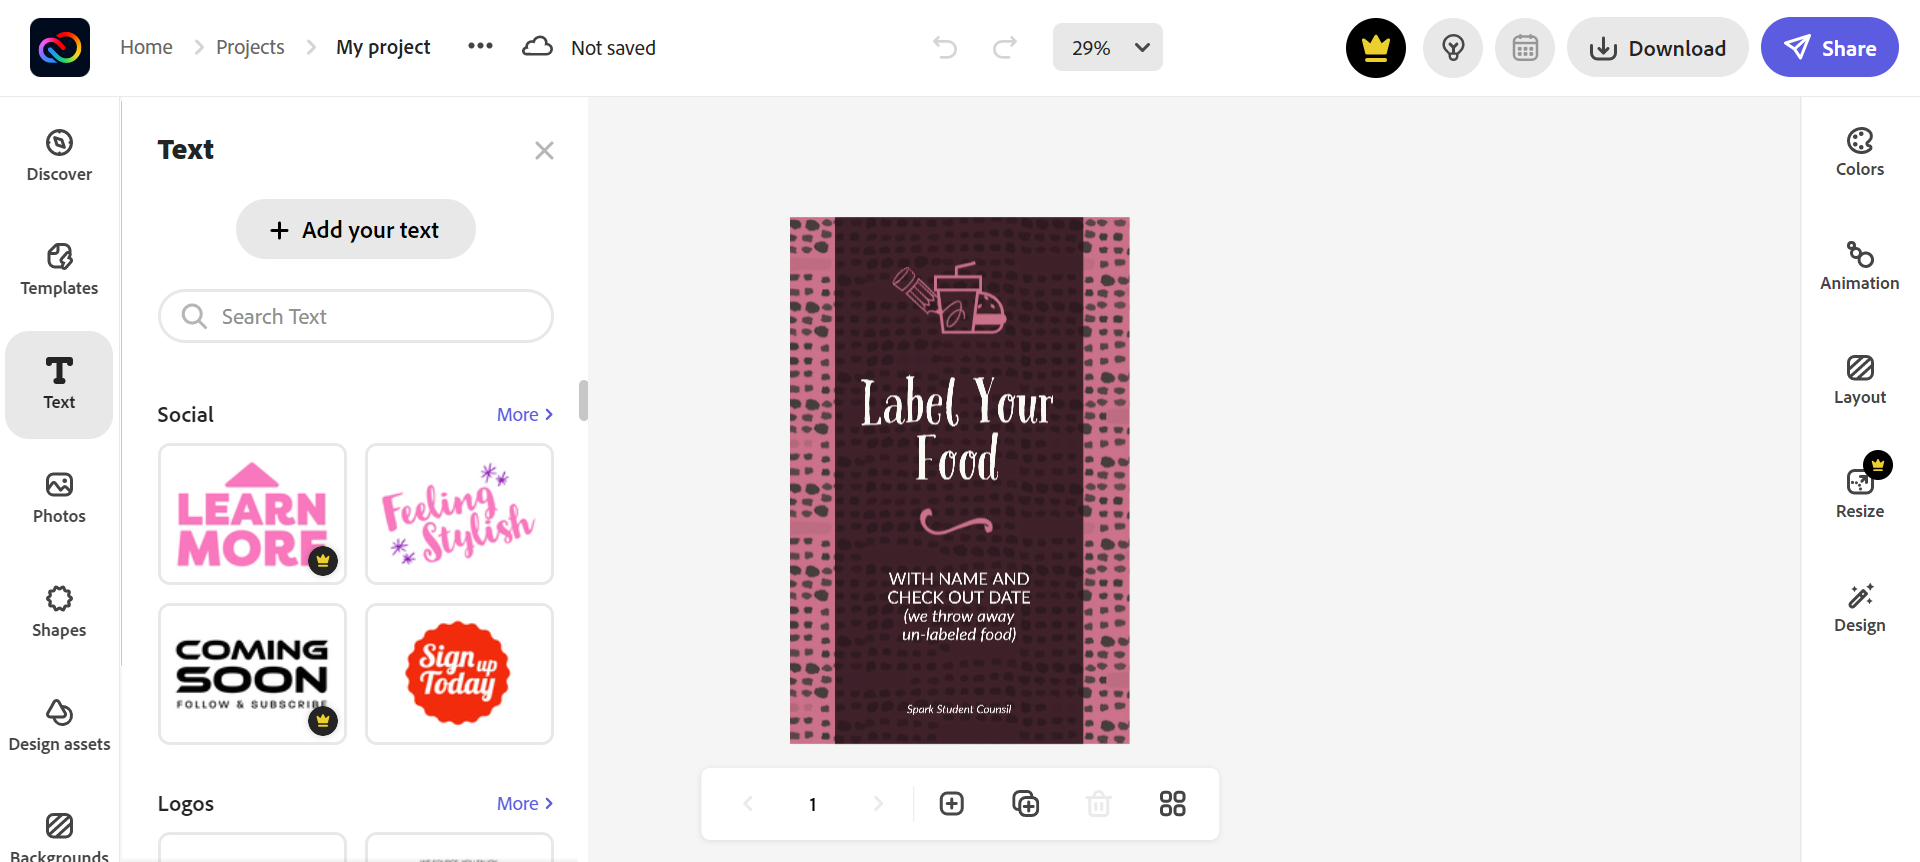
We particularly recommend using Adobe Express as software per for printing labels for beer or wine bottles, so long as you don’t have strict format requirements: changing the format is tricky in this tool.
Otherwise, in just a few simple clicks you can create labels with a very modern look. We strongly advise starting with a template wherever possible and then modifying its basic components: the background, text, images and shapes. Particularly useful are design assets: these are graphic and decorative elements that are perfect for adding an original touch to your label.
Labeljoy: a software for labels with bar codes
A label program especially useful for businesses is Labeljoy, particularly if you’re dealing with information stored in a database (for example, a list in Excel or CSV format) and you have to add bar codes or QR codes to your labels.
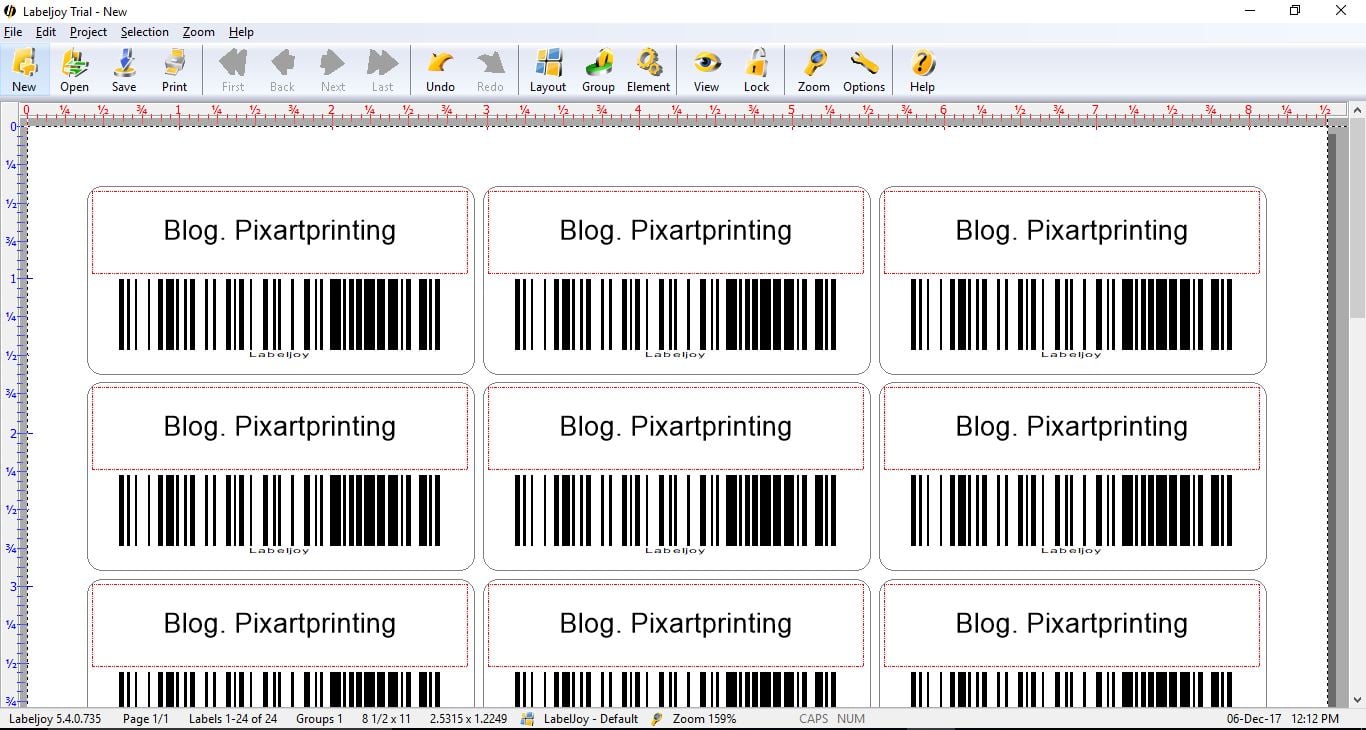
There’s a free demo version for testing the software, but it will add the watermark “trial” to your labels. Paid versions start from €39. The full version of Labeljoy is a very powerful label program: you can choose from practically any label sheet on the market when setting your layout or customise it to your own dimensions. The software can connect to major database formats (including Access, Excel, Outlook, Sendblaster, Oracle, Sql Server and MySql) and uses many types of bar code.
Beer Labelizer: the beer label software
And now for a completely different label program: Beer Labelizer. As its name suggests, this software is specific for creating beer labels. You can choose from 17 templates whose text you can modify and to which you can add images. Customisation options are pretty limited, but it’s a fun and original label program.
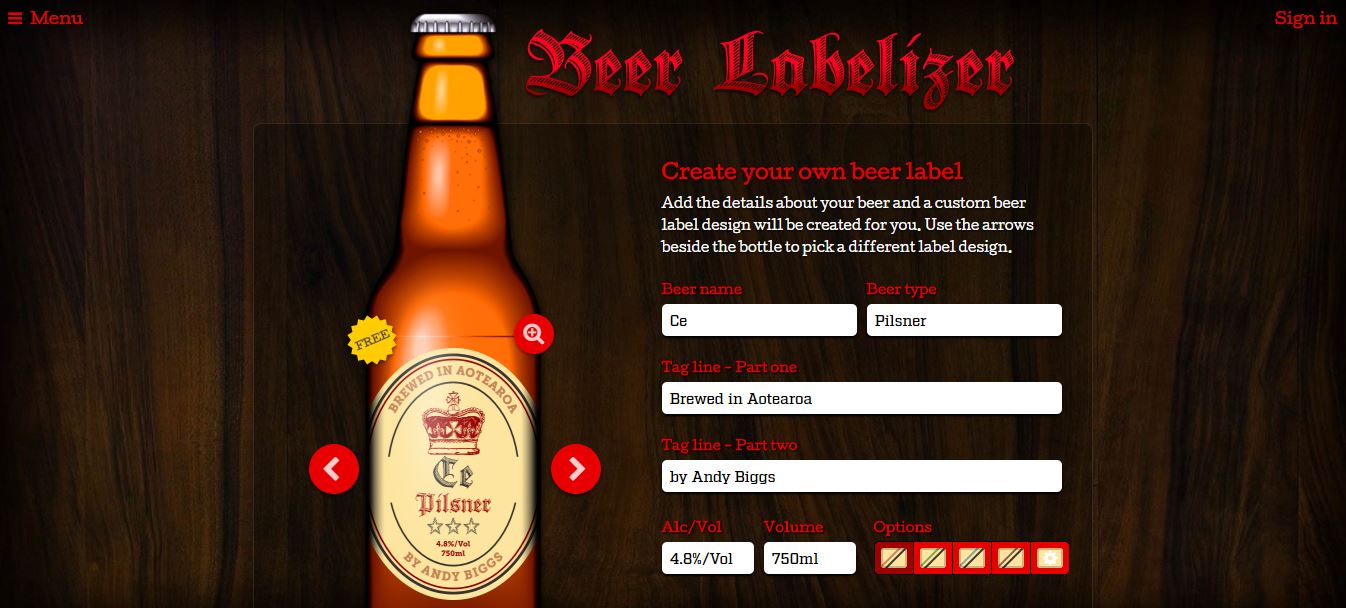
To use all the templates, you’ll need to take out a subscription for $1 a month or $8 for life.

